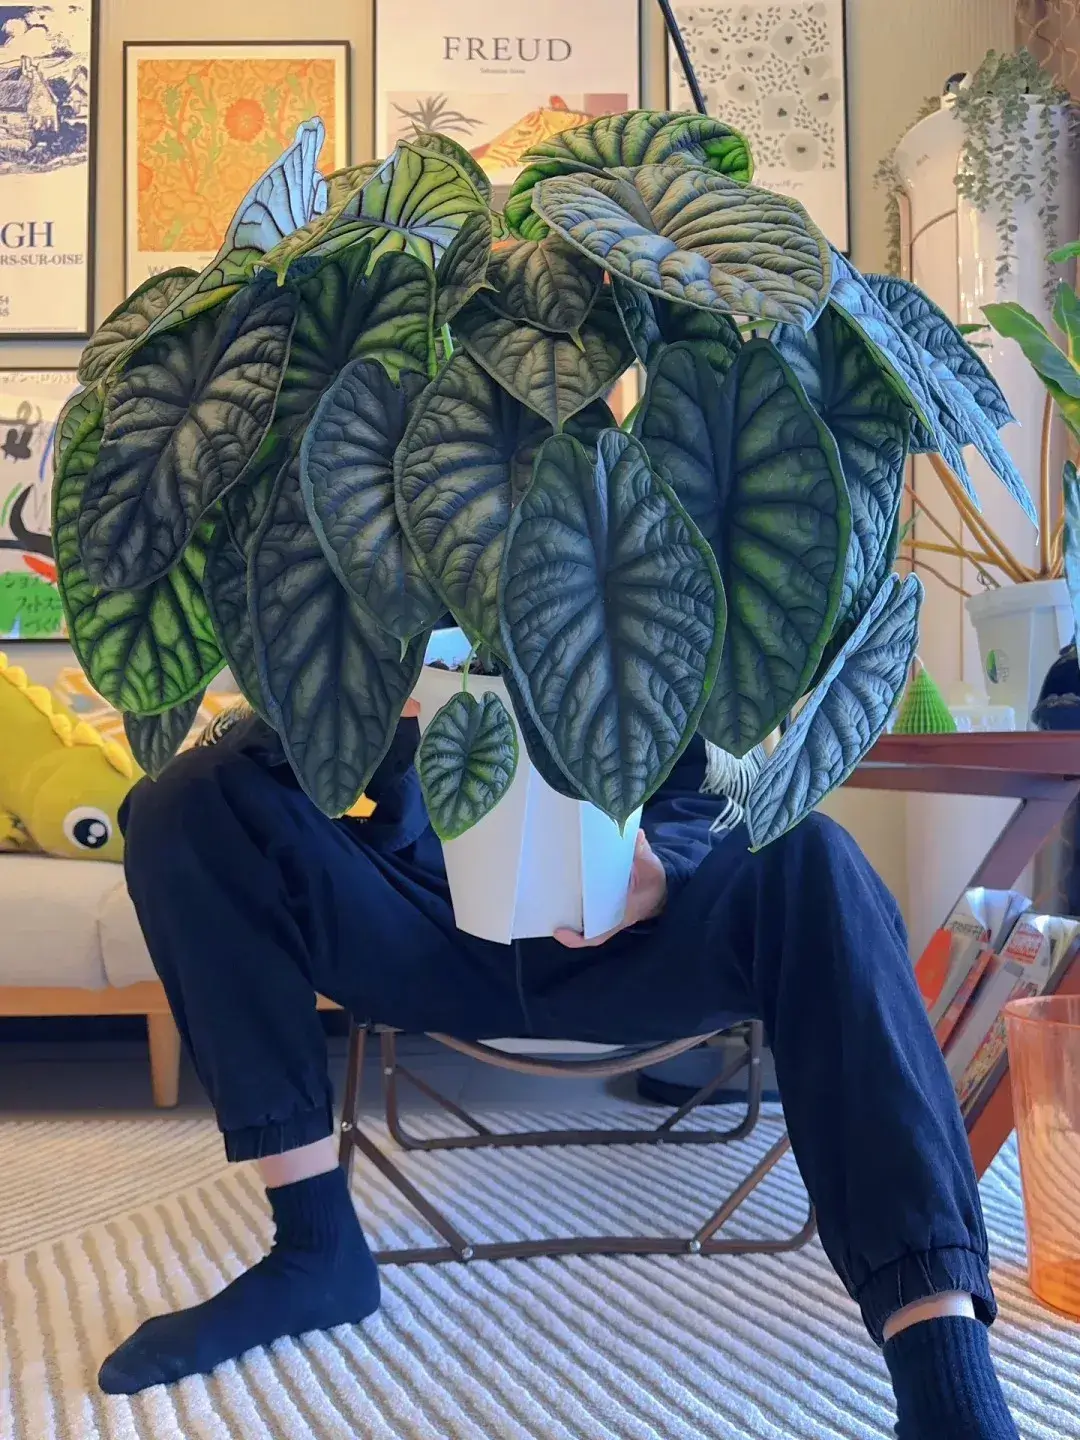
I do not choose Alocasia pots by looks first. A beautiful pot can still cause problems if it is too large, too deep, or has no drainage hole.
For me, the best pot for Alocasia is the one that keeps the roots safe. That usually means good drainage, the right size for the root ball, and a setup that lets the soil dry at a steady pace indoors.
This guide is not just about picking a pretty planter. I’ll break down the pot setups I would actually use for weak roots, everyday indoor care, slow-drying soil, and healthier long-term growth.
Quick Answer: What Pot Should I Use for Alocasia?
For most indoor Alocasia, I would start with a drainage-first setup. That usually means a nursery pot that fits the root ball, plus a decorative cover pot if I want it to look better indoors.
| Your Alocasia Situation | Best Pot Setup | What I Would Buy |
|---|---|---|
| New plant, weak roots, or root rot recovery | Clear nursery pot | Small clear pot with drainage holes |
| Normal indoor Alocasia | Nursery pot + cover pot | Plastic nursery pot inside a decorative cache pot |
| Soil stays wet too long | Terracotta pot | Unglazed terracotta pot with drainage |
| Large upright Alocasia | Stable outer pot | Proper inner pot plus heavier cover pot |
| Beginner unsure about watering | Drainage-first setup | Smaller pot, drainage holes, airy soil |
Setup 1 — Clear Nursery Pots for Weak Roots
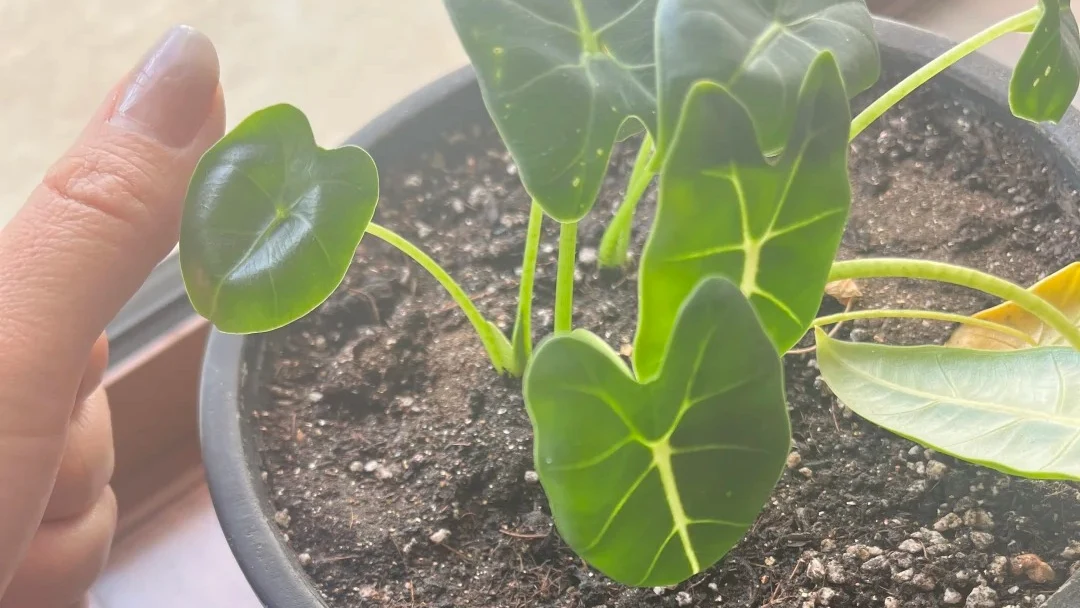
If I am dealing with a new Alocasia, a small corm plant, or a plant recovering from root problems, I usually prefer a clear nursery pot first. I am not using it because it looks beautiful. I use it because it lets me see what is happening around the roots.
With Alocasia, guessing can get risky. A plant may look thirsty on top while the lower soil is still wet. A clear pot helps me check whether the roots are growing, whether the soil is drying evenly, and whether I accidentally moved the plant into a pot that is too large.
This setup is especially useful for newly bought Alocasia, small plants, corm-grown seedlings, root rot recovery, and plants that have not filled out their current pot yet. Once the roots are stronger and watering feels predictable, I can always move the nursery pot into a decorative cover pot later.

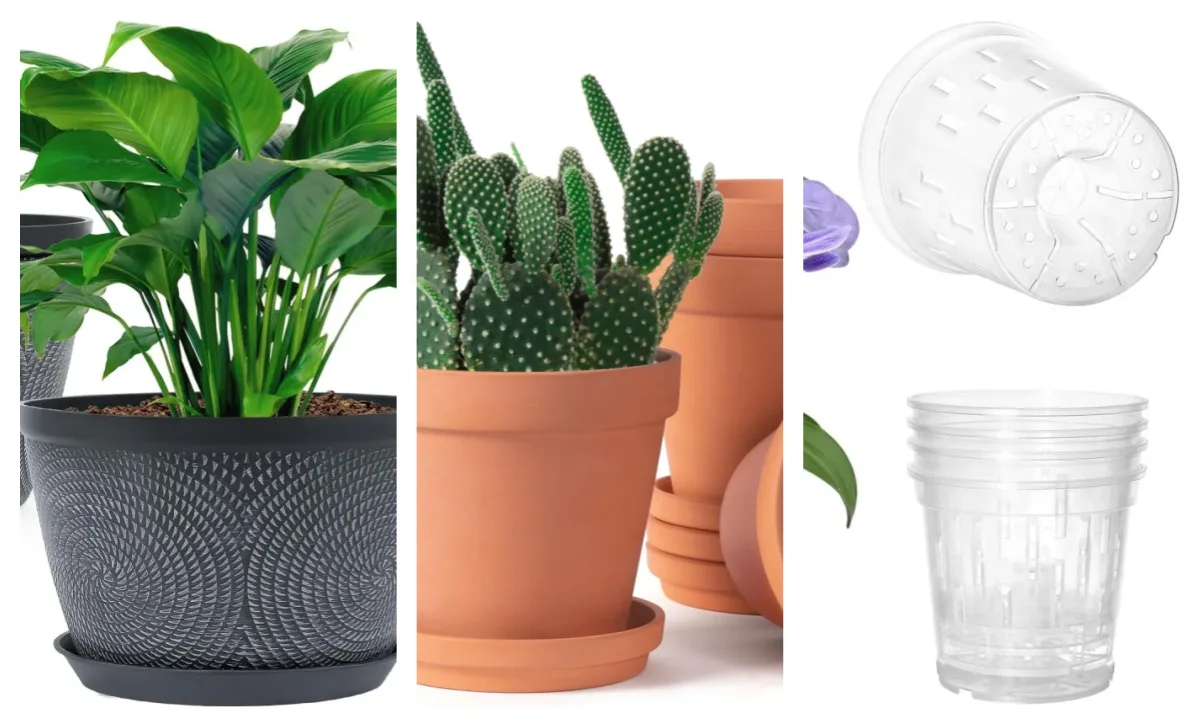
WandaQueen 30 Packs Clear Nursery Pots
I would use these for small Alocasia, corm-grown plants, or weak-root plants because the clear sides make it easier to check root growth and soil moisture without disturbing the plant again.
Role in the setup: helps monitor weak roots and soil moisture
Best for: newly bought Alocasia, small plants, corm seedlings, weak roots, root rot recovery, checking soil moisture
I would avoid: using a pot much larger than the root ball or assuming clear pots fix bad watering habits
Product type: clear nursery pots with drainage holes

TRUEDAYS 5 Inch Clear Orchid Pots
I would use this style when I want more airflow around a chunky soil mix. It is not my first choice for tiny weak roots, but it can help a healthier Alocasia dry more evenly.
Role in the setup: adds extra airflow and drainage around the roots
Best for: Alocasia that need faster drying, chunky soil mixes, healthier roots that need more airflow, growers who want to monitor roots
I would avoid: using it for tiny corm plants, very weak roots, or rooms where the soil already dries too fast
Product type: clear slotted orchid pot with drainage holes
Setup 2 — Nursery Pot and Cover Pot for Everyday Indoor Care
For most healthy indoor Alocasia, I like the nursery pot and cover pot setup. The inner pot does the practical work: drainage, root safety, and easier watering. The outer pot does the visual work: making the plant look better indoors.
This is the setup I would use for many normal indoor Alocasia, including Frydek, Polly, Jacklyn, Silver Dragon, Dragon Scale, Longiloba, and other plants with a stable root system. I can water the plant in the nursery pot, let extra water drain out, and then place it back inside the decorative cover pot.
The main thing I would avoid is planting Alocasia directly into a decorative pot with no drainage hole. A pretty ceramic pot can still trap water around the roots if it is used as the actual growing pot. For me, the safer setup is simple: the plastic nursery pot holds the soil, and the cover pot hides the plastic.

Bluepro 16 Pack Large Clear Nursery Pots
This is the kind of inner pot I would use for everyday indoor Alocasia care. It lets me water, drain, and check the roots before placing the plant back into a nicer cover pot.
Role in the setup: practical inner pots for drainage, root checking, and easier watering
Best for: healthy indoor Alocasia, root checking, everyday watering, small to medium plants, growers who want more control before using a decorative pot
I would avoid: choosing a size much larger than the root ball or assuming a clear pot fixes poor drainage or heavy soil
Product type: clear nursery pot set with drainage holes

Quarut 10 Inch Plastic Planter with Drainage Tray
I would use this more as the outer decorative layer, not as the first pot for a small-root Alocasia. It gives the plant a cleaner indoor look while still keeping drainage in mind.
Role in the setup: decorative outer pot that still keeps the setup practical
Best for: normal indoor Alocasia, living rooms, plant corners, medium plants, growers who want a cleaner look without using a no-drainage pot
I would avoid: planting a small-root Alocasia directly into a 10-inch pot or letting water collect in the tray after watering
Product type: decorative plastic planter with drainage hole and tray
Setup 3 — Terracotta Pots for Alocasia That Stay Too Wet
I would consider a terracotta pot when an Alocasia has healthy roots, but the soil keeps staying wet longer than I like Terracotta is more breathable than plastic or glazed ceramic, so it can help the mix dry a little faster from the sides of the pot.
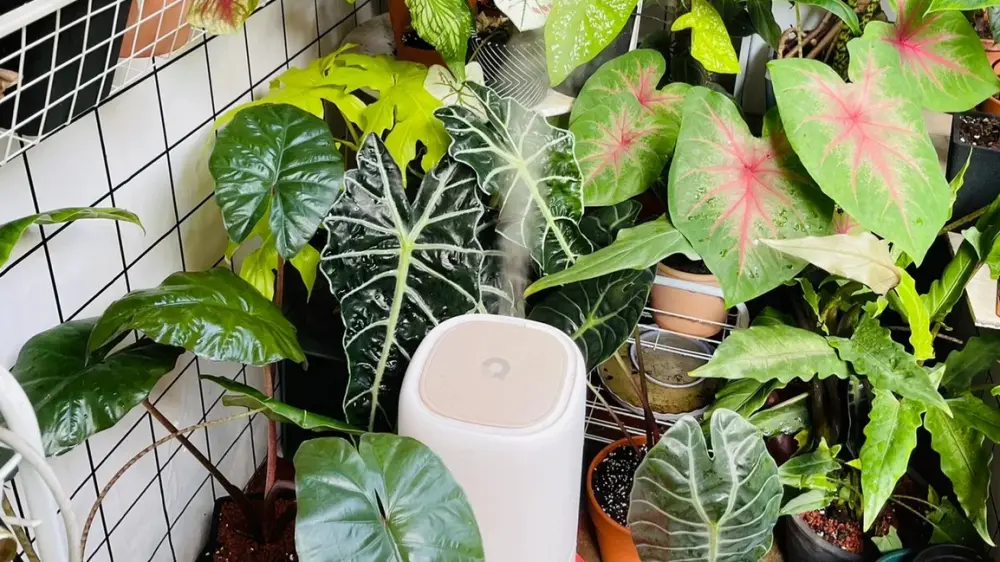
This setup makes the most sense if my home is cool, humid, or slow-drying in winter. It can also help if I tend to water a little too often and the plant sits in damp soil for too long.
But I would not use terracotta for every Alocasia. If the plant has weak roots, is recovering from root rot, or is still a tiny corm seedling, I would rather keep it in a smaller clear nursery pot first. Terracotta can dry unevenly, and weak roots may not handle that extra drying stress well.
For me, terracotta is useful when I want the pot to help the soil dry faster. It does not fix overpotting, heavy soil, or bad watering habits. I would still choose a pot close to the size of the root ball.

Orceler 6 inch Terracotta & Clay Pots with Saucer
I would choose this only when the Alocasia is already healthy but the soil stays wet too long in plastic. Terracotta can help the mix dry faster, but it is not a rescue pot for weak roots.
Role in the setup: helps healthy Alocasia dry a little faster than plastic pots
Best for: healthy Alocasia, slow-drying rooms, winter indoor care, growers who tend to overwater, soil that stays wet too long
I would avoid: using it for tiny corm plants, root rot recovery, very weak roots, or rooms that already dry out too fast
Product type: classic terracotta pot with drainage hole and saucer

HERDUK Shallow Terracotta Pot with Saucer
This is more useful for smaller healthy Alocasia with a shallow root ball. I would avoid it for tall, top-heavy plants that need more stability.
Role in the setup: gives a shallower breathable option for smaller healthy Alocasia
Best for: smaller healthy Alocasia, shallow root balls, slow-drying soil, indoor shelves, growers who want faster drying than plastic pots
I would avoid: using it for tall Alocasia, unstable plants, very weak roots, or plants that dry out too quickly already
Product type: shallow terracotta pot with drainage hole and saucer
What Pot Size I’d Choose for Alocasia
Pot size matters more than people think with Alocasia. I would not choose a pot based only on the biggest leaf. I look at the root ball first, because a large leaf does not always mean the plant has a large root system.
For weak roots, I would choose a pot only slightly larger than the root ball. I want enough room for the roots to grow, but not so much extra soil that the pot stays wet for days. This is especially important after shipping stress, root damage, or a recent repot.
For small jewel Alocasia, I usually stay conservative. Plants like Black Velvet, Silver Dragon, Dragon Scale, and similar smaller types do not need a big pot just because the leaves look dramatic. A smaller pot often makes watering easier to control.
For a medium healthy Alocasia, I would usually move up only about 1–2 inches wider than the current root ball. That gives the roots space without surrounding them with too much unused wet soil.
For large upright Alocasia, I still match the inner pot to the roots. If the plant feels top-heavy, I would rather use a heavier cover pot for stability instead of planting it directly into an oversized pot.
For root rot recovery, I usually go smaller, not bigger. After trimming bad roots, the plant often has less root mass than before. In that situation, a smaller pot with airy soil is usually safer than a large pot that stays wet too long.
My pot size rule is simple: the pot should fit the roots, not the leaves. If I am unsure, I would rather stay slightly smaller, use a well-draining soil mix, and adjust watering carefully than overpot an Alocasia and hope the roots catch up.
Pots I Would Avoid for Alocasia
There are a few pot styles I would be careful with for Alocasia, especially indoors. A pot can look nice and still make watering harder, keep the roots too wet, or make the plant unstable.
I would avoid pots with no drainage holes if I am planting directly into them. Alocasia roots do not like sitting in trapped water, and a sealed decorative pot makes it much harder to correct overwatering.
I would also avoid oversized decorative pots used as the actual growing pot. A large pot may look balanced with big leaves, but if the root system is still small, all that extra soil can stay wet for too long.
Very deep pots are another one I am careful with, especially for small jewel Alocasia or plants with shallow root systems. Extra soil below the roots can hold moisture even when the top feels dry.
I would not use self-watering pots as my first choice for weak-root Alocasia, newly shipped plants, or root rot recovery. They can work in some setups, but they are not where I would start if the roots are already struggling.
For tall Alocasia, I would avoid tiny lightweight pots that tip over easily. If the plant is top-heavy, I would rather use a practical inner pot and a heavier outer pot for stability.
I also avoid pots that make it hard to judge soil moisture. If I cannot tell whether the mix is drying evenly, I am more likely to water too early or wait too long. With Alocasia, predictable watering matters more than the prettiest pot.
When a Self-Watering Pot May Not Be the Best Choice
Self-watering pots can work for some experienced growers, but I would not use them as my first choice for every Alocasia. They make the most sense when the plant is already healthy, the roots are strong, and the grower understands how quickly the mix is using water.

For weak-root Alocasia, newly shipped plants, or root rot recovery, I would be more careful. These plants often need a smaller pot, airy soil, and close observation. A self-watering setup can keep moisture too consistent around roots that are not ready for it.
I would also avoid starting with a self-watering pot in winter if my room is cool and the soil already dries slowly. In that situation, the problem is usually too much moisture staying around the roots, not a lack of water.
That does not mean self-watering pots are bad. They can be useful for stable plants in a warm, bright room, especially if the soil mix is airy and the reservoir is managed carefully. But for most indoor Alocasia, I would start with drainage, pot size, and root health first.
My rule is simple: if I am still trying to understand the roots or watering rhythm, I do not use a self-watering pot yet. I wait until the plant is stable enough that the setup supports the roots instead of hiding a problem.
Match the Pot to the Roots, Not the Leaves
With Alocasia, I try not to choose a pot based only on leaf size. A large leaf does not always mean the plant has a large root system.
If the roots are small or recovering, I would stay with a smaller clear or nursery pot. If the soil stays wet too long, I may consider terracotta. If I want the plant to look better indoors, I would use a decorative cover pot without sacrificing drainage.
The best pot for Alocasia is usually the one that keeps watering predictable, gives the roots enough air, and matches the root ball instead of the biggest leaf.