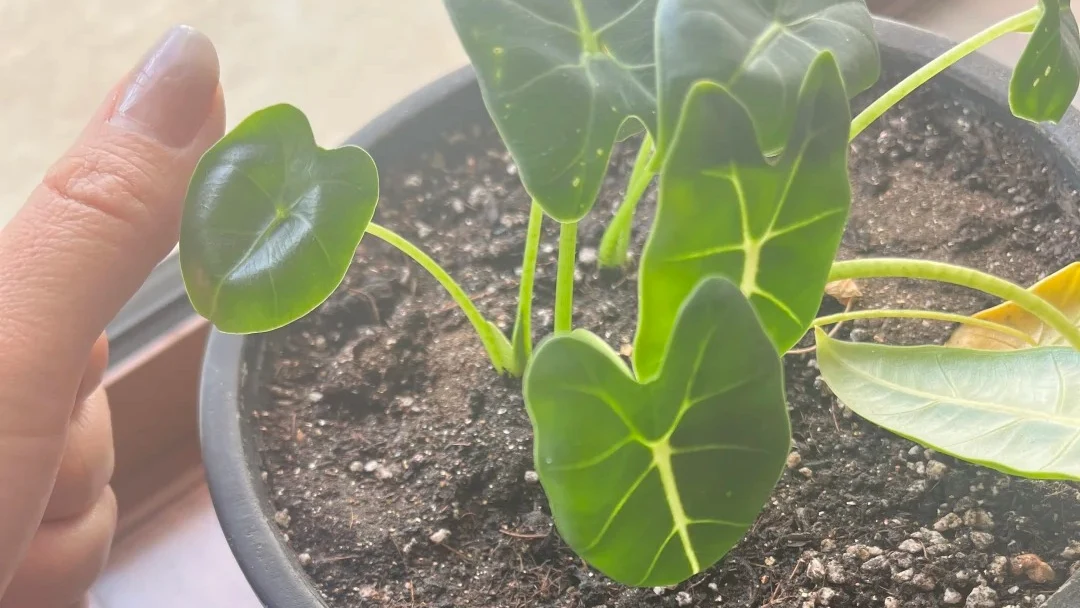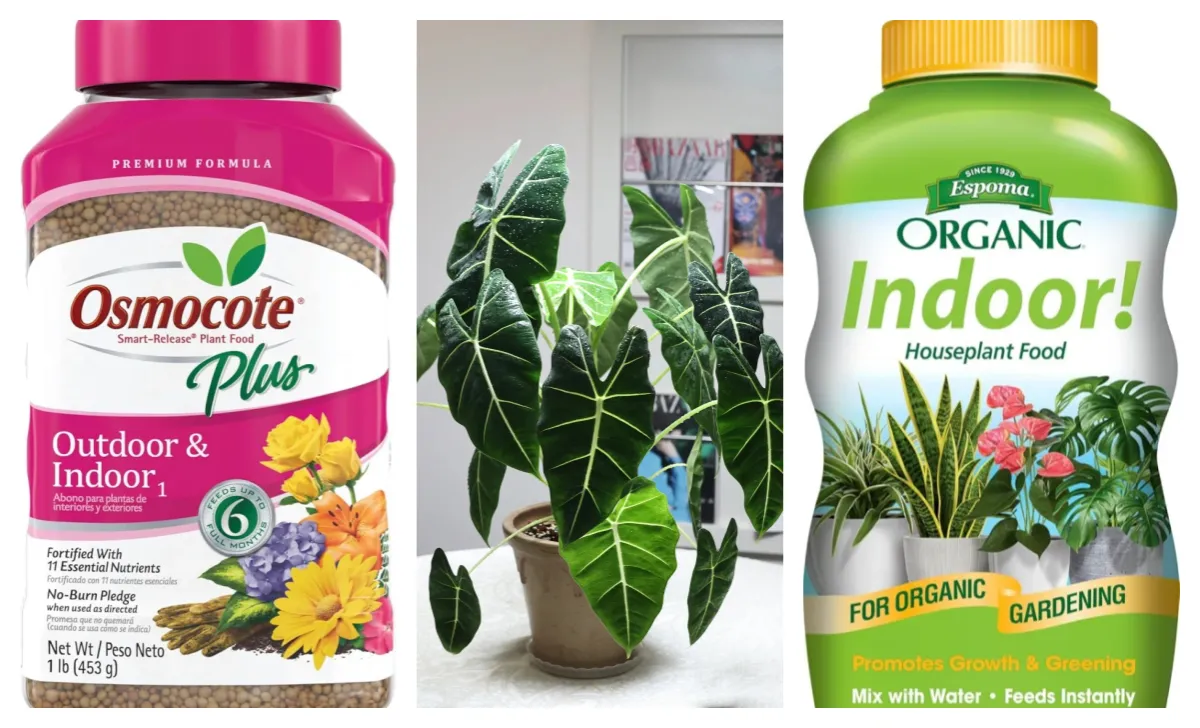
I do not fertilize Alocasia just because I want faster growth. In my experience, fertilizer only helps when the plant already has healthy roots, decent light, and active new growth.
If an Alocasia is still a tiny sprout, newly shipped, recently repotted, recovering from root rot, or sitting through a cold winter slowdown, I usually do not feed it yet.
For me, feeding Alocasia is less about using a “strong” fertilizer and more about timing. I want the plant to be ready to use the nutrients. When the roots are healthy and new leaves are coming in steadily, a gentle fertilizer routine can help. When the plant is stressed, I would rather fix the roots, soil, light, and watering first.
Quick Answer: What Fertilizer Should I Use for Alocasia?
For most indoor Alocasia, I would choose a gentle balanced liquid foliage fertilizer. I do not think most growers need five different fertilizers for one plant. If the roots are healthy and the plant is actively growing, one simple liquid fertilizer is usually enough.
I would not start with full strength. Indoors, Alocasia usually gets less light than it would outdoors, and the soil often dries more slowly. That means a strong fertilizer dose can sit around the roots longer than I want. I would rather feed weakly and steadily during active growth than use a heavy dose and risk burning the roots.
If I could only buy one fertilizer, I would choose a balanced liquid foliage fertilizer that is easy to dilute. I would use it only when the plant is growing clean new leaves, not when it is weak, newly shipped, recovering from root rot, or slowing down in winter.
My simple rule is: use one gentle fertilizer, dilute it well, and only feed when the Alocasia is ready to grow.
My Alocasia Fertilizing Schedule by Growth Stage
I do not fertilize Alocasia on one fixed schedule all year. The same fertilizer can be helpful in one stage and too much in another. For me, the plant’s growth stage matters more than the fertilizer label.
| Growth Stage | What I Would Do | Fertilizer Type |
|---|---|---|
| Corm / sprout stage | Do not fertilize yet | None |
| Transition stage | Wait for 1–2 healthy new leaves | Very diluted liquid fertilizer only if growth is stable |
| Active growth | Feed lightly and regularly | Balanced liquid foliage fertilizer |
| Strong growth period | Keep a steady weak feeding routine | Liquid fertilizer, with optional slow-release support |
| Dormancy or cold winter | Stop fertilizing | None |
The fertilizer itself does not need to be complicated. The bigger mistake is usually not buying the wrong fertilizer, but using it at the wrong stage.
Stage 1 — Corms, Small Sprouts, or Weak Roots: I Do Not Fertilize Yet
If my Alocasia is still a corm, a tiny sprout, or a weak-root plant, I do not fertilize yet. At this stage, I care more about root growth than leaf size.
Fertilizer will not build roots faster if the root system is not ready. It can add extra stress, especially if the soil is already staying wet or the plant is still adjusting.
I wait until the plant has stronger roots and more stable new growth before I even think about light feeding.
Stage 2 — Transition Stage: I Wait for Clean New Growth
After an Alocasia settles in, I still do not fertilize immediately. I watch for one or two healthy new leaves first.
If the new leaf opens cleanly, the stem stays firm, and the soil dries at a normal pace, then I may start with a very diluted liquid fertilizer.
I would rather move slowly than push the plant too early. A slightly slower Alocasia is easier to handle than one with burned or stressed roots.
Stage 3 — Active Growth: Weak Liquid Fertilizer Works Best for Me
During active growth, I prefer liquid fertilizer because I can control the strength. Indoors, my Alocasia usually gets less light than it would outdoors, and the soil often dries more slowly.
That is why I do not start with full strength. I use a weak mix and watch how the plant responds. If the plant keeps pushing clean new leaves, I continue. If growth slows down, I reduce feeding.
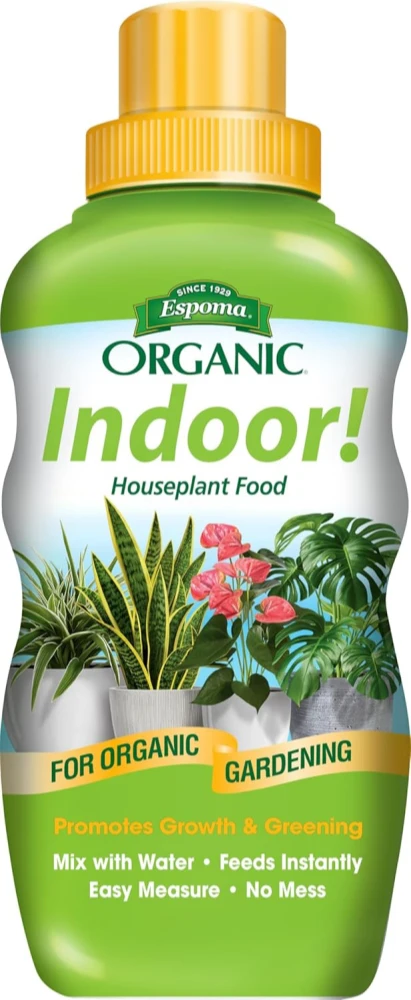
Espoma Organic Indoor Plant Food
Best for: healthy Alocasia that are actively growing indoors.
I would use a liquid fertilizer like this as my main feeding option because it is easy to dilute and easy to stop if the plant slows down. I would start weaker than the label dose rather than feed an indoor Alocasia aggressively.
Stage 4 — Strong Growth Period: I Feed More Consistently, Not More Aggressively
When an Alocasia is growing strongly, I may feed more consistently. For me, strong growth means repeated new leaves, healthy roots, enough light, and a normal watering rhythm.
I still do not increase the fertilizer strength aggressively. I would rather feed weakly on a steady rhythm than use a heavy dose and risk root burn.
This is the only stage where I would consider a light slow-release option, and only for an established plant.
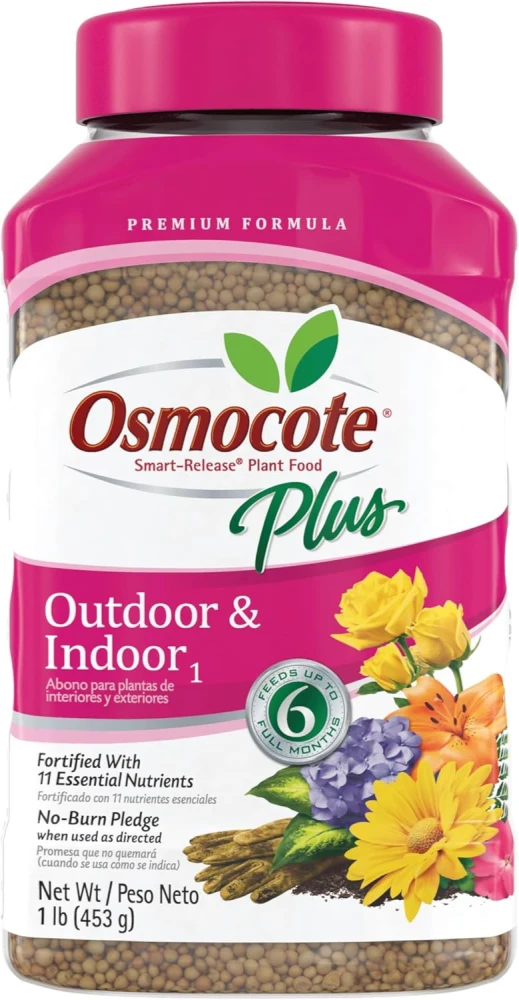
An Optional Slow-Release Choice for Established Plants
For a mature Alocasia that is already growing strongly, I may consider a small amount of slow-release fertilizer such as Osmocote. I would not use this as my first fertilizer for a new, weak-root, recently shipped, or winter-stalled plant.
Best for: established Alocasia with strong roots and steady active growth.
Stage 5 — Dormancy or Cold Winter: I Stop Fertilizing
When my Alocasia slows down in winter, I stop fertilizing. Slow growth does not always mean the plant is hungry.
Indoors, cold rooms, lower light, and slower soil drying can all reduce growth. If the plant is not actively using nutrients, fertilizer can stay in the soil and add pressure around the roots.
In winter, I focus more on warmth, light, watering, and root safety. I start feeding again only when the plant begins growing steadily.
How I Dilute Fertilizer to Avoid Burning Roots
I do not start with the full label strength for indoor Alocasia. Even when the plant looks healthy, I usually begin weaker than the label suggests and watch how the next leaf responds.
For me, fertilizer only makes sense when the soil and roots are already in good condition. If the soil is staying wet too long, the roots are weak, or the plant has recently struggled, I would rather wait than add fertilizer on top of stress.
I also do not fertilize a plant that is already dry-stressed. If an Alocasia is wilting from dry soil, I water normally first and let it recover. Fertilizer is not the first thing I reach for when the plant is already under pressure.
When growth slows down, I reduce feeding or stop completely. I would rather feed a little less and keep the roots safe than use a stronger dose and deal with fertilizer burn later.
When I Would Not Fertilize Alocasia
There are times when I would skip fertilizer completely, even if the plant looks slow. If the Alocasia is not ready to use nutrients, feeding can make the situation worse.
I would not fertilize in these situations:
- Recently shipped plant
- Recently repotted plant
- Root rot recovery
- Cold winter room
- Plant not growing
- Soil staying wet too long
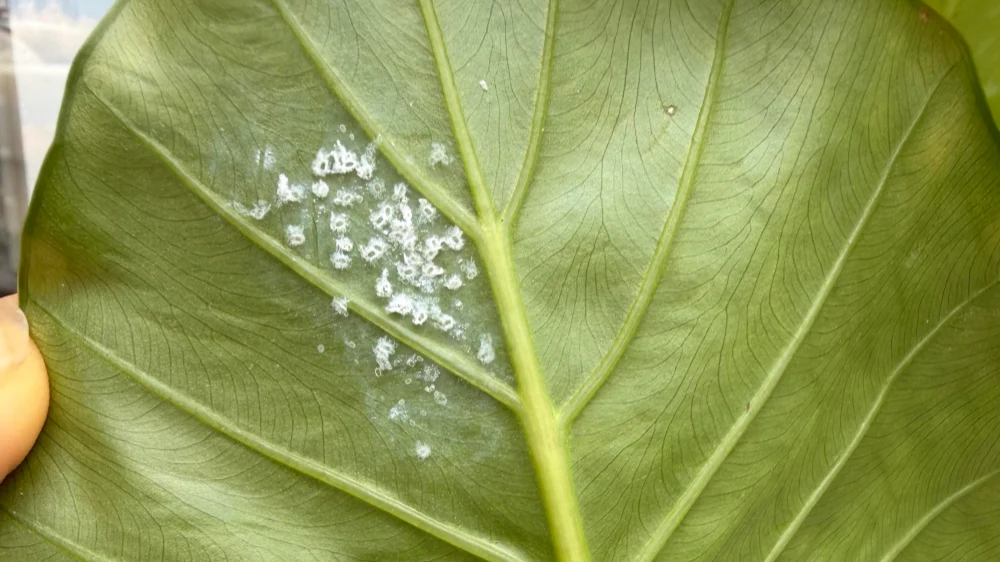
- Spider mites or other pest problems
- Very low light corner
- Yellowing from wet soil
In these cases, I would check the basics first: roots, watering, soil, light, temperature, and pests. Fertilizer works best as support for active growth, not as a fix for a stressed plant.
Signs I May Have Used Too Much Fertilizer
If an Alocasia looks worse shortly after feeding, I do not keep adding more. I pause and look for signs that the fertilizer may have been too strong or used at the wrong time.
These are the signs I watch for:
- Brown crispy tips after feeding
- Yellowing after a stronger dose
- White crust on the soil surface or pot edge
- Wilting even when the soil is not dry
- New leaves coming out stressed, small, or distorted
I still do not blame fertilizer automatically. Watering problems, low light, pests, root damage, and cold conditions can cause similar symptoms. But if the timing lines up with feeding, I would stop fertilizing, check the roots and soil, and restart much more gently only after the plant is stable again.
Feed Only When the Plant Can Use It
I do not use fertilizer to force an Alocasia to grow. If the roots are weak, the room is cold, or the plant is not actively growing, I would rather wait.
When the plant has healthy roots and steady new leaves, a gentle fertilizer routine can help support better growth. I still keep it weak and consistent instead of using a strong dose.
For indoor Alocasia, feeding works best when the plant is already ready to grow. The safer approach is simple: fix the roots, light, soil, and watering first, then fertilize lightly.