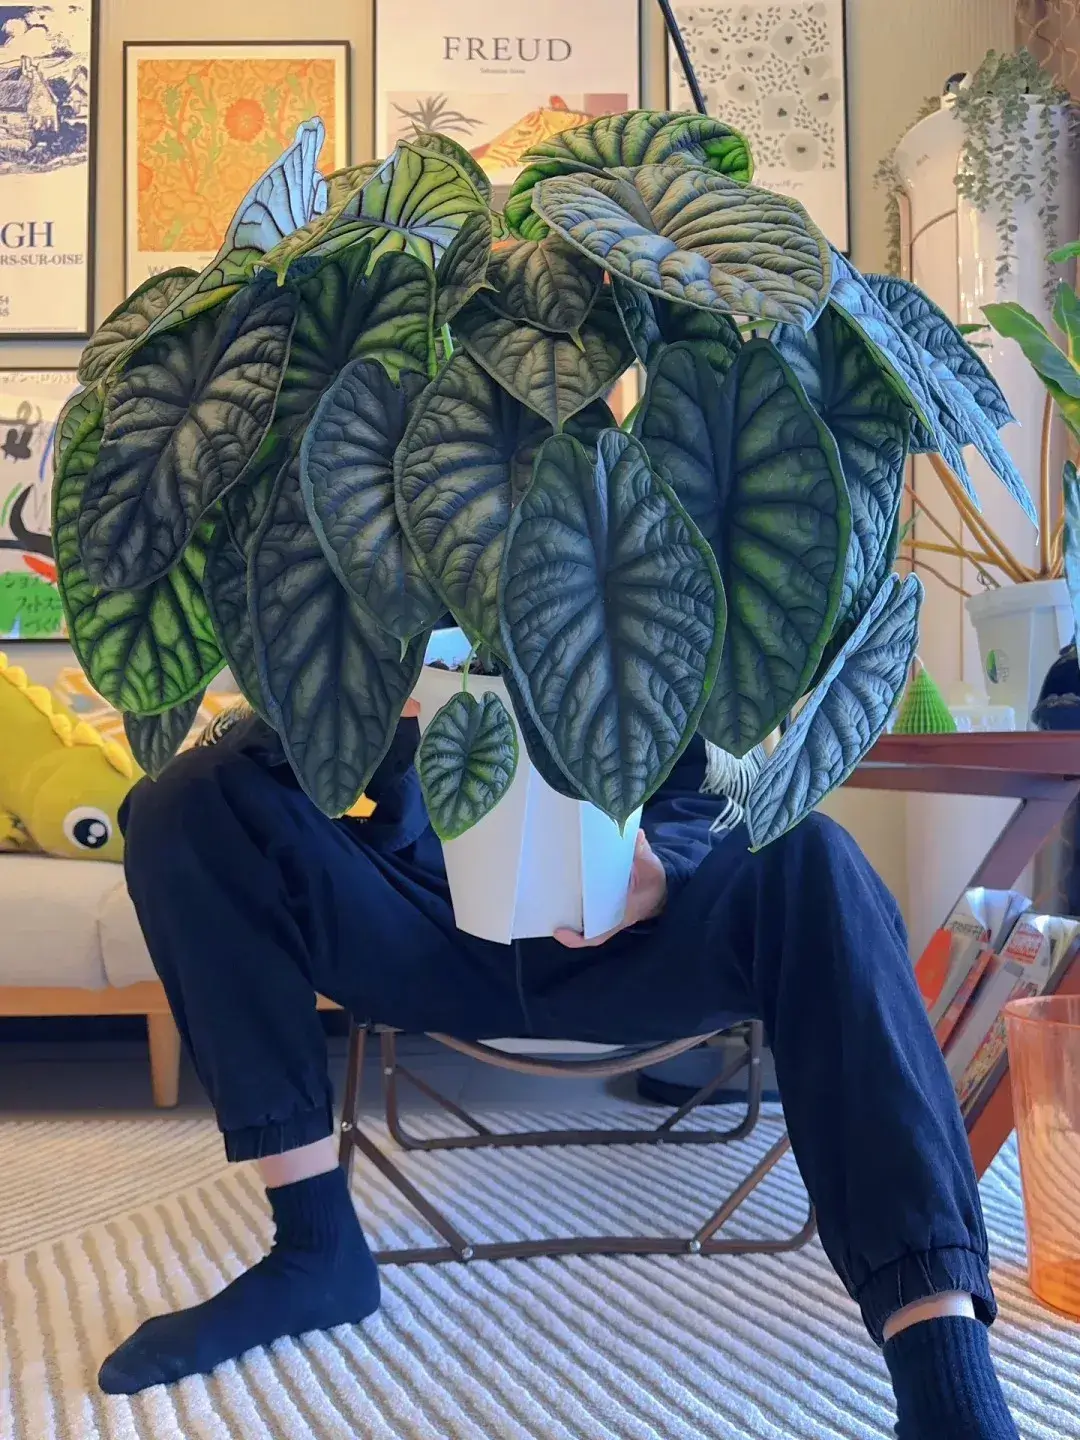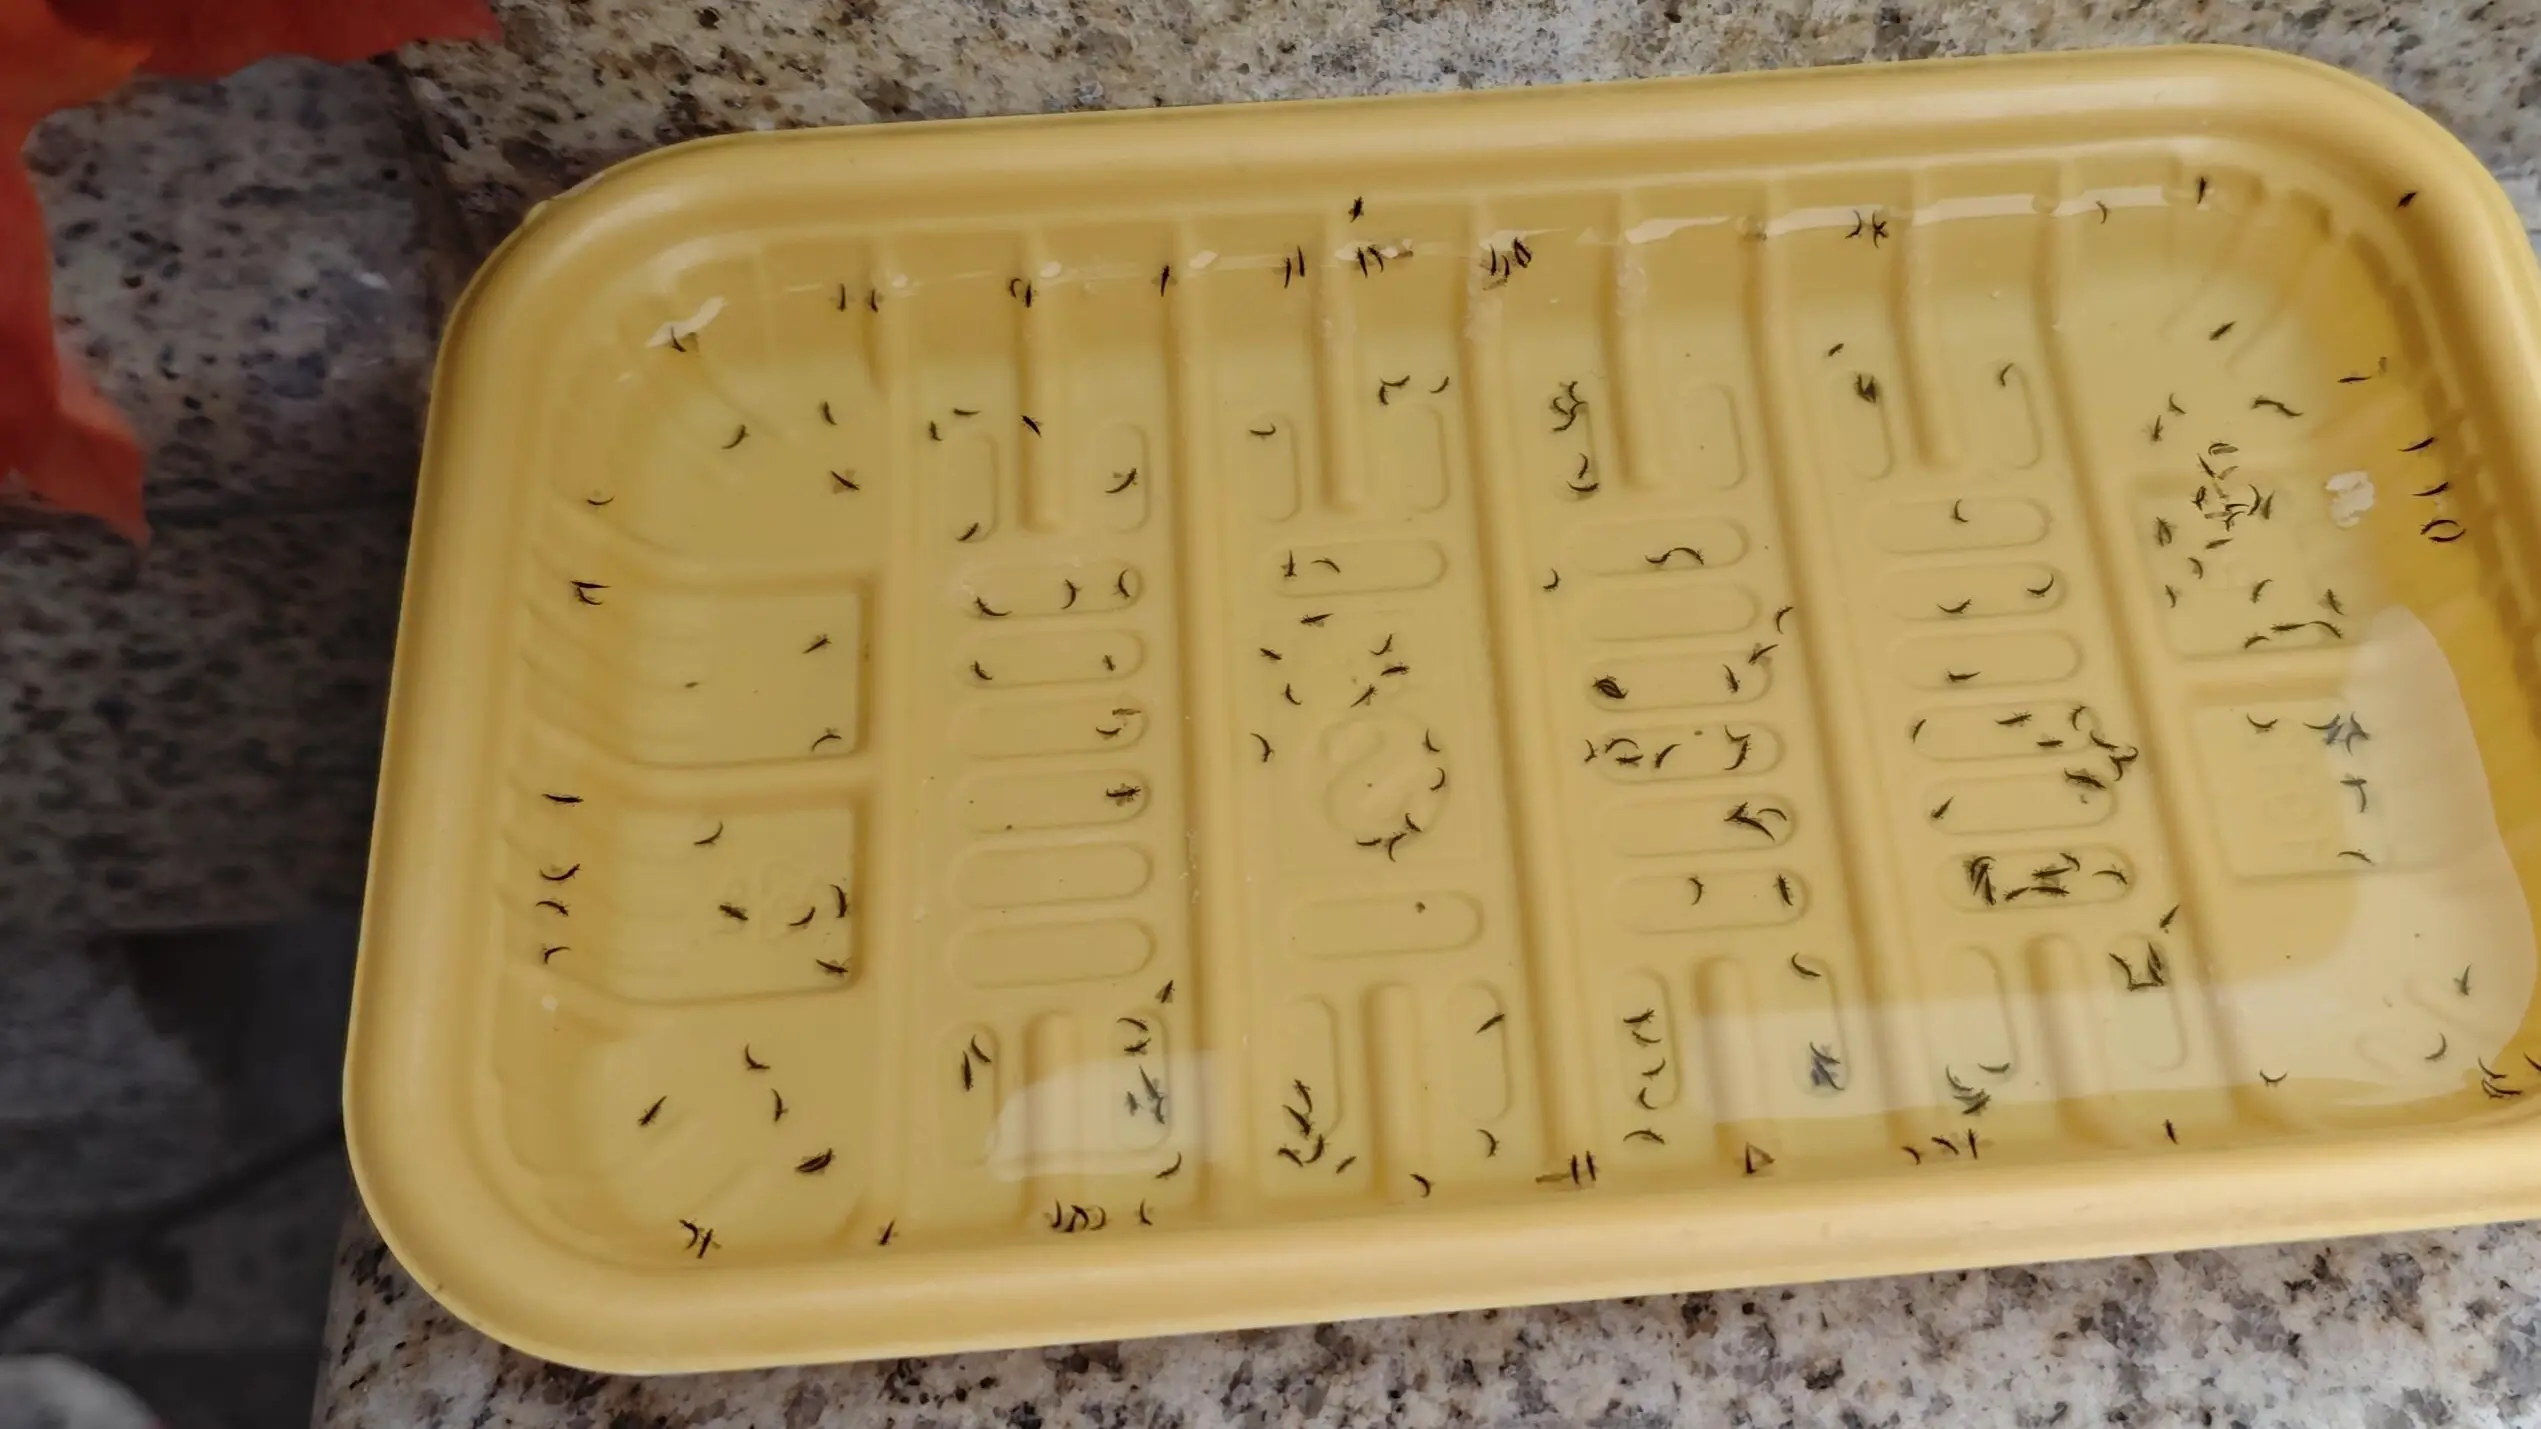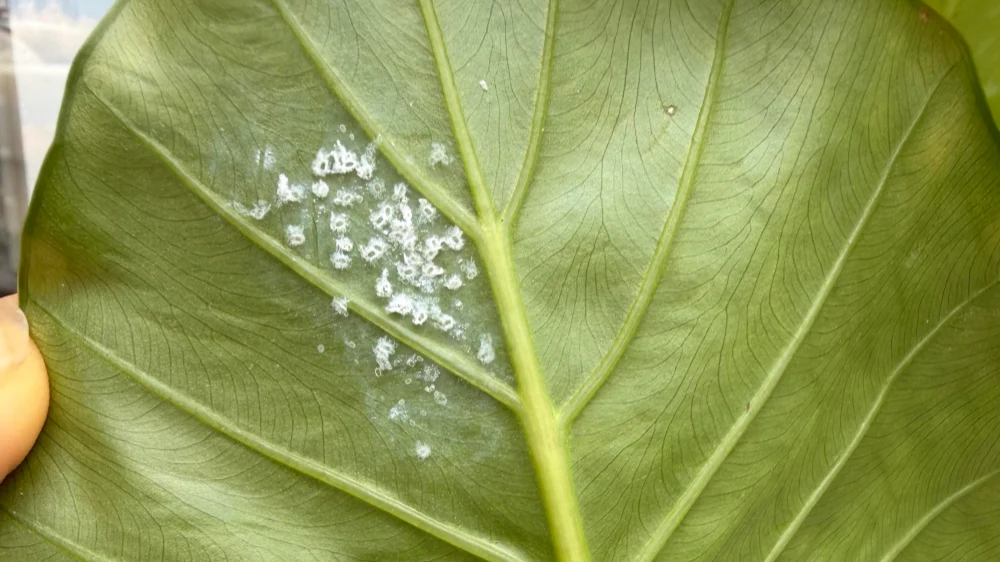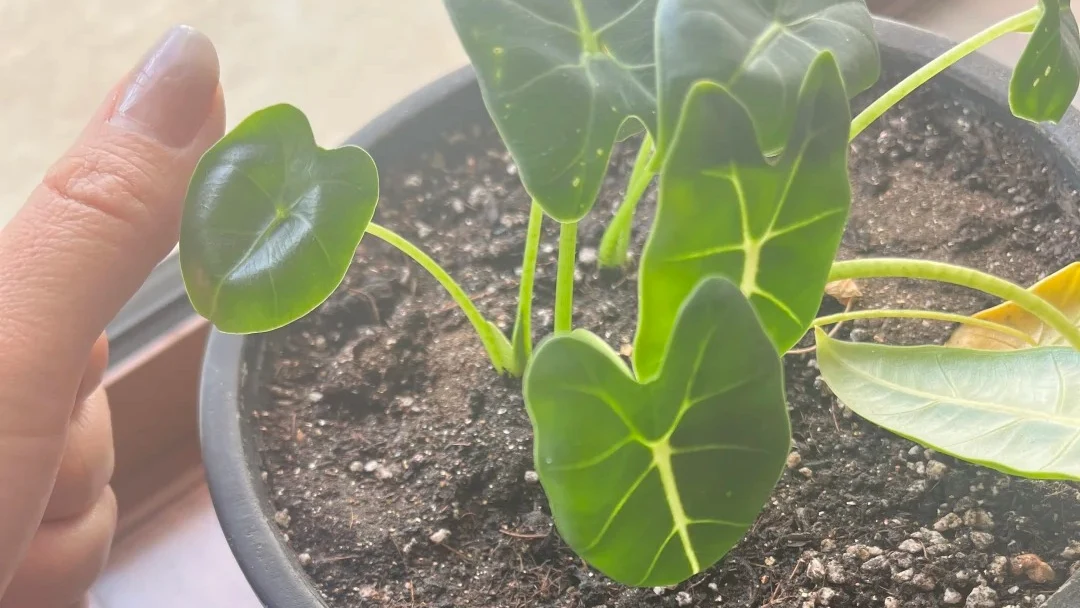
Yellow leaves are the number-one panic trigger for any new Alocasia parent — they look dramatic, sudden, and hard to ignore. But not every yellow leaf means your plant is dying. Sometimes, it’s just nature’s quiet housekeeping.
The key is to tell natural aging from environmental stress. When an older leaf at the base fades while a new one unfurls, that’s part of Alocasia’s rhythm — shedding the old to make room for growth. But if several leaves turn yellow at once, or the newest ones lose their shine, it’s a sign that something in the environment is off: light, water, soil, or temperature.
I still remember my first scare. When my Alocasia Dragon Scale started turning yellow, I nearly pulled the whole plant out, thinking it was doomed — only to realize a week later that it was simply letting go of its oldest leaf. That was the moment I learned to observe before reacting.
In this guide, we’ll walk through the 7 most common reasons Alocasia leaves turn yellow, how to tell them apart, and what you can do to fix — or simply accept — them.
Cause #1: Overwatering (The #1 Culprit)
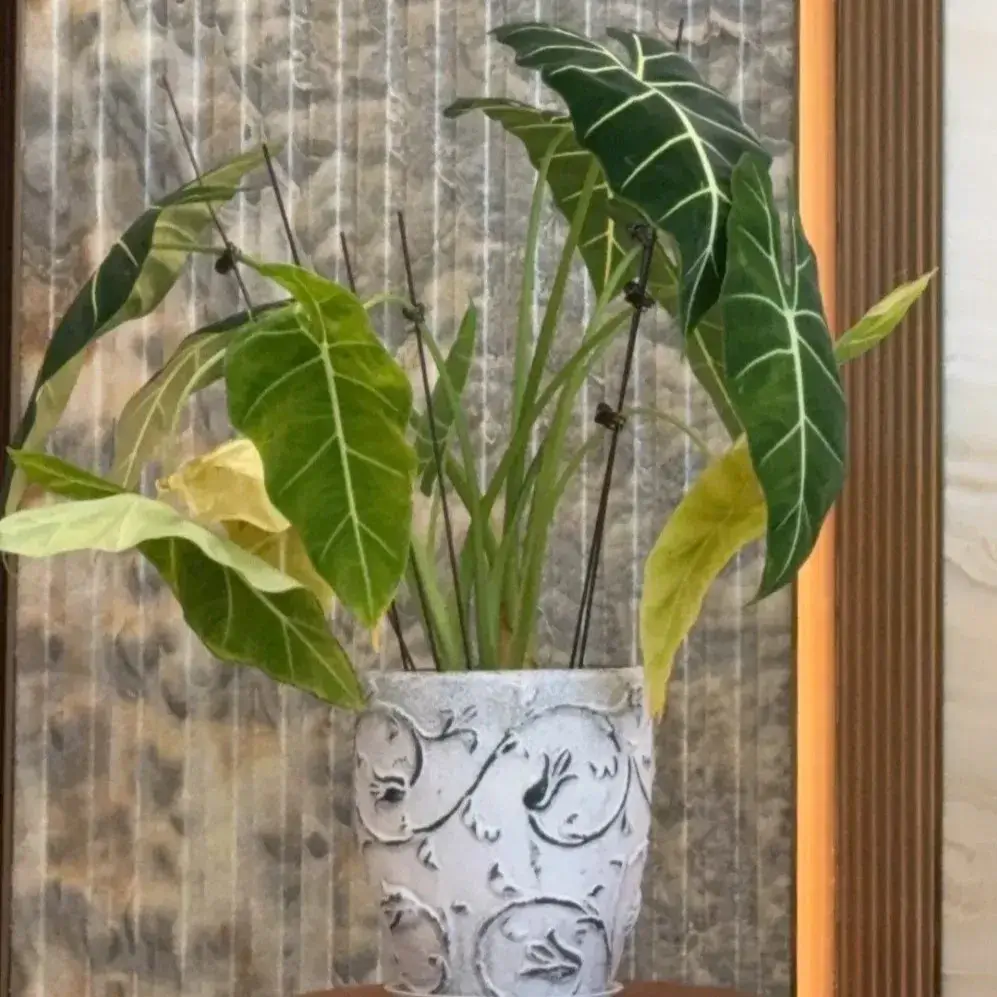
If your Alocasia’s leaves are soft, drooping, and yellowing from the base upward — and the soil feels constantly damp — you’re almost certainly dealing with overwatering. It’s the number-one reason Alocasia leaves turn yellow, especially in cooler or poorly ventilated environments.
When soil stays wet for too long, the roots can’t breathe. The oxygen in the potting mix is replaced by stagnant water, leading to root suffocation. Once the roots start to rot, they can’t transport nutrients or chlorophyll to the leaves, which causes the yellowing you see above the surface.
How to fix it:
- Let the top 2–3 cm (1 inch) of soil dry completely before watering again.
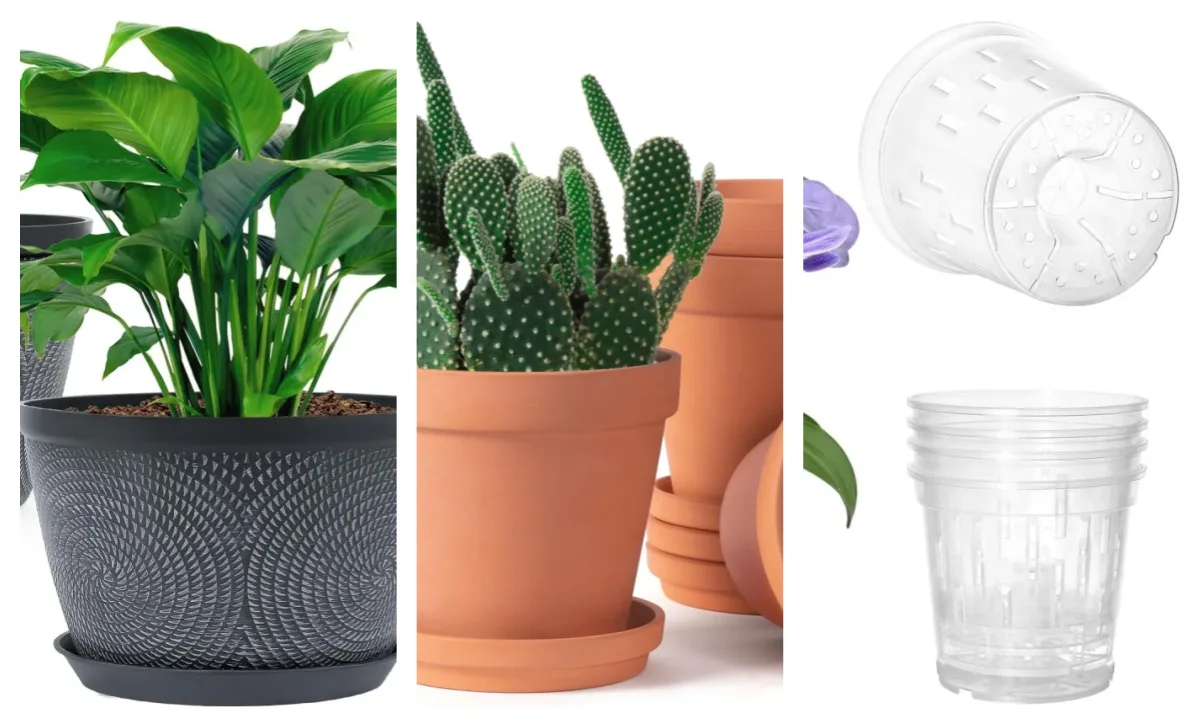
- Switch to a breathable pot (like terracotta or one with side vents).
- Place a small fan nearby to promote airflow and help the soil dry evenly.
- If root rot has started, repot in a fresh, airy mix and trim away black, mushy roots.
💬 My note: “In Portland’s damp winters, I’ve learned this the hard way — cold + humidity is the perfect recipe for root suffocation. Now I always check the soil with a moisture meter before watering.”
🔗 Related guide: How Often Should You Water Alocasia? (Seasonal Guide)
Cause #2: Too Little Light
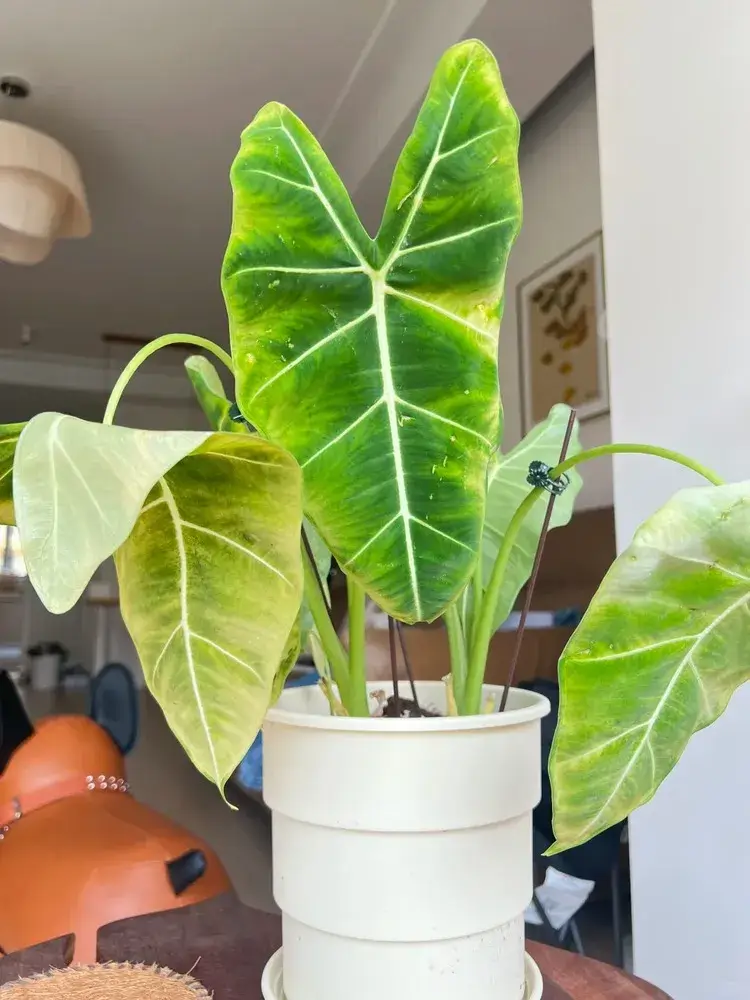
When your Alocasia’s leaves turn pale green, lose their sheen, or stretch out on long, weak stems, it’s often a clear sign of insufficient light. Without enough brightness, the plant can’t photosynthesize effectively — it slows growth, weakens structure, and sacrifices older leaves to conserve energy.
Alocasias are not true shade plants. In the wild, they grow beneath tall tropical trees, receiving strong but filtered sunlight — around 10,000–20,000 lux. Indoors, that means bright, indirect light for most of the day.
How to fix it:
- Move the plant closer to a south- or east-facing window with a sheer curtain to soften the rays.
- If natural light is limited, use a full-spectrum LED grow light (4000–5000K) for about 10 hours per day.
- Rotate the pot weekly to keep growth even and prevent leaning.
💡 Tip: “Afraid of sun ≠ loves shade. Alocasia actually thrives in strong, diffused light — that’s when the leaves grow broader, thicker, and more vibrant.”
🔗 Related guide: Alocasia Light Requirements: Natural Sun vs. Grow Lights
Cause #3: Poor Drainage or Compact Soil
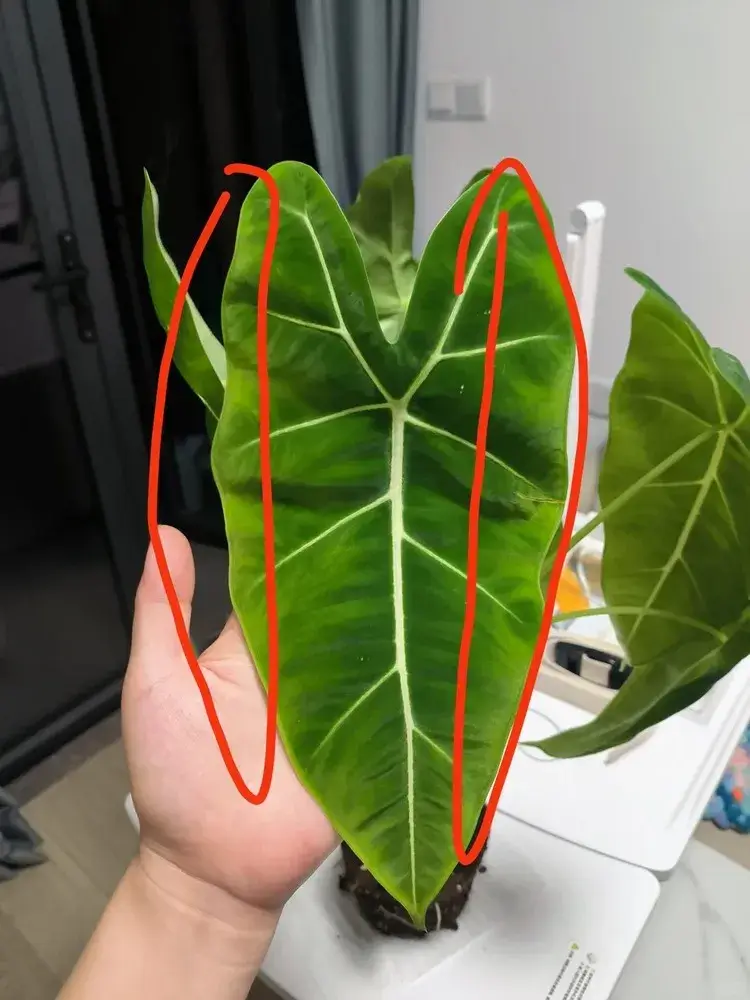
If your Alocasia’s leaves are yellowing even when you’re not overwatering, the problem may lie beneath the surface — the soil itself. Dense, compact potting mixes trap water and suffocate roots, especially in plastic pots with limited drainage. The result? Mushy roots, yellowing leaves, and stalled growth.
Alocasia roots and corms crave air circulation. They need moisture, yes, but only in a loose, well-draining environment that allows oxygen to reach every root hair.
How to fix it:
- Repot using an airy mix — for example:
- 40% peat moss or coco coir
- 30% perlite or pumice
- 20% bark
- 10% charcoal or compost
- Make sure your pot has multiple drainage holes and isn’t sitting in standing water.
- Refresh the soil every 12 months to prevent compaction and fungal buildup.
💬 My note: “I once reused a dense Calathea mix for my Alocasia — it looked fine at first, but within two weeks the roots were black and lifeless. Now, I always keep the mix light enough for air to move through.”
🔗 Related guide: Best Soil Mix for Alocasia (DIY + Ready-Made Options)
Cause #4: Low Temperature or Cold Drafts
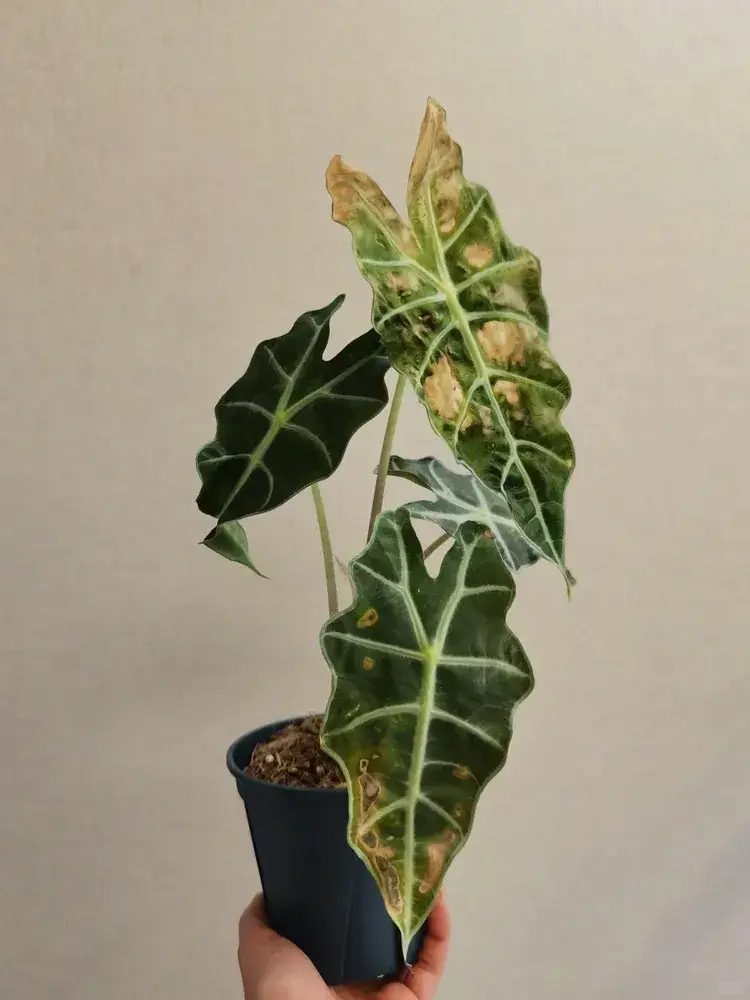
Alocasia plants are tropical at heart — they simply shut down when cold hits. If your room drops below 15°C (59°F), you’ll start to see yellow edges, limp leaves, and eventually, a full growth pause. At this temperature, roots stop absorbing water and nutrients, which leads to chlorosis (loss of green pigment) and leaf decline.
Even brief exposure to cold drafts — from an air conditioner, open window, or winter night breeze — can stress the plant. The damage often shows up days later as yellowing tips or soft spots near the leaf base.
How to fix it:
- Keep indoor temperatures between 20–28°C (68–82°F) year-round.
- Avoid cold drafts: move the pot away from AC vents, doors, or leaky windows.
- In winter, use a heating mat or insulation wrap under the pot to keep root temperature stable.
- Maintain steady humidity (60–80%) to help balance transpiration.
💬 My note: “Portland winters can dip below 10°C indoors near the window. I learned to pull my Alocasias a few feet away from the glass — it stopped the yellow edges almost instantly.”
Cause #5: Low Humidity
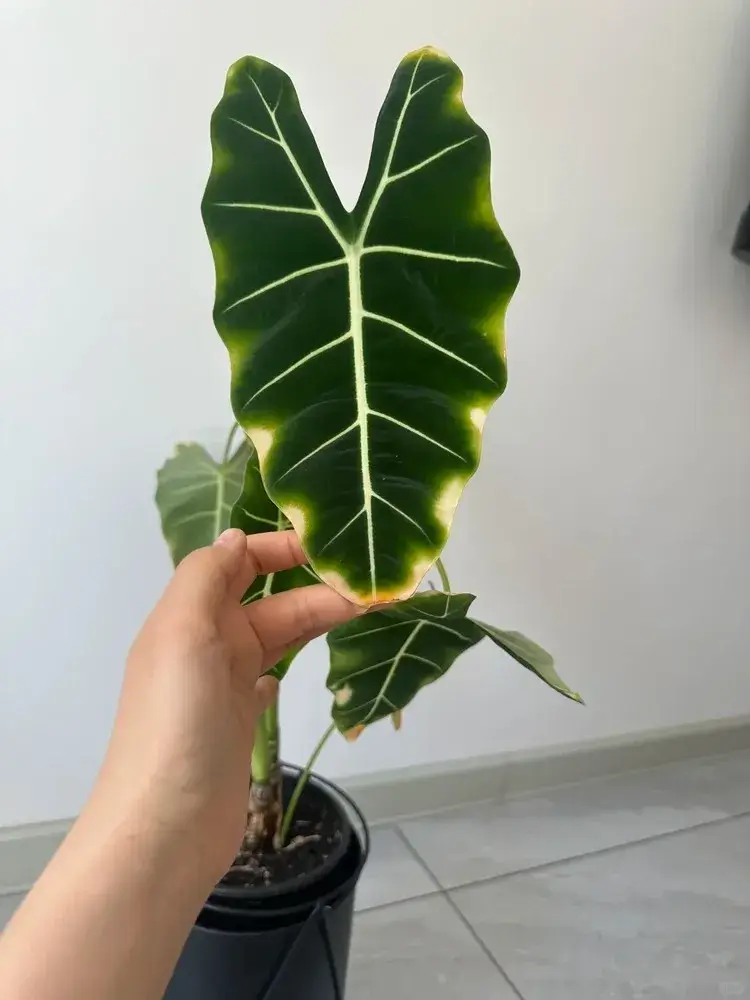
When the air is too dry, Alocasia leaves quickly show it — yellow or brown tips, curled edges, and a papery texture are classic signs. These tropical plants evolved in rainforest understories, where humidity stays above 70%. Indoors, dry air from heaters or air conditioners can cause rapid moisture loss through the leaves, especially in winter.
How to fix it:
- Keep relative humidity between 60–80% — your Alocasia will thank you with lush, glossy leaves.
- Use a humidifier near the plant, ideally with a small fan to keep air moving and prevent stagnation.
- Avoid “wet but still air” setups — high humidity without ventilation easily leads to fungal problems.
- For short boosts, group plants together or place the pot on a pebble tray with water below (not touching roots).
💬 My note: “High humidity plus steady airflow — that’s my secret formula against yellow tips. My Dragon Scale hasn’t had a crispy edge since I started running a humidifier and fan together.”
Cause #6: Nutrient Deficiency
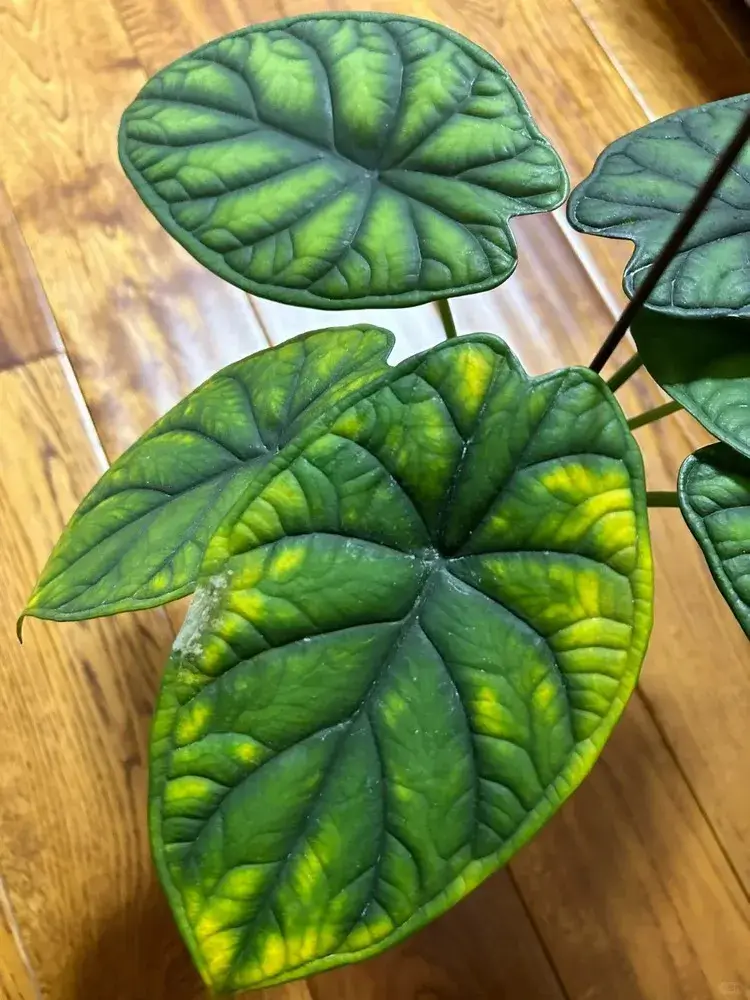
If your Alocasia’s leaves turn uniformly pale yellow while the veins stay green, it’s often a sign of nutrient deficiency — usually nitrogen or magnesium. This happens when the plant’s soil mix has aged, nutrients have been flushed out by watering, or the roots are too weak to absorb fertilizer properly.
During active growth (spring and summer), Alocasias are moderate feeders. Without enough nutrition, new leaves emerge smaller and older ones fade prematurely.
How to fix it:
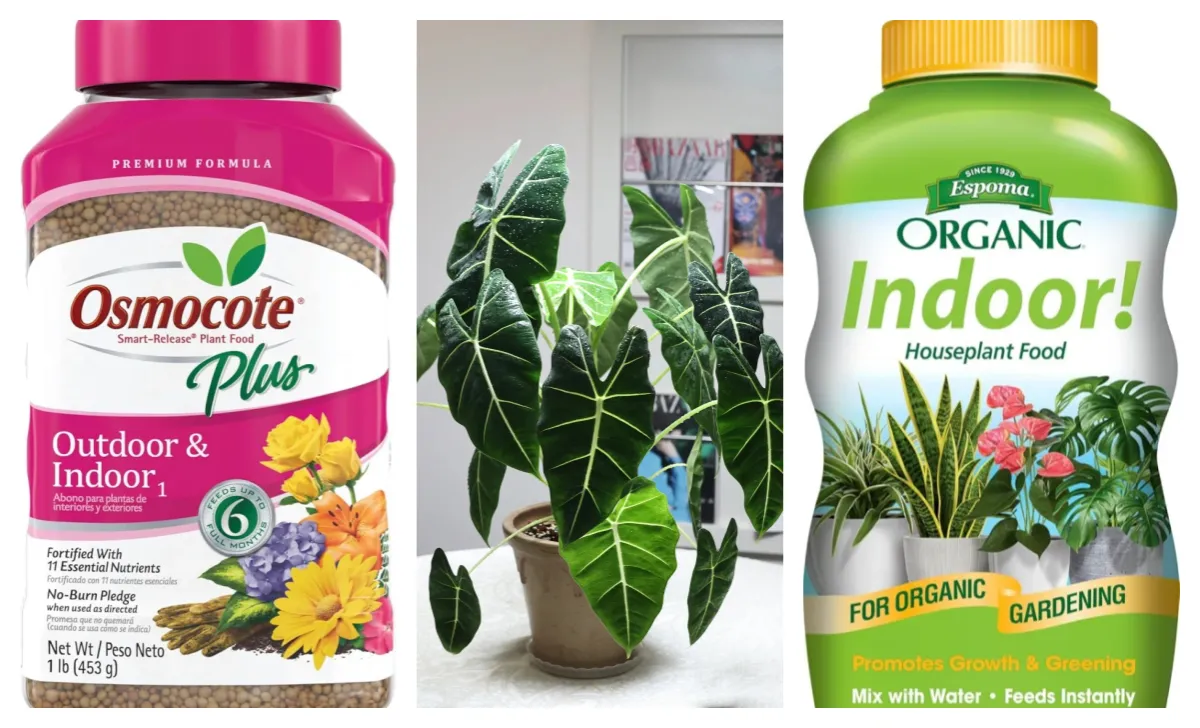
- Feed with a balanced, water-soluble fertilizer every 2–3 weeks during spring and summer, at half strength.
- Choose a blend that includes micronutrients like magnesium, iron, and calcium.
- Always water before fertilizing to prevent root burn.
- Avoid overdoing it — too much fertilizer can damage delicate roots as easily as too little.
💬 My note: “I used to think more fertilizer meant faster growth, but my Alocasia taught me restraint — balance is the secret to steady, vibrant leaves.”
🔗 Related guide: Best Fertilizer for Alocasia: Feed for Healthy Growth
Cause #7: Natural Leaf Aging
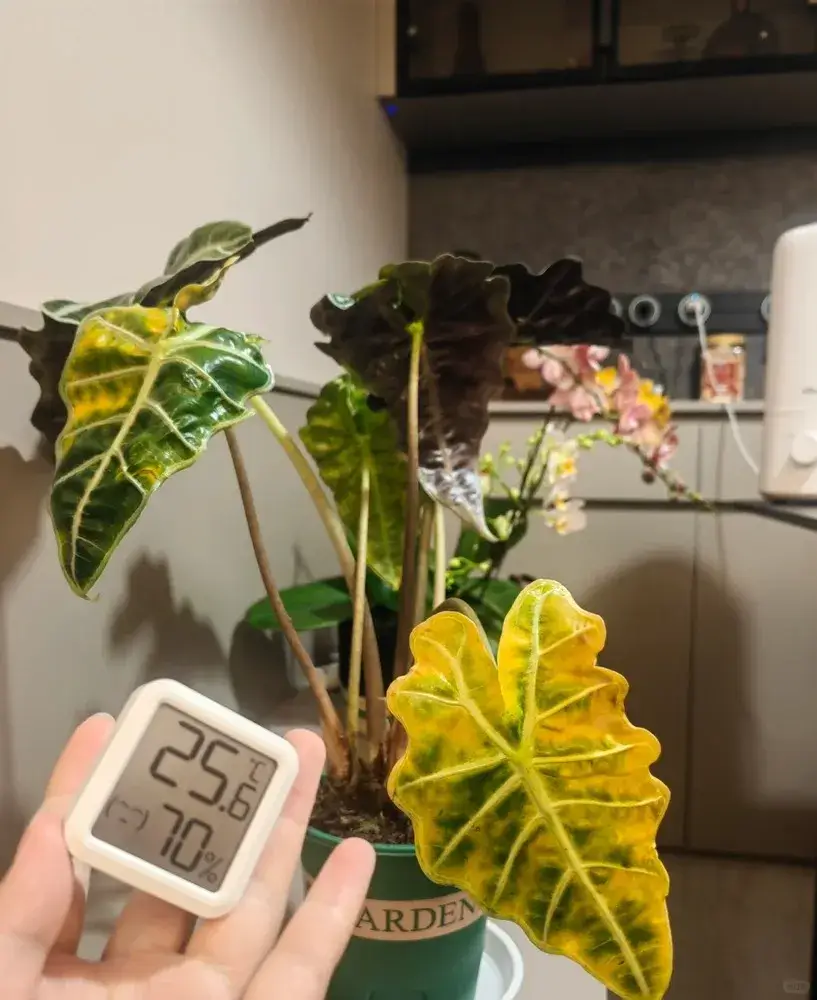
Not every yellow leaf is a cry for help — sometimes, it’s just part of the plant’s natural rhythm. As Alocasia matures, older leaves near the base will gradually yellow and dry out to redirect nutrients to new growth above. This process is completely normal, especially when you notice a fresh leaf unfurling at the same time.
How to recognize it:
- Yellowing starts from the oldest, bottom leaves while newer ones stay healthy and green.
- The leaf will slowly fade, crisp, and detach with minimal resistance — a sign of natural aging, not disease.
What to do:
- Don’t rush to cut it off. Let the leaf dry fully; removing it too early can stress the plant.
- Once it’s completely wilted, trim it cleanly at the base.
- If every yellow leaf comes with a new one, you’re right on track — it means your Alocasia is actively growing and renewing itself.
💬 My note: “Each time an old leaf dies, a new one takes its place — that’s the rhythm of Alocasia. Learning to let go of yellow leaves taught me more about patience than any care guide ever could.”
What Yellow Leaves Teach You
When you’ve figured out why your Alocasia leaves turned yellow, the next step is to build a simple, repeatable care rhythm — one that keeps your plant in balance year-round.
| Routine | Ideal Range | Why It Matters |
|---|---|---|
| Light | 10,000–20,000 lux | Keeps leaves glossy and prevents fading |
| Water | Moist, not wet | Prevents root rot while maintaining hydration |
| Temperature | 20–30°C | Keeps growth steady and stops cold stress |
| Humidity | 60–80% | Prevents crispy tips and helps new leaves unfurl |
Alocasia isn’t fragile — it’s simply honest.
When its leaves turn yellow, it’s sending you a message about balance: too much love, too little air, or just time for renewal.
Once you learn to read those signs, you stop fearing yellow leaves — and start seeing them as part of the plant’s quiet rhythm of growth.
FAQ
If multiple leaves yellow at once, it’s likely due to light, water, or temperature stress.
Trouble with your Alocasia?
Find real fixes for yellow leaves, drooping stems, and root issues in our Problems Hub.
Go to Problems Hub →