The first time I realized my Alocasia had a thrips problem, I did not find the insect first. I noticed the damage before I understood what was happening.
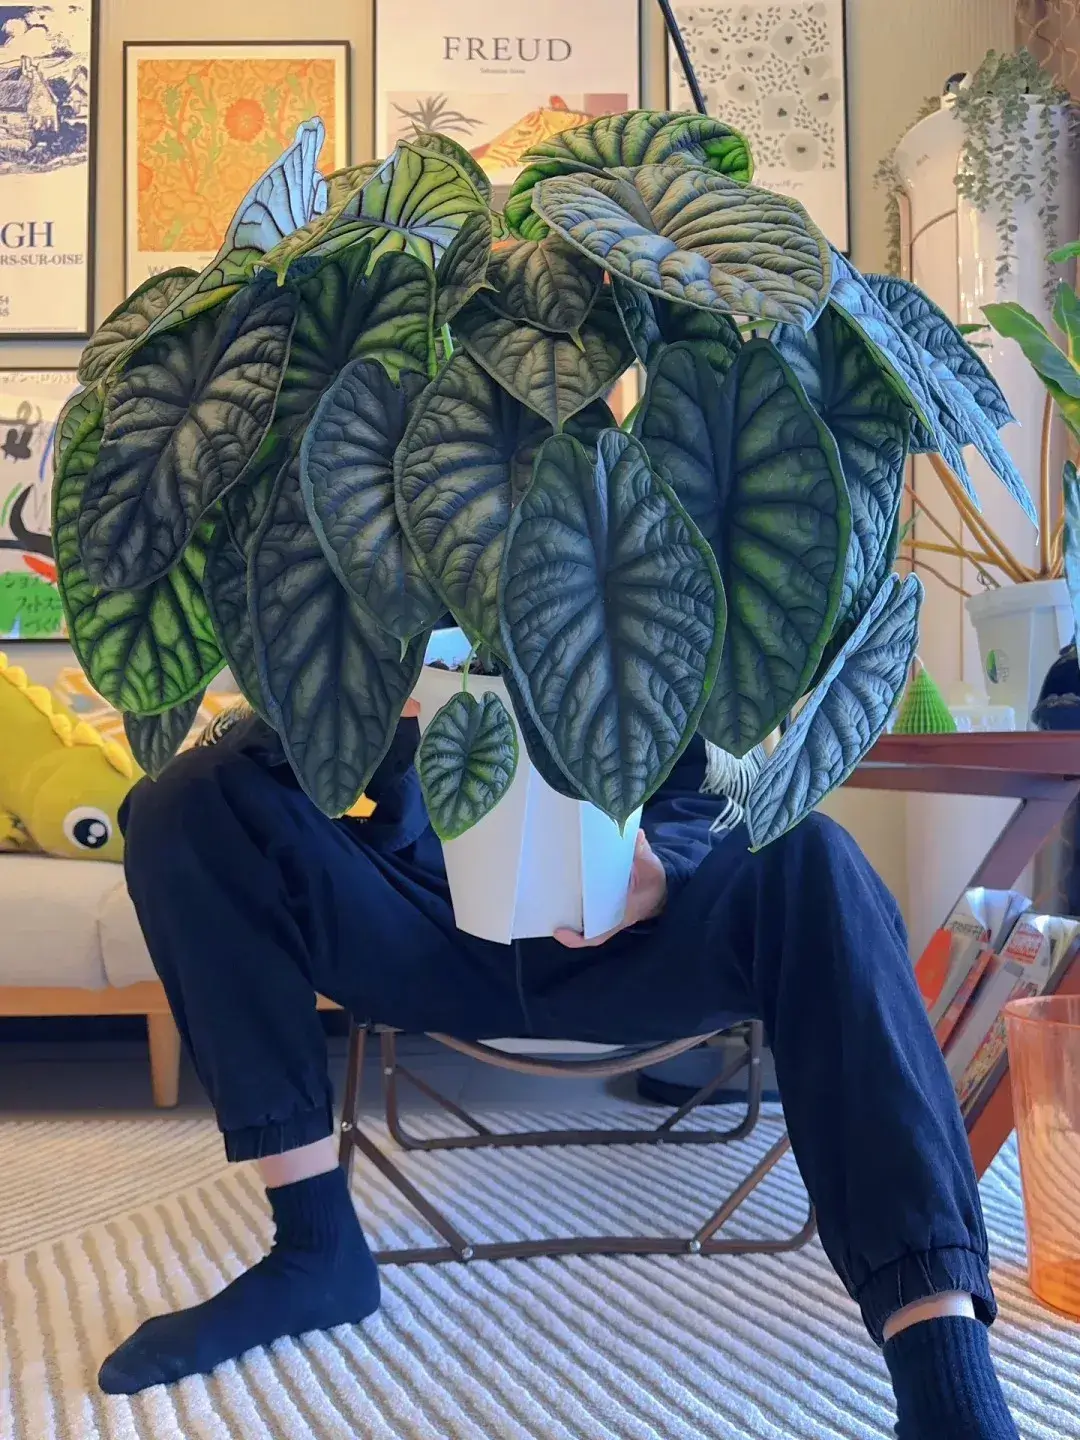
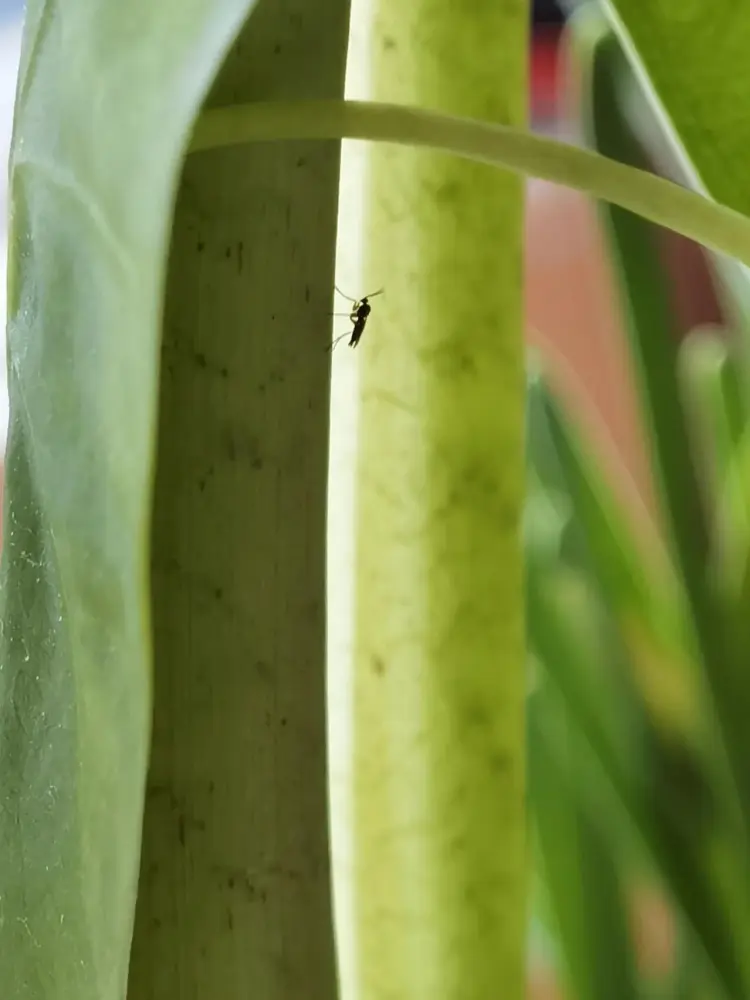
One weekend afternoon, I was checking my Green Velvet Alocasia after lunch when I suddenly noticed a tiny black insect flying around the plant. It looked almost like a small gnat, but something about the movement made me want to take a closer look.
I managed to catch one, but another disappeared before I could get it. After connecting this with the small marks that had already appeared on my Alocasia leaves, I started checking the plant more carefully and realized I was likely dealing with thrips.
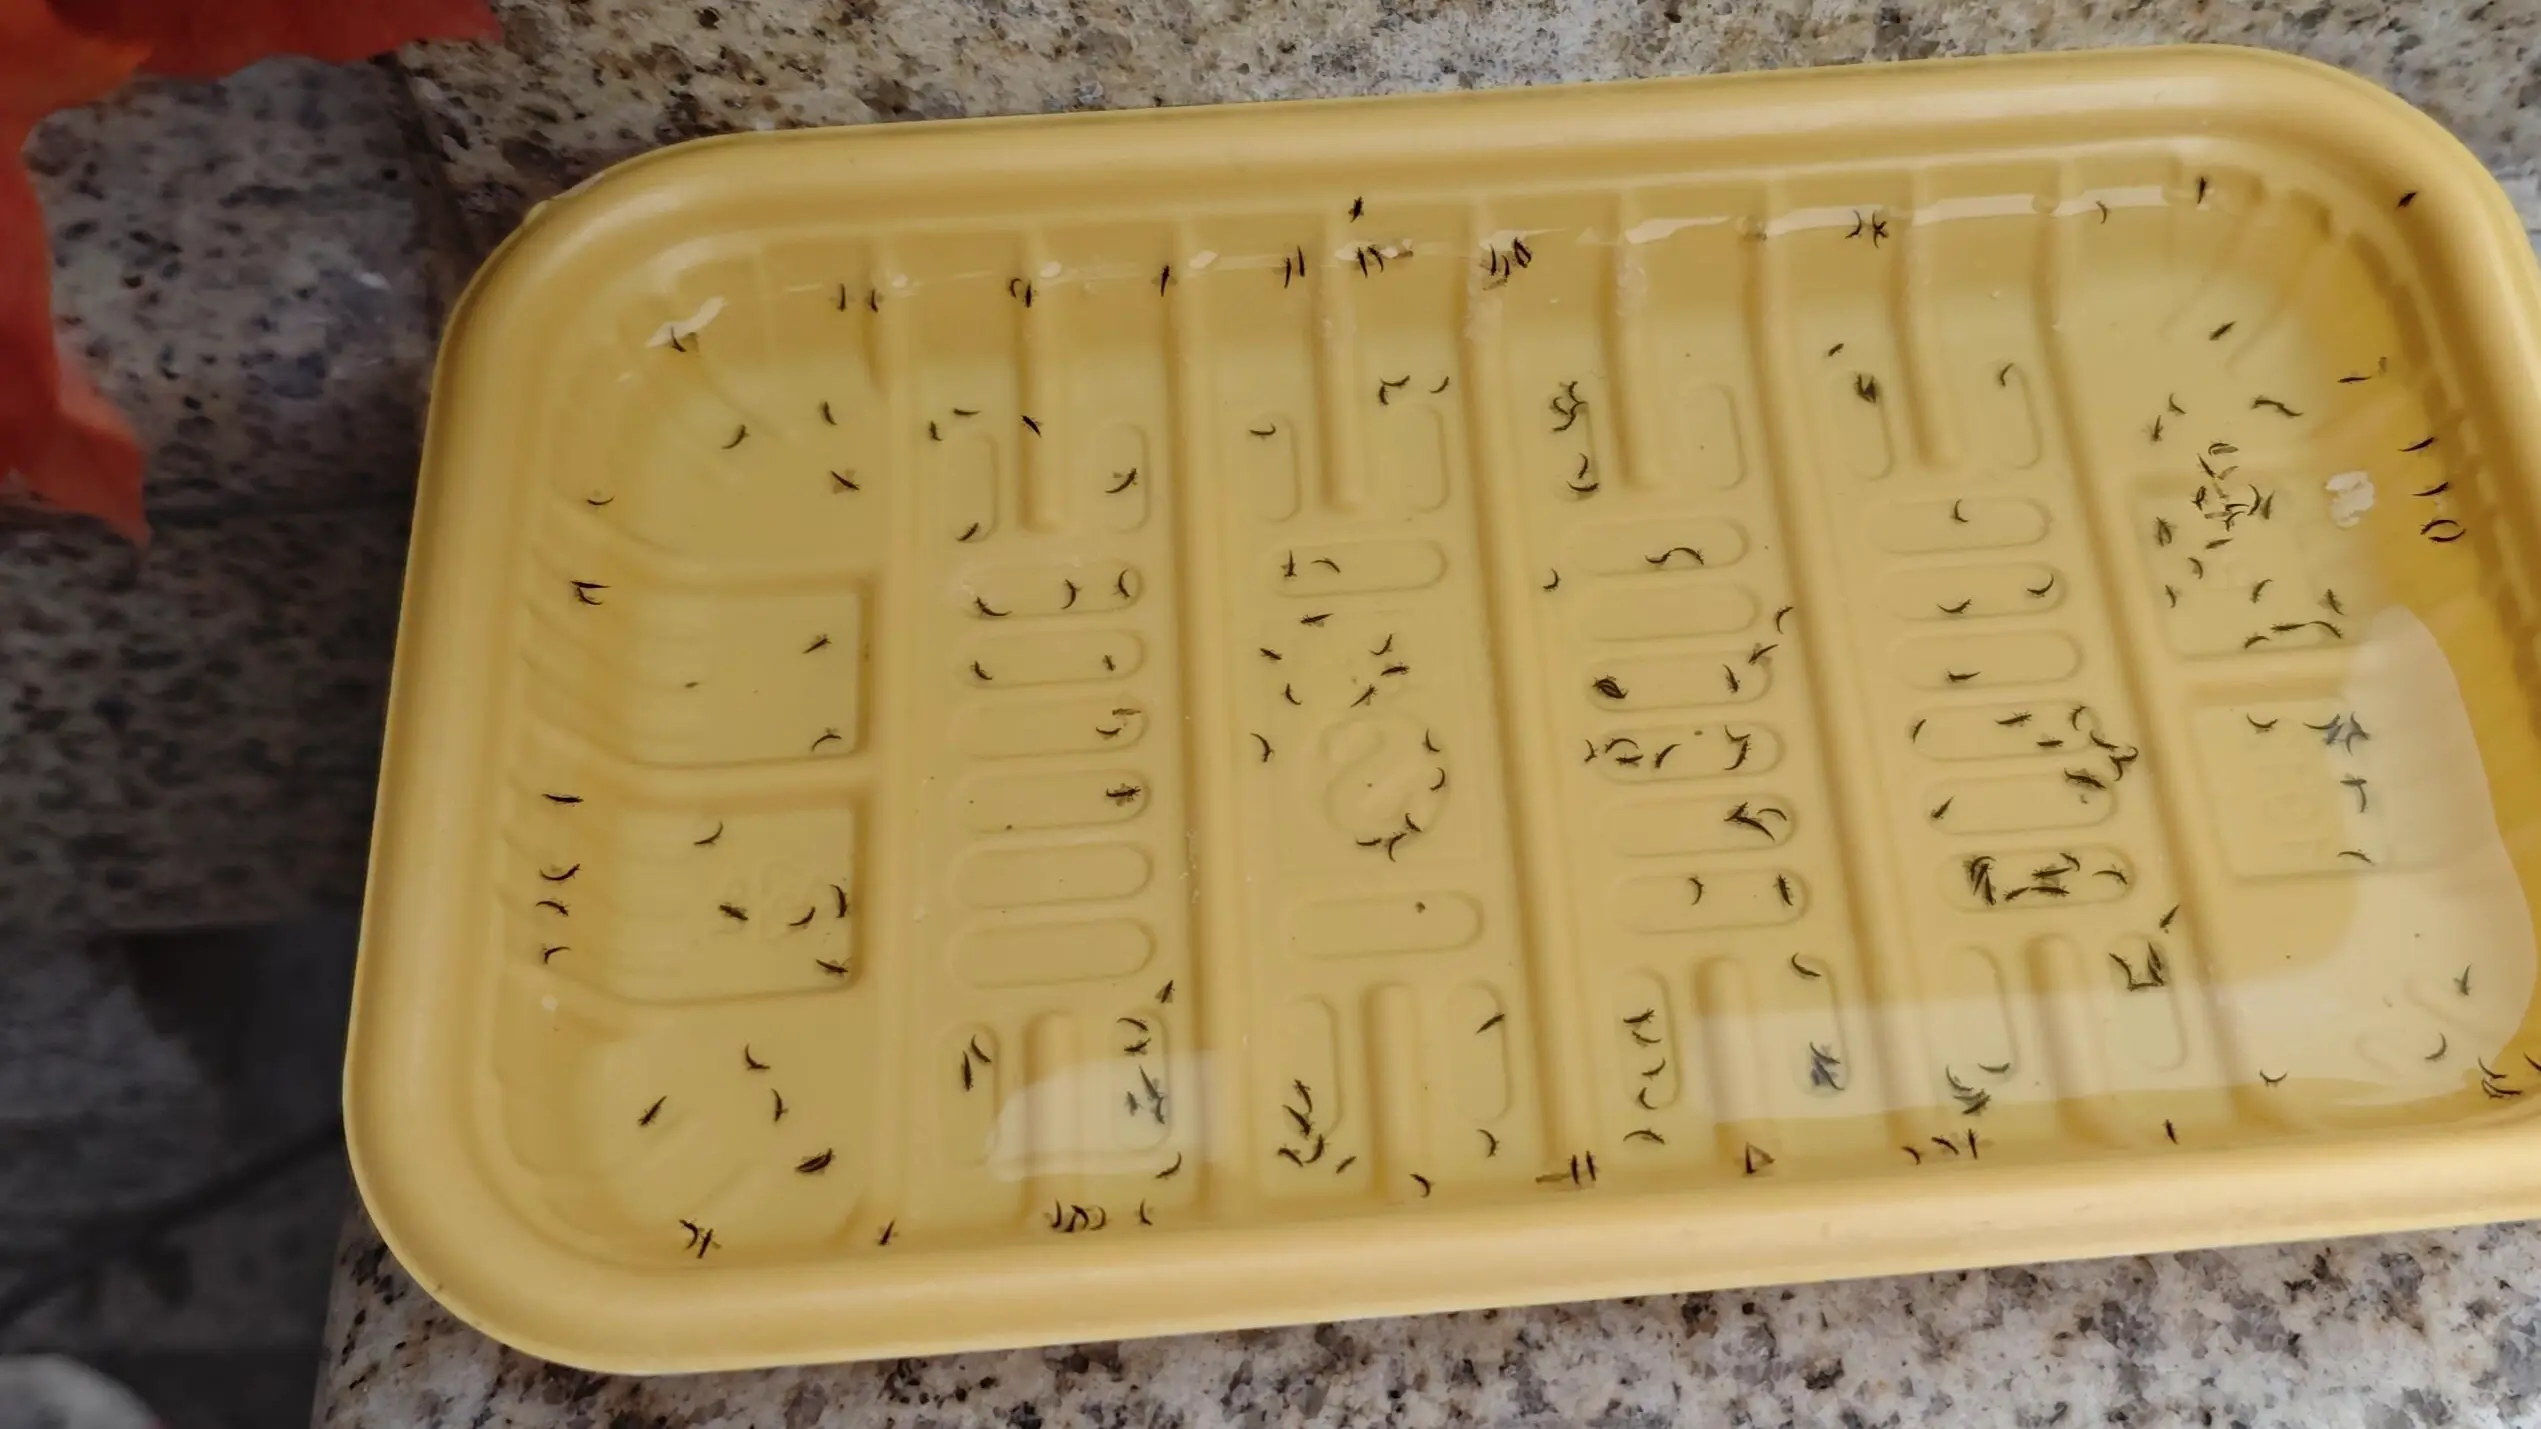
While waiting for a pest treatment to arrive, I tried a simple yellow water trap using a container, water, and a small amount of dish soap. I was honestly surprised by the result — within half a day, I had caught far more insects than I expected.
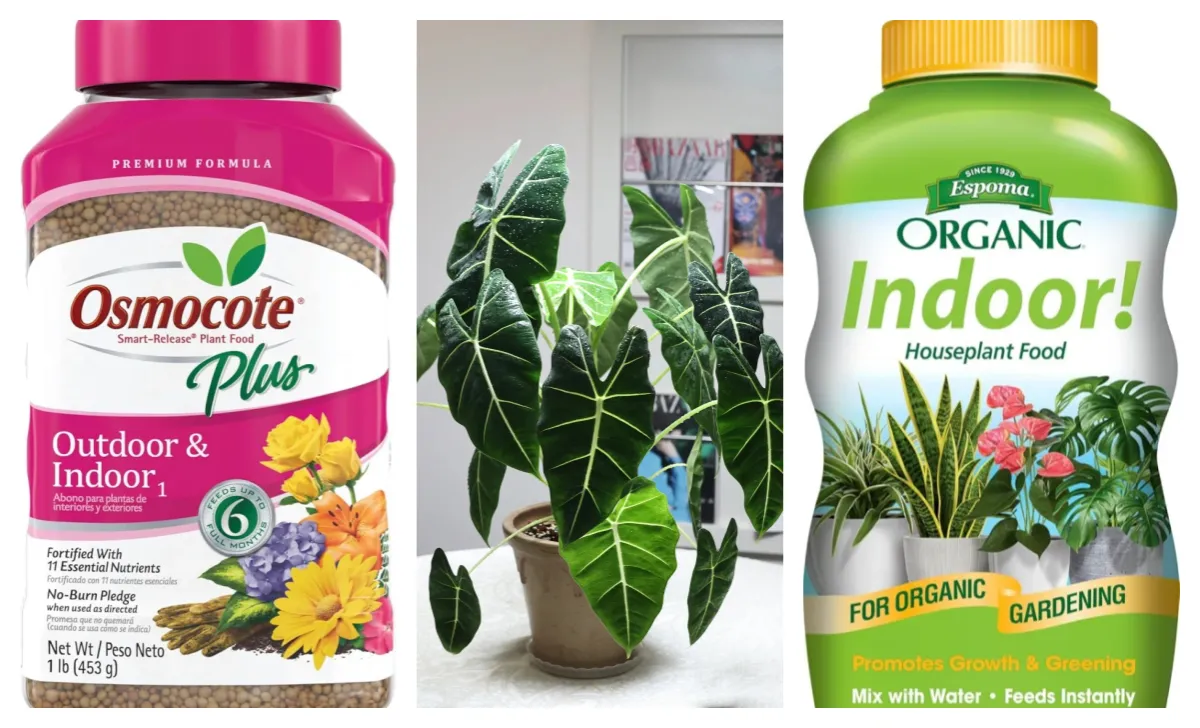
That experience changed how I deal with thrips on Alocasia. I no longer focus only on visible leaf damage. I check hidden areas, reduce the pest population first, and then use targeted treatments when needed. I also keep a few reliable Alocasia pest control products ready because catching problems early makes treatment much easier. This happened to my own Green Velvet Alocasia. I first noticed small black insects around the plant, and after checking the leaves more carefully, I realized the damage was caused by thrips.
Quick Answer: What Should I Do If My Alocasia Has Thrips?
If I suspect thrips on my Alocasia, I do not start by spraying immediately. I first confirm the damage, reduce the number of visible insects, and then choose a treatment that I can repeat.
| Situation | What I do |
|---|---|
| Silver marks appear | Check new growth and leaf folds |
| I find a few thrips | Remove, clean, add traps |
| Damage continues | Use targeted treatment |
| Problem returns | Repeat inspection and adjust |
My rule is simple: confirm the pest, reduce the population, then keep checking. Thrips are easy to miss on Alocasia because they often hide where new growth is forming. Keeping the plant healthy with consistent basic Alocasia care also helps it recover after pest stress.
What Thrips Damage Looks Like on Alocasia
Thrips can be frustrating on Alocasia because the damage is often easier to notice than the insect itself. By the time I see the problem, the thrips may already be hiding in new growth or other protected areas of the plant.
The signs I pay attention to are not just one damaged spot. I look for a pattern across new leaves, older leaves, and the areas where the plant is actively growing. Similar-looking marks can also come from other issues, so I compare the symptoms with common Alocasia leaf spots and yellow marks before deciding on treatment.
Silver Scars and Scraped Leaf Surfaces
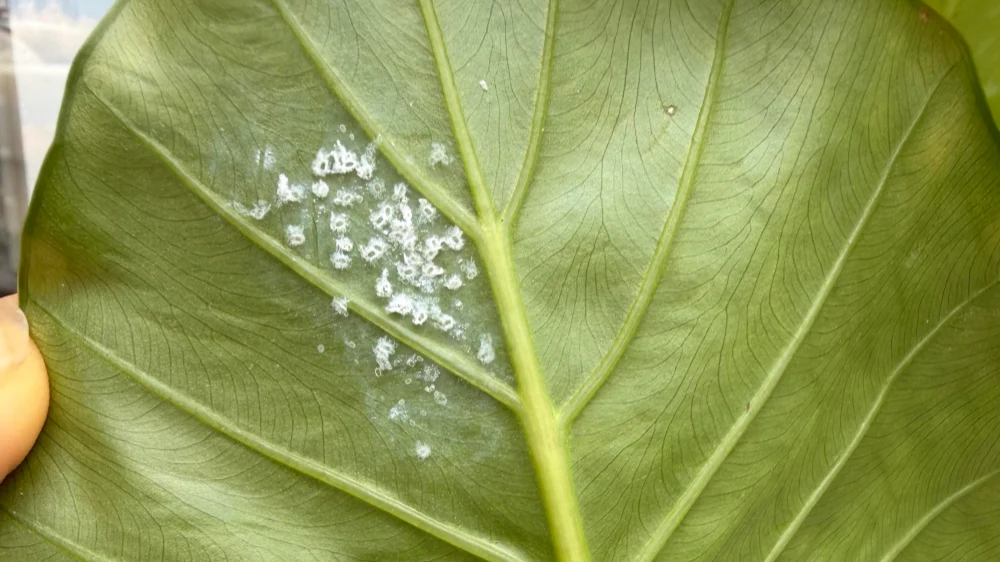
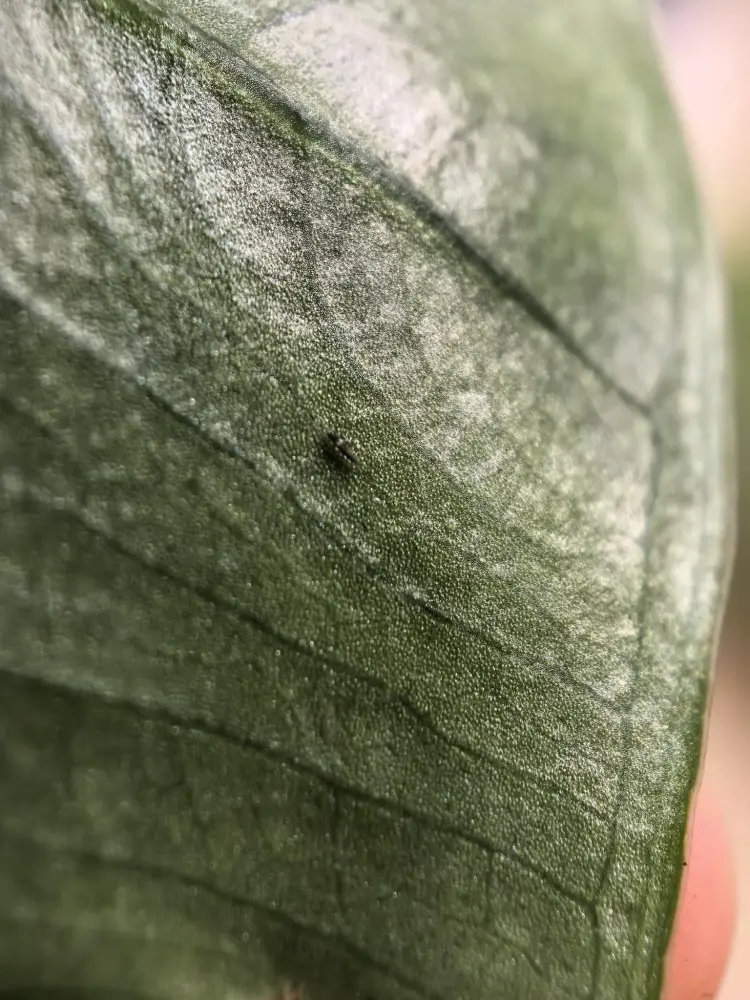
One of the most common signs I notice from thrips is silver or grayish scarring on the leaf surface. This happens because thrips feed by scraping plant tissue and removing the contents of the cells.
On Alocasia leaves, these marks can appear as thin silver streaks, patches, or areas that look faded compared with the healthy green tissue around them.
Distorted or Damaged Leaves
Thrips damage is often more obvious when a new Alocasia leaf starts to unfurl. This is why I always check whether the issue is pest-related or another growth problem, such as an Alocasia leaf not unfurling properly.
Older damage usually cannot be repaired. Once a leaf has developed scars while it was growing, those marks often remain even after the thrips are gone.
Problems Around New Growth
New leaves are the area I check first because thrips often hide where the plant is actively growing. I look inside folded leaves, around the petiole, and near the center of the plant where new leaves emerge.
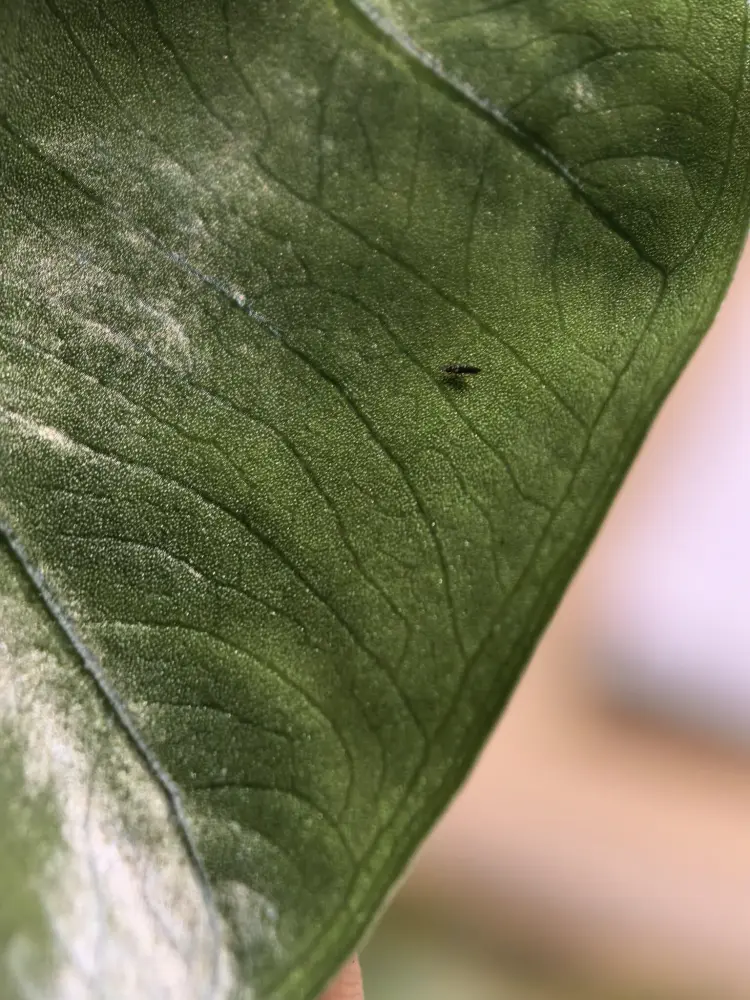
A damaged old leaf does not always mean the infestation is still active. What matters more to me is whether the next leaf opens cleanly and whether new damage continues to appear.
Where I Check for Thrips on Alocasia
One reason thrips are frustrating on Alocasia is that they are not always sitting on the open parts of the leaf. When I inspect a plant, I focus on the areas where they can hide while the plant is producing new growth.
A quick look at the top of the leaves is usually not enough. I check these areas first:
New Leaves
New leaves are the first place I check because thrips are attracted to fresh, soft growth. Before a leaf fully opens, it can provide a protected space where insects can feed without being easily noticed.
If a new Alocasia leaf opens with unusual scars, distorted edges, or damage that was already present when it unfurled, I inspect it carefully before assuming the problem is caused by watering or light.
Leaf Folds
The folded parts of Alocasia leaves are easy to overlook. I gently check areas where the leaf is still curled or where two surfaces are touching because small insects can stay hidden there.
I avoid forcing open a tightly rolled leaf because damaging a new leaf can create another problem. If I suspect thrips, I inspect carefully and let the leaf continue developing whenever possible.
Petiole Joints and New Growth Points
I also check where the petiole connects to the plant and where new leaves emerge from the center. These areas are easy to miss during a normal watering routine but are exactly where I want to look when a plant shows unexplained damage.
Leaf Undersides
Finally, I always turn the leaf over and check the underside. Thrips are not the only pest that hides in these areas, so I also keep an eye out for signs of spider mites on Alocasia, especially when leaves look stressed.
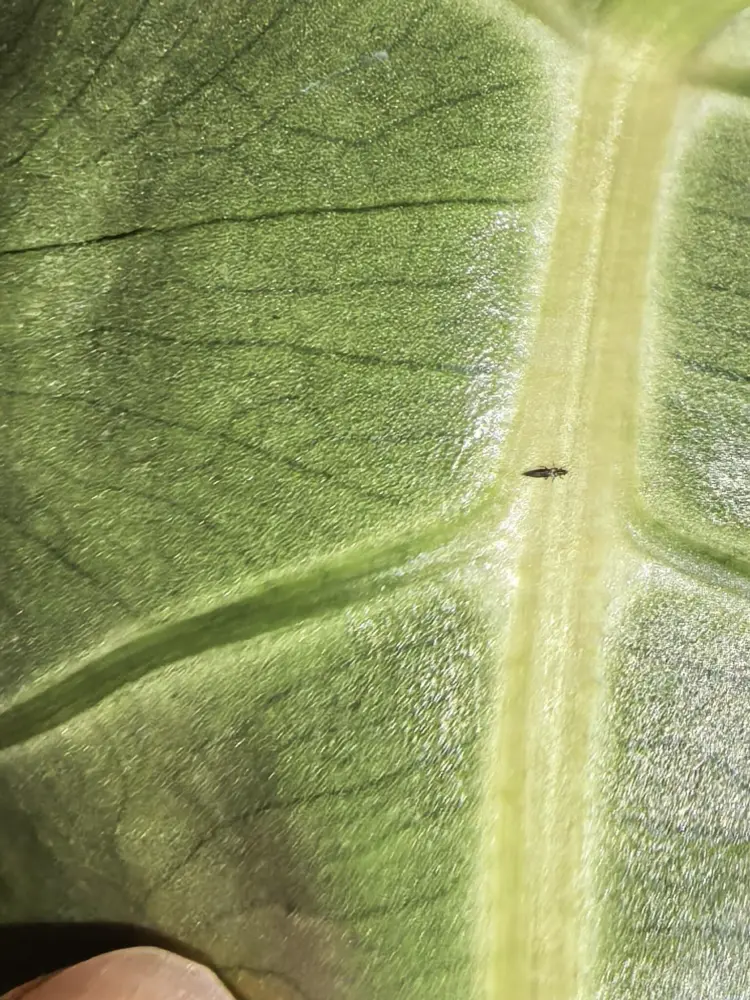
I do not try to find every insect before taking action. My goal is to confirm the pattern, understand where the activity is happening, and then choose a treatment that matches the situation.
How I Reduce Thrips Before Using Sprays
When I find thrips on an Alocasia, I do not immediately cover the plant with sprays. Before using any treatment, I first try to reduce the number of insects I can remove or catch.
This does not completely solve a thrips problem by itself, but lowering the population makes follow-up treatments more effective and gives me a clearer picture of whether the problem is improving.
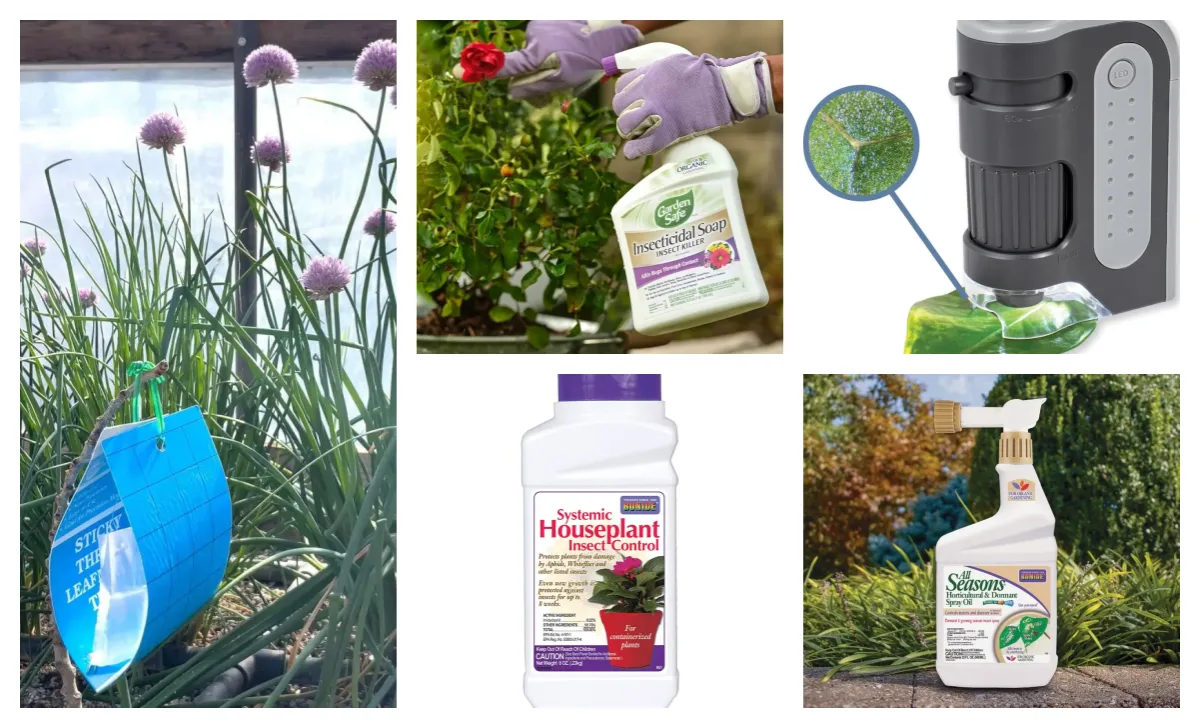
Sticky Traps Help Me Monitor Adult Thrips
The first tool I usually add is a sticky trap near the affected Alocasia. I mainly use it to monitor activity and reduce flying adults, rather than expecting it to eliminate the infestation.
If I continue catching new thrips after cleaning or treatment, that tells me the problem is still active. If the traps stay clear while new leaves grow normally, it is a good sign that the population is decreasing.
Leaf Washing Helps Remove What I Can See
For Alocasia, I also like physically cleaning the plant before reaching for stronger products. I gently rinse or wipe the leaves, especially the underside, new growth, and areas around the petiole.
After pest problems, I also pay attention to the plant’s growing conditions. Weak growth can make recovery slower, so I check whether my setup provides enough light for Alocasia growth.
The Yellow Water Trap I Tested
The first time I tested this method was while waiting for my pest treatment to arrive. I had already noticed small black insects around my Green Velvet Alocasia, but I wanted a way to reduce the adult population immediately.
I placed a yellow container filled with water and added a small amount of dish soap next to the plant. I did not expect much from such a simple setup.
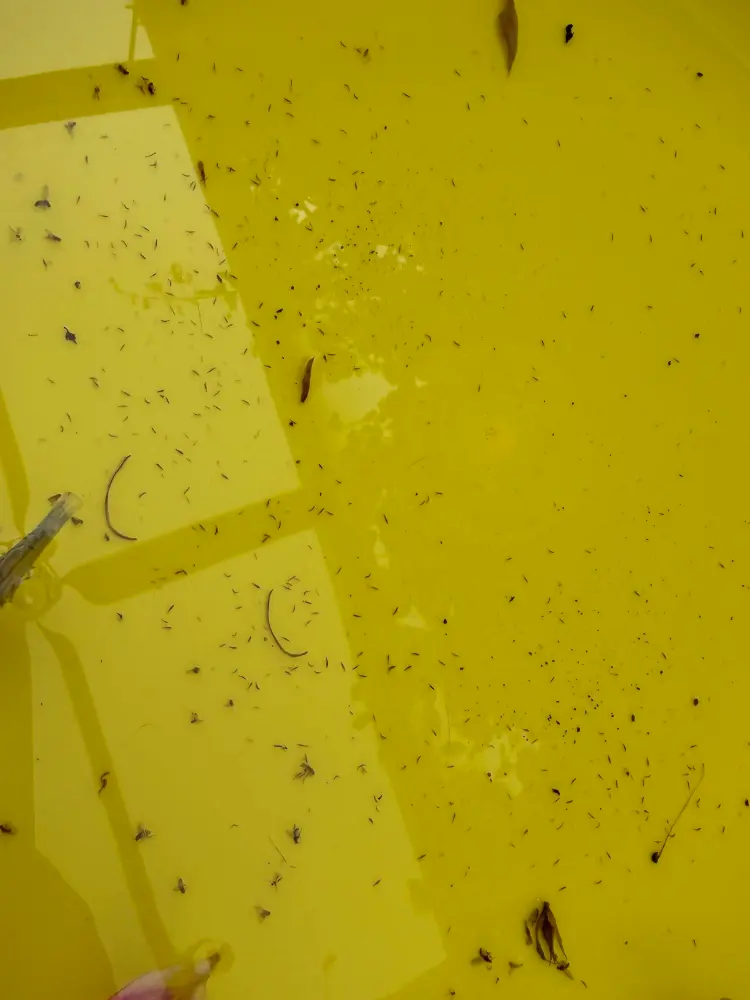
What surprised me was how quickly it worked. After only half a day, I found many tiny insects trapped in the water. Seeing them there made me realize the infestation was larger than what I could see during a normal inspection.
Products I Would Use for Thrips on Alocasia
Because my first experience started with catching adult thrips before the spray arrived, I now prefer to think about thrips control in stages instead of immediately using the strongest product.
These are the products I would consider for different situations. I also keep a longer list of options in my Alocasia pest control product guide if you want to compare different treatments.
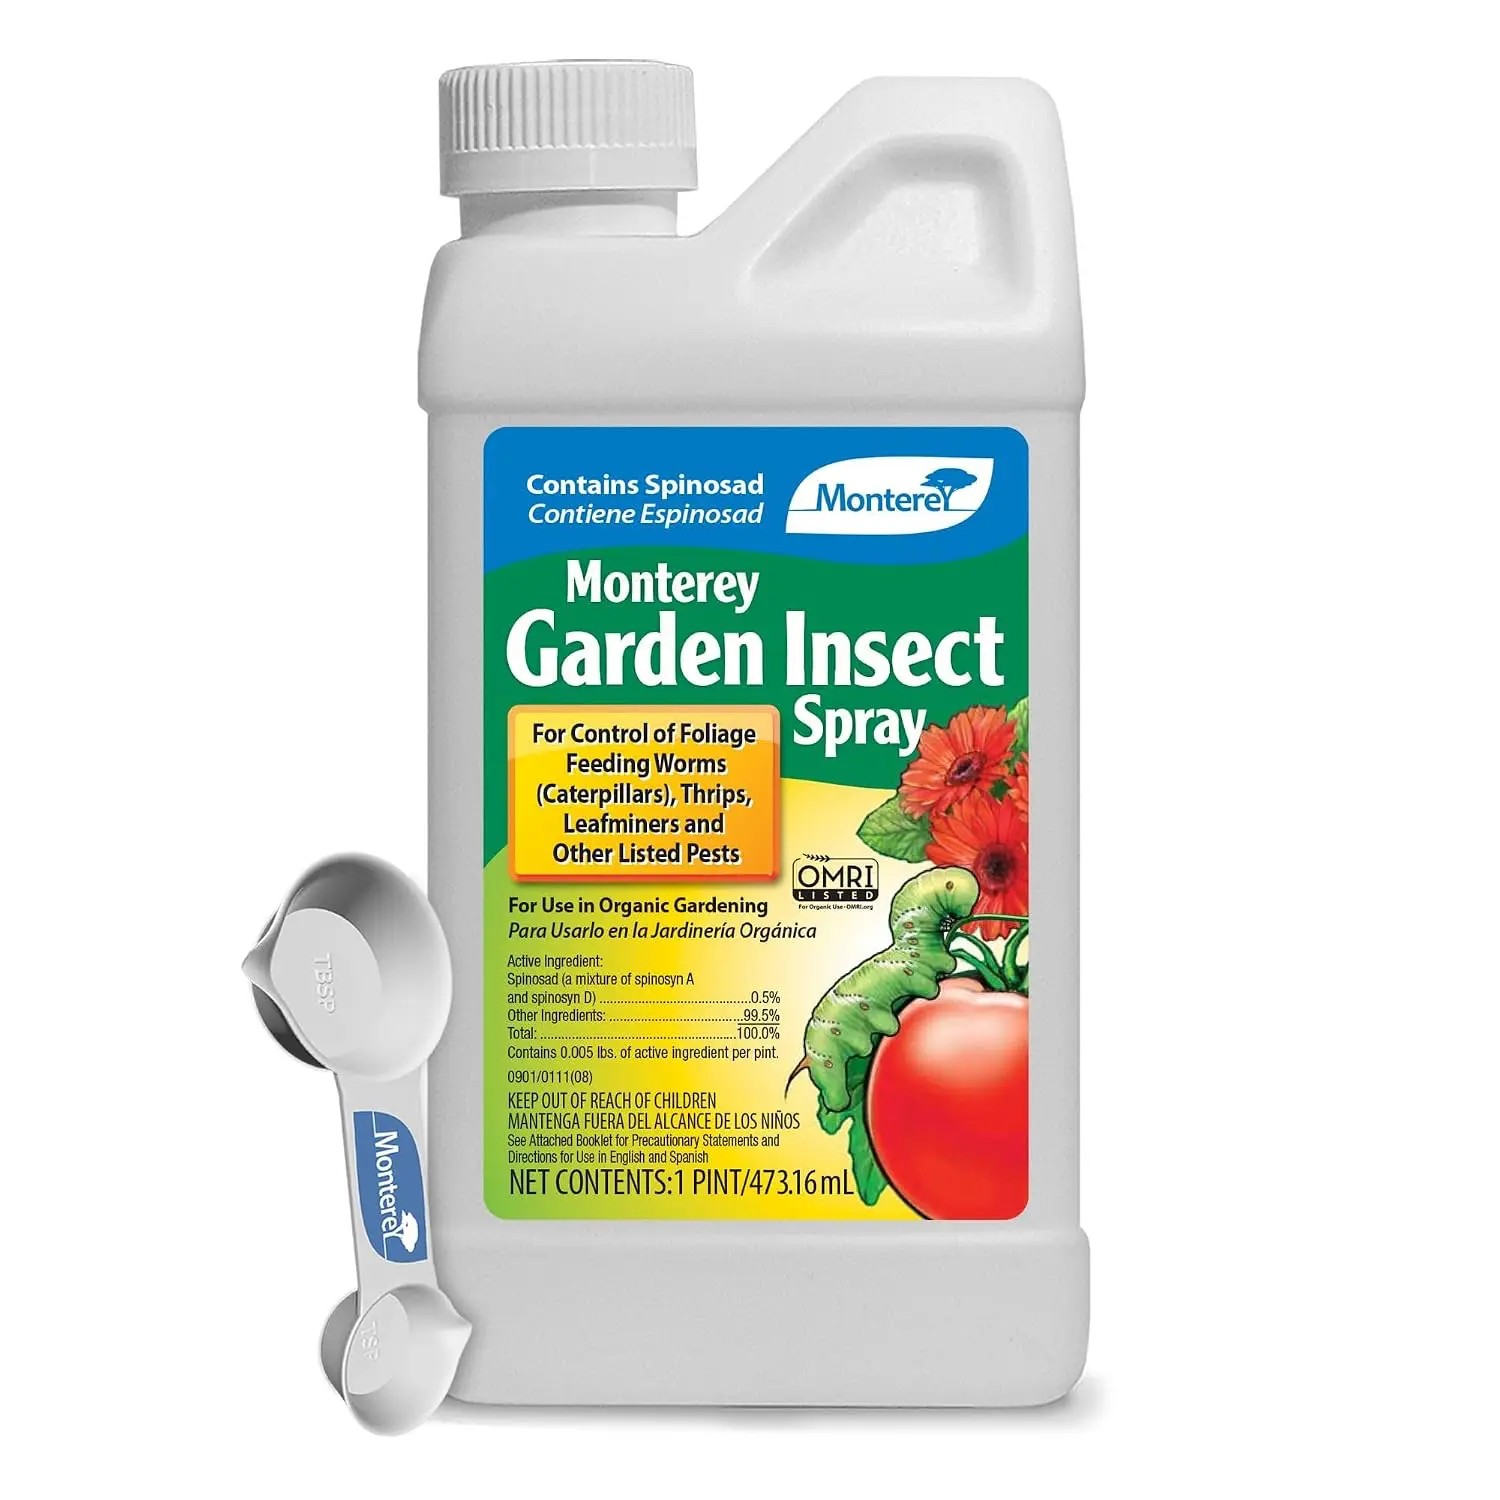
Monterey Garden Insect Spray
Use for:
Alocasia with visible thrips damage, including silver scars, distorted new leaves, and insects hiding around new growth.
Why I would choose it:
This is the product I would reach for when thrips are actively damaging my Alocasia. It contains spinosad, an ingredient commonly used for controlling thrips, and works better for an active infestation than relying only on surface cleaning.
Remember:
Spray coverage matters. I focus on leaf undersides, folded new leaves, petiole joints, and other areas where thrips like to hide.
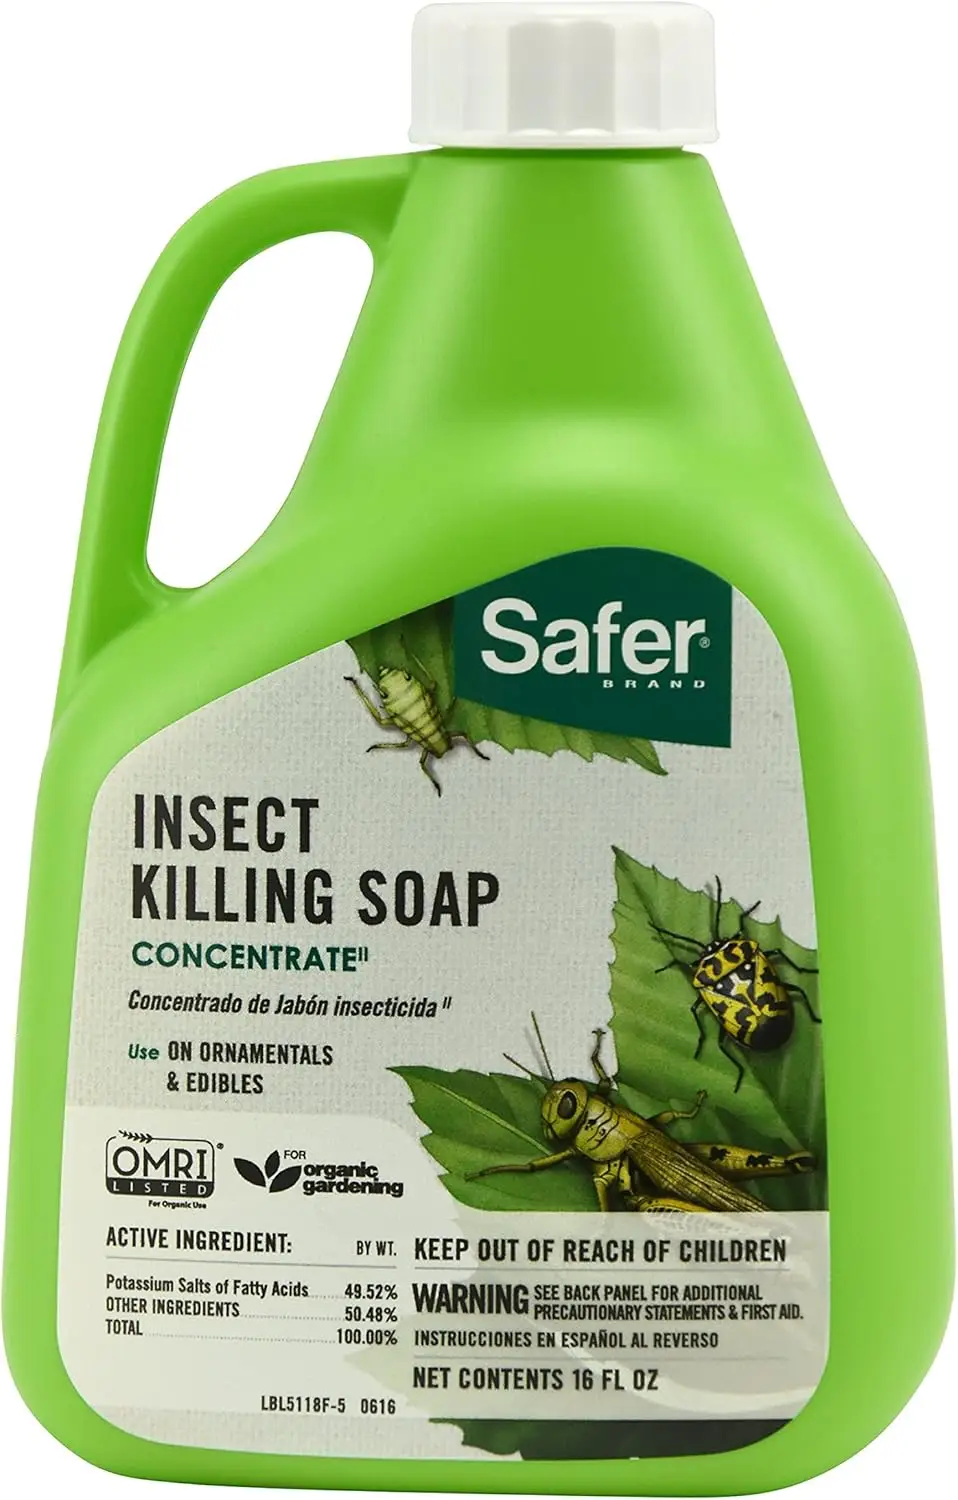
Safer Brand Insect Killing Soap
Best for:
Early thrips problems or situations where I only find a small number of insects.
Why I would choose it:
For a stressed Alocasia, I prefer starting with a gentler option. It fits well with a repeat-inspection approach because I can treat the plant while continuing to watch new growth.
How I use it:
I spray carefully around the areas where thrips hide, especially leaf folds, petiole joints, and the underside of leaves.
Remember:
Contact sprays only work when they reach the insect, so thorough coverage matters.
How I Repeat Treatment Without Chasing Thrips Forever
One of the easiest mistakes with thrips is treating once, seeing fewer insects for a few days, and assuming the problem is gone. With Alocasia, I prefer to watch the plant and adjust based on what I see.
I do not follow a fixed spray routine just because a calendar says it is time. Instead, I focus on three steps:
First Treatment
When I start treatment, I focus on good coverage rather than using more product. I check new growth, leaf folds, petiole joints, and leaf undersides because those are the areas where thrips are easiest to miss.
Check Again
After treatment, I continue checking the plant instead of assuming the first application solved everything. I look for new damage, active insects, and whether the next leaf is developing normally.
Repeat According to the Product Label
If thrips activity continues, I repeat treatment according to the product label rather than increasing the concentration or mixing different products together.
For me, the goal is not to keep spraying an Alocasia forever. The goal is to interrupt the infestation cycle long enough for the plant to return to healthy growth.
Signs My Alocasia Is Recovering From Thrips
I do not judge recovery by whether old damaged leaves become perfect again. Thrips scars usually remain, even after the infestation is under control.
The signs I look for are:
- New leaves open with fewer marks. Clean new growth is one of the best signs that the plant is moving in the right direction.
- Damage stops spreading. If new leaves are no longer showing fresh scars or distortion, the treatment is likely helping.
- Fewer insects during inspections. I continue checking the usual hiding places until I am confident the activity has decreased.
With Alocasia, I pay more attention to the next leaf than the damaged leaves from the past. New growth tells me much more about the plant’s current condition. If recovery seems slow, I also check basic issues like root health and watering habits.
What Thrips Changed About My Alocasia Care
Dealing with thrips changed the way I look at Alocasia problems. Before, I focused mostly on fixing visible damage. Now, I pay more attention to finding the cause early and watching how the next growth develops.
I also learned that one treatment is rarely the whole solution. Reducing the pest population, checking hidden areas, and repeating the process when needed works better than searching for one product that solves everything.
For Alocasia, my goal is not to keep every old leaf looking perfect. It is to protect the growing point, encourage healthy new leaves, and create conditions where the plant can recover.