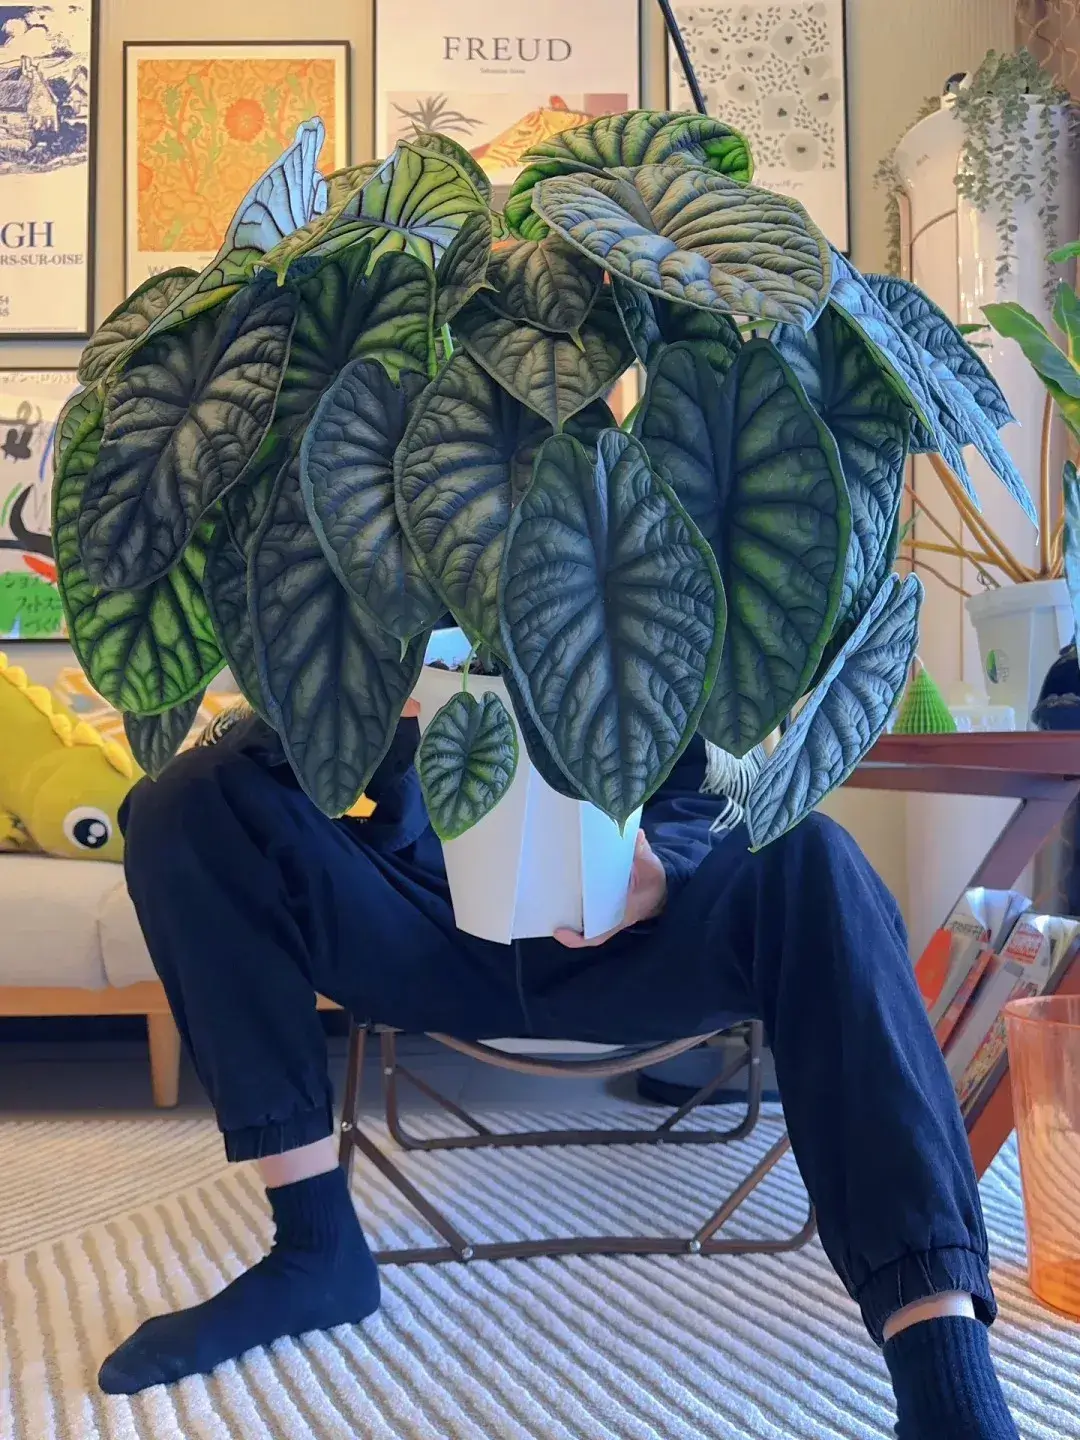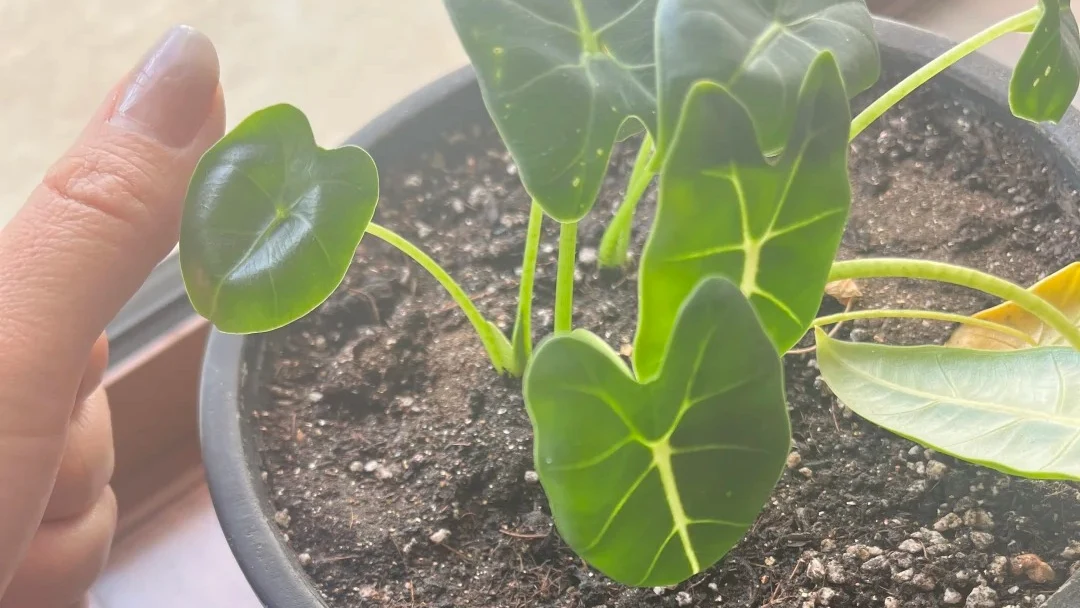
When I first brought home an Alocasia, I thought I was prepared. I had the pot, the light, the fertilizer — and yet, within two months, the leaves began to yellow and the roots turned mushy. It wasn’t neglect that killed it. It was too much love, trapped in the wrong soil.
That moment taught me a lesson every Alocasia grower eventually learns: this plant isn’t “difficult” — it’s systemic. Each element — light, water, soil, temperature, humidity, and feeding — connects like gears. Miss one, and the rest fall out of sync.
In this guide, I’ll walk you through how to care for Alocasia not by memorizing rules, but by understanding its rhythm — what it needs, when it rests, and how it breathes. Everything you’ll read here comes from real experience growing these tropical giants through Portland’s cloudy winters and unpredictable humidity.
Because Alocasia care isn’t about perfection.
It’s about learning how to let the plant thrive — and sometimes, how to stop getting in its way.
System 1 — Light: The Foundation of Growth
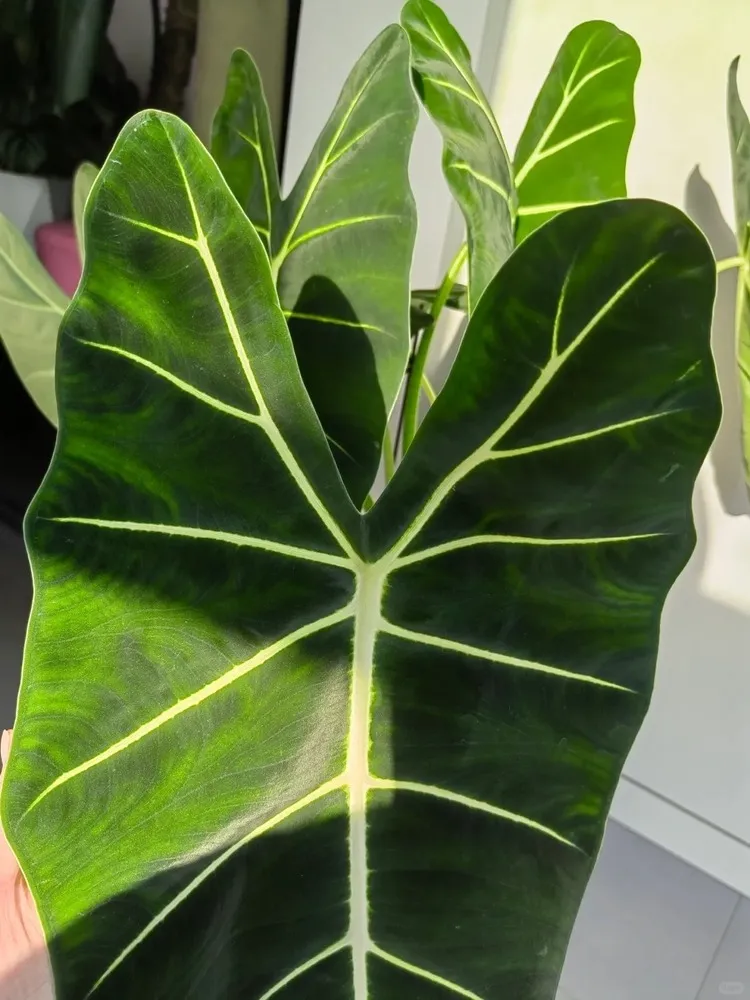
Alocasia comes from the tropical understory of Southeast Asia, where it receives strong but filtered light all year — roughly 10,000 to 20,000 lux. That’s why the plant can be both light-hungry and light-sensitive at the same time.
Many growers misunderstand this balance. “Avoid direct sunlight” doesn’t mean “keep it in shade.”
In fact, too little light is one of the main reasons Alocasias stay small, lose leaf color, or stop producing new growth.
| Light Level | Placement | Suitable Varieties | Notes |
|---|---|---|---|
| High bright (15,000–25,000 lux) | South or southeast window with sheer curtain | Zebrina, Sarian | Larger leaves and upright stems; avoid direct mid-day sun. |
| Medium bright (8,000–15,000 lux) | East or bright north window | Dragon Scale, Silver Dragon | Ideal for textured-leaf species that can scorch easily. |
💬 From my own experience in Portland:
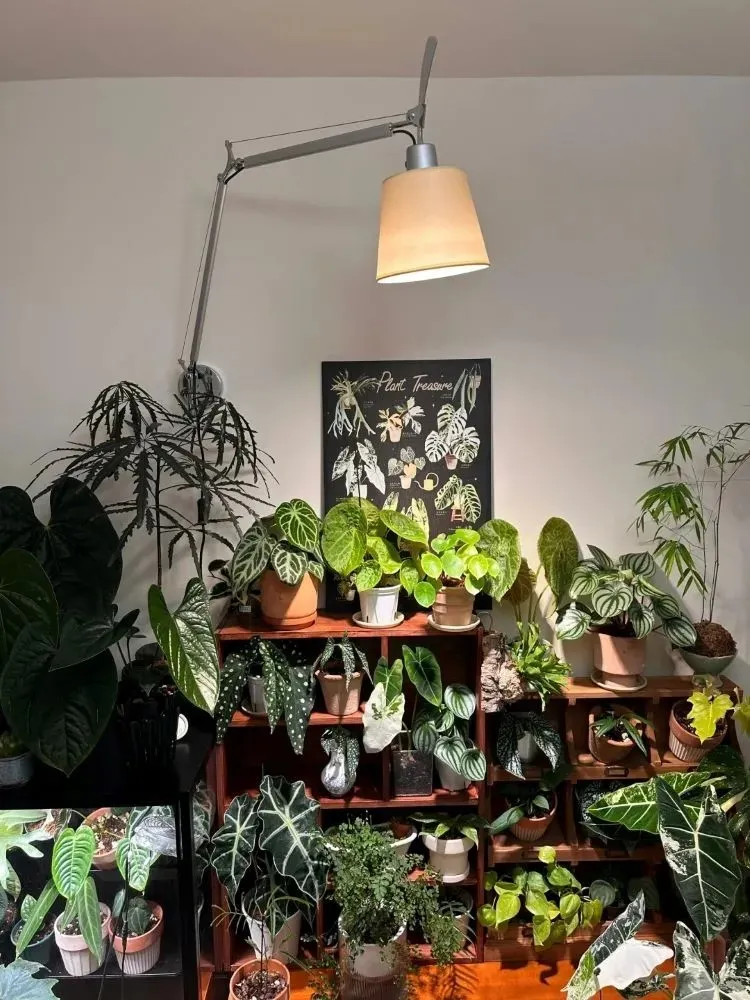
Winters here are long and gray — natural light can drop below 5,000 lux indoors. I run a 4000K full-spectrum LED for about 10 hours a day. It keeps my Dragon Scale opening new leaves even when daylight lasts only 8 hours.
👉 For a deeper dive into intensity ranges, seasonal light shifts, and grow-light setups, see our full guide:
Alocasia Light Requirements: Natural Sun vs. Grow Lights →
System 2 — Water: The Art of Balance
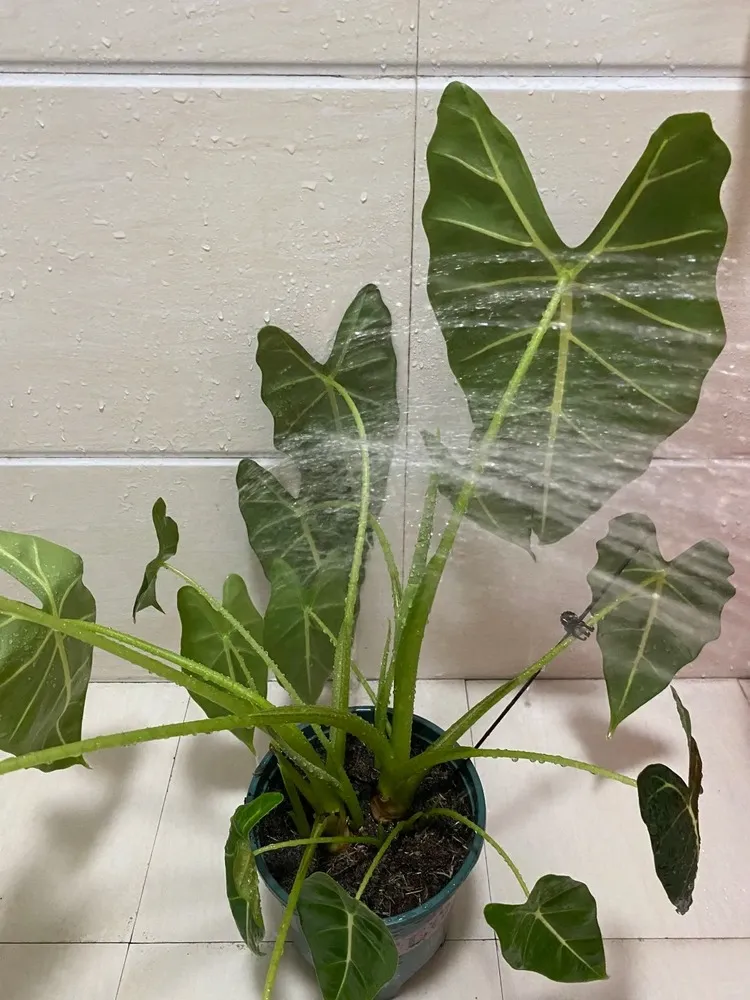
If light determines how your Alocasia grows, water decides whether it survives.
The rule is simple — yet hardest to master: keep the soil slightly moist, never wet.
Alocasias like consistency, not saturation. Their fleshy roots and corms store water naturally, so constant moisture around them cuts off oxygen and leads to rot. In other words, they love humidity, not puddles.
There are two broad watering personalities among Alocasias:
- Non-Rhizomatous (Moisture-Loving) types — like Sarian, Green Shield, or Pink Dragon — enjoy evenly moist soil and don’t like drying out completely.
- Rhizomatous (Rock-Dwelling) types — such as Dragon Scale, Jacklyn, Melo, or Black Velvet — need the soil to dry almost fully before the next watering.
| Season | Method | Interval | Note |
|---|---|---|---|
| Summer (active growth) | Soak or edge watering | Every 7–10 days | Ensure good ventilation and drain excess water. |
| Winter (semi-dormant) | Light edge watering only | Every 3–4 weeks | Avoid root suffocation; just moisten the top layer. |
💬 From my own mistake:
I once watered my Alocasia during a rainy Portland week, thinking “it’s thirsty anyway.”
The next morning, the roots were soft and the leaves drooped — a perfect case of overcare.
Now, I rely on a simple soil moisture meter and only water when it reads between 2 and 4.
👉 For detailed frequency guides by season and plant type, see:
How Often Should You Water Alocasia? (Seasonal Guide) →
System 3 — Soil: Let Roots Breathe
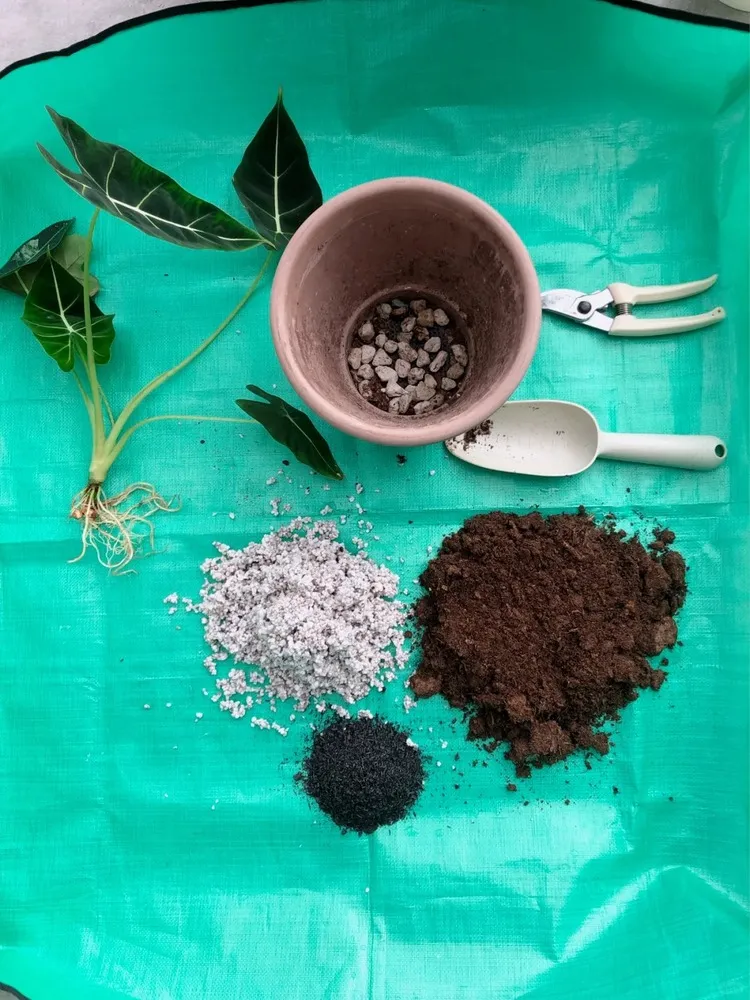
If watering is about timing, soil is about design.
The wrong mix will drown your Alocasia no matter how careful you are — because moisture retention is not the same as waterlogging.
Alocasia roots and corms need constant oxygen flow. In dense soil, they suffocate; in overly sandy soil, they dehydrate. The goal is to keep the mix light, airy, and springy to the touch, holding moisture just long enough for the roots to drink before draining away.
Standard DIY Mix (Balanced Version)
Perfect for most indoor growers and average humidity conditions.
Formula (by volume):
- 40% peat moss or coco coir — moisture base
- 30% perlite or pumice — aeration
- 20% orchid bark or pine bark — structure and drainage
- 10% charcoal or worm castings — mild nutrient retention
This balanced mix mimics the loose, organic floor of a tropical forest: slightly damp, yet full of air pockets that keep roots alive.
My Personal Portland Blend (Looser Version)
Portland’s long, humid winters forced me to adjust the recipe.
Formula (by volume):
- 40% peat moss
- 20% rice husk charcoal
- 15% coconut husk
- 15% pine bark
- 10% pumice
It drains faster than a Calathea blend, keeping the corms dry enough to breathe but still lightly moist for new roots to expand.
In humid regions, I add another 10% perlite; in dry indoor climates, I keep it as-is for longer hydration.
| Property | Ideal | Why It Matters |
|---|---|---|
| Moisture | Medium | Keeps roots hydrated without suffocation |
| Aeration | High | Prevents root rot and promotes oxygen flow |
💬 Personal note:
My first Alocasia rotted because I used a dense “indoor plant mix” that stayed wet for days.
Now I can tell good soil just by squeezing a handful — if it clumps like mud, it’s too tight; if it springs apart softly, it’s just right.
👉 For more recipes and ready-made mix reviews, visit:
Best Soil Mix for Alocasia (DIY + Ready-Made Options) →
System 4 — Temperature & Humidity: The Hidden Drivers
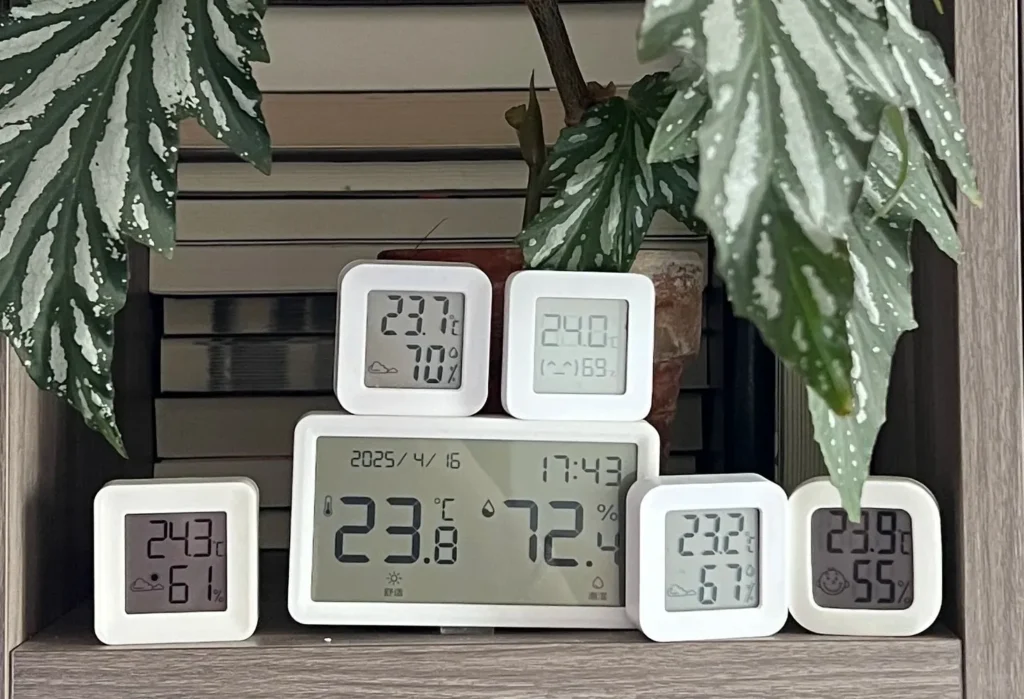
Temperature and humidity are the silent forces behind a thriving Alocasia. You can have perfect light and soil, but if the air is too cold or too dry, the plant will sulk, stop growing, or drop leaves overnight.
The ideal temperature range is 20–30°C (68–86°F) — warm enough for steady root metabolism. Once temperatures fall below 15°C (59°F), Alocasia begins to slow down and may enter partial dormancy, conserving energy until warmth returns.
Humidity is equally crucial. Aim for 60–80%, which mimics the moist understory air of the tropics. Too dry, and leaves curl or crisp at the edges; too damp, and you risk fungal rot.
💬 From my Portland experience:
Winters here are cold and wet — humidity hovers high, but temperatures drop fast. I keep my grow area stable at around 22°C, running a humidifier and a small fan in turns to balance moisture with airflow. It’s not about pushing humidity higher, but keeping it dynamic and breathable.
💡 Tip: Avoid the deadly combo of high humidity + low temperature — that’s a perfect recipe for root suffocation and slow decay.
If you see condensation on leaves or soil staying wet for days, increase ventilation before adjusting moisture levels.
👉 For winter survival tips and dormancy recovery advice, see:
Alocasia Dormancy: How to Keep Your Plant Alive Through Winter →
System 5 — Feeding & Repotting
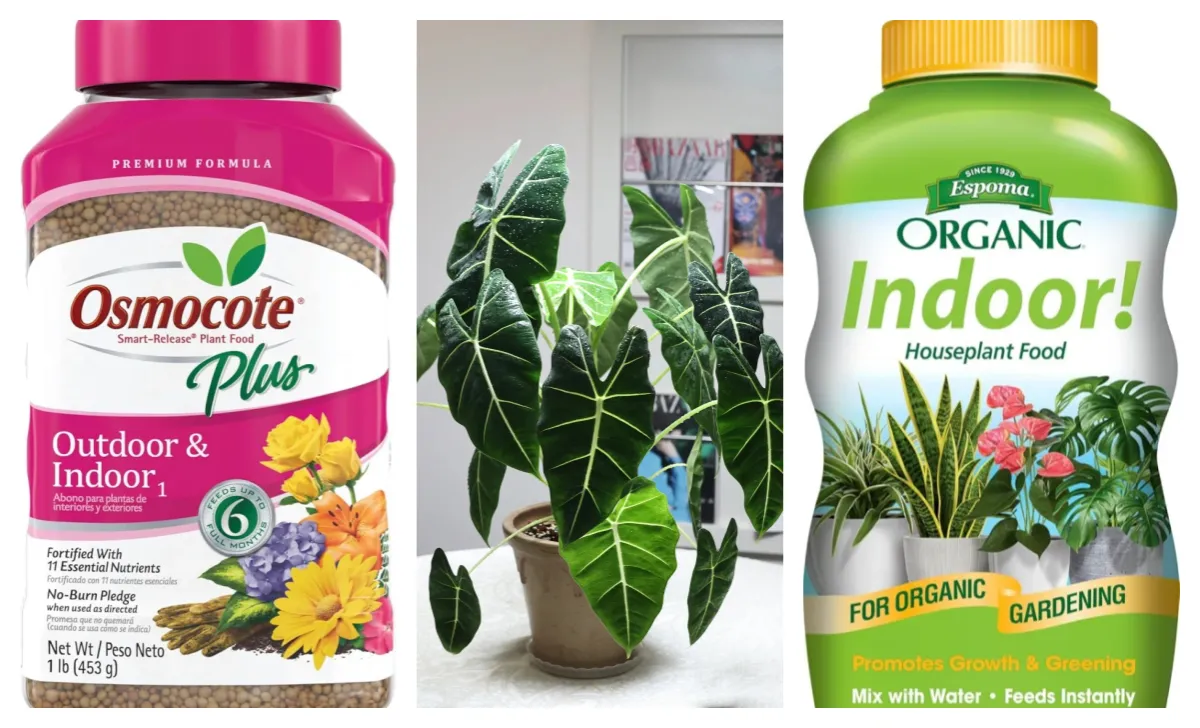
Alocasias grow fast when they’re happy — and feeding them right keeps that momentum steady. But they’re not heavy feeders; they prefer consistent, diluted nutrition over strong, occasional doses.
Feeding Routine
During the active growing season (spring and summer), feed every 2–3 weeks using a half-strength liquid fertilizer formulated for foliage plants. A nitrogen-rich formula supports leaf expansion, while trace elements like magnesium and calcium help maintain deep color and vein contrast.
In autumn and winter, cut back to once a month or stop feeding entirely — the plant slows down, and unused nutrients can accumulate as salt in the soil, burning the roots.
💬 Personal habit:
I usually feed right after watering, never on dry soil. It keeps the nutrients evenly distributed and prevents fertilizer shock.
Repotting Rhythm
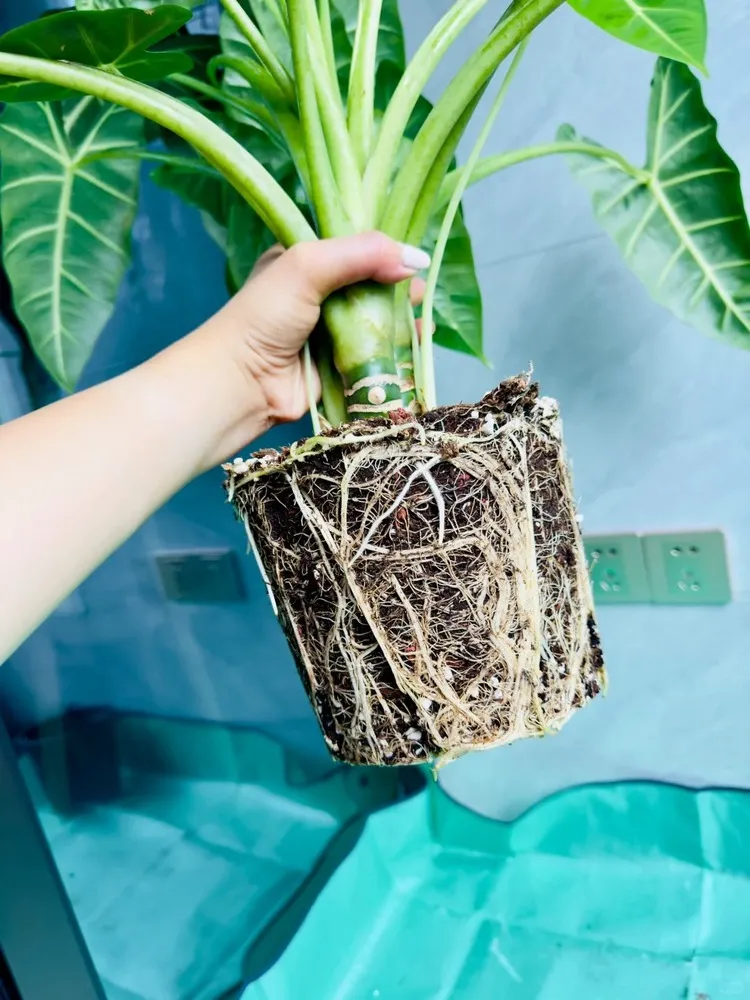
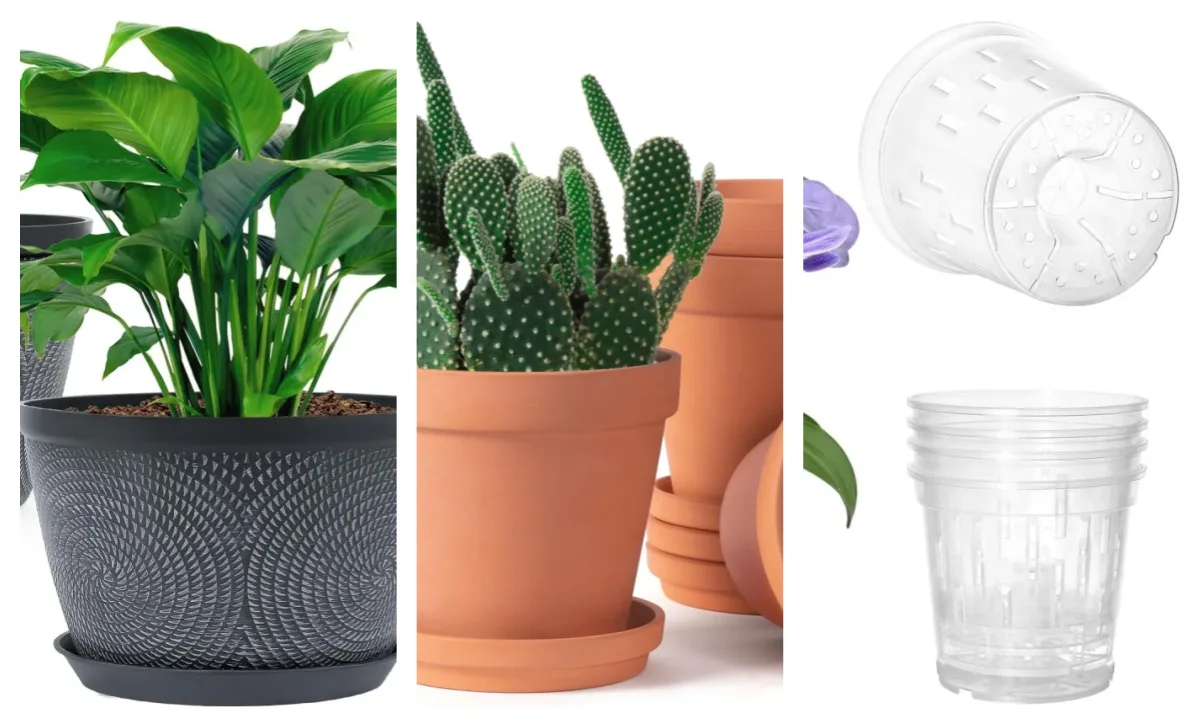
Repot every 6–12 months, or whenever you notice roots circling the pot or pushing through drainage holes. Use the same airy Alocasia mix you prefer, but keep 30% of the old soil to preserve beneficial microbes and reduce transplant stress.
When repotting, check for dark or mushy roots — trim them cleanly before placing the plant back. Always let the soil settle before watering deeply again.
💡 Common misconception:
Repotting isn’t about “making it grow faster.” It’s about preventing suffocation.
A pot that’s too tight holds moisture unevenly — compacted soil below, dry air above — which traps roots in a stagnant zone.
👉 For more details on fertilizers and soil refresh techniques, visit:
Best Fertilizer for Alocasia: Feed for Healthy Growth →
System 6 — Growth, Dormancy & Propagation
Alocasia isn’t a static plant — it breathes in seasons.
Understanding its rhythm of growth and rest is what separates “keeping it alive” from truly helping it thrive.
Active Growth (Spring & Summer)
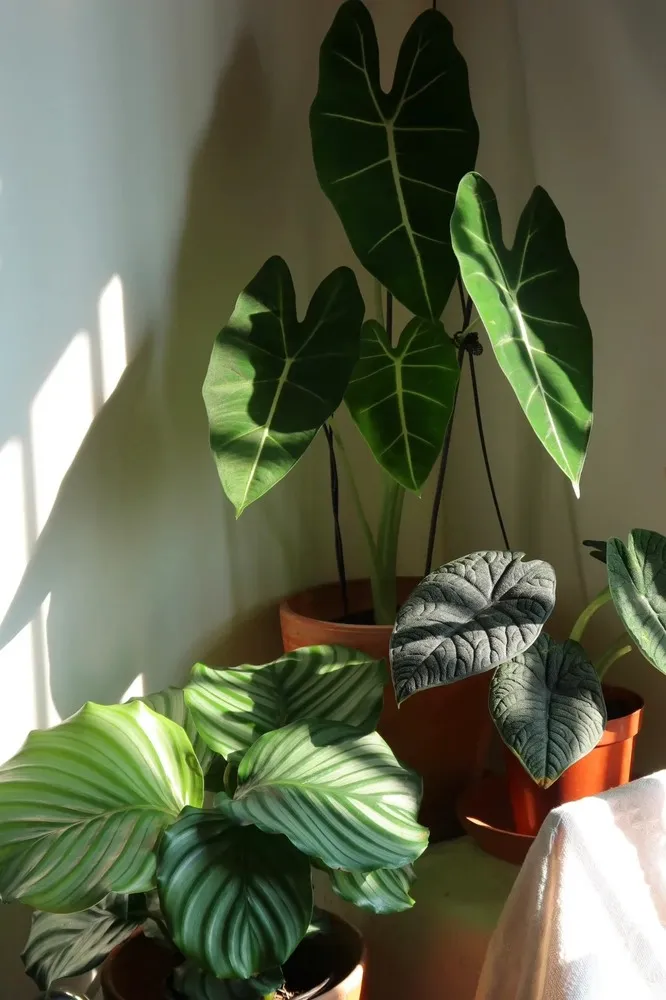
When temperatures rise and daylight extends, Alocasia shifts into full energy mode. You’ll notice:
- Leaves grow larger and emerge faster.
- Soil dries more quickly as roots and leaves consume more water.
- The plant can handle light, diluted feeding every two to three weeks.
💬 Tip: Keep air moving during this phase — high growth means high transpiration, and stagnant air invites pests.
Dormancy & Slowdown (Autumn & Winter)
As temperatures drop below 18°C (65°F) and daylight shortens, the plant naturally slows or rests.
- Leaf production stops, and some older leaves may yellow and die back.
- Reduce watering drastically — once every 3–4 weeks, just to keep the corm from drying out.
- Skip fertilizer entirely; the roots aren’t actively absorbing nutrients.
💬 From my Portland winters:
I don’t panic when my Alocasias lose leaves — it’s not death, it’s strategy.
I keep them warm (above 20°C), let them rest, and by spring, the corms push new life again.
Propagation Season (Spring)
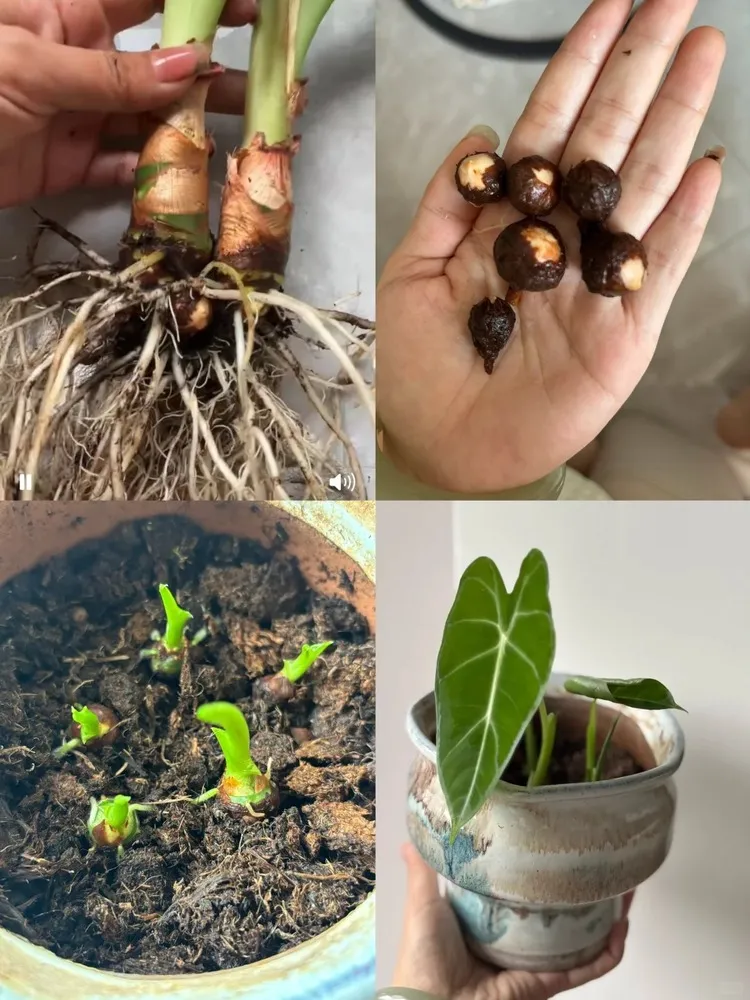
Spring is the perfect time to multiply your collection.
You can propagate Alocasia through corms, offshoots, or division — ideally right after repotting.
Use sphagnum moss or a light, breathable mix to wake up corms before transferring them to soil.
💬 Pro tip: Never rush to separate baby offshoots. Wait until each has at least two leaves and a small root system.
👉 For full propagation tutorials and real growth logs, see:
How to Propagate Alocasia: Corms, Offshoots, and More →
Experience Log — My Real Setup in Portland
I’ve grown dozens of Alocasia varieties over the years, and I still think of them as the most rewarding—and the most unpredictable—plants I’ve ever kept. Their sculptural leaves, endless shapes, and tropical rhythm make them addictive. But let’s be honest: they’re not easy.
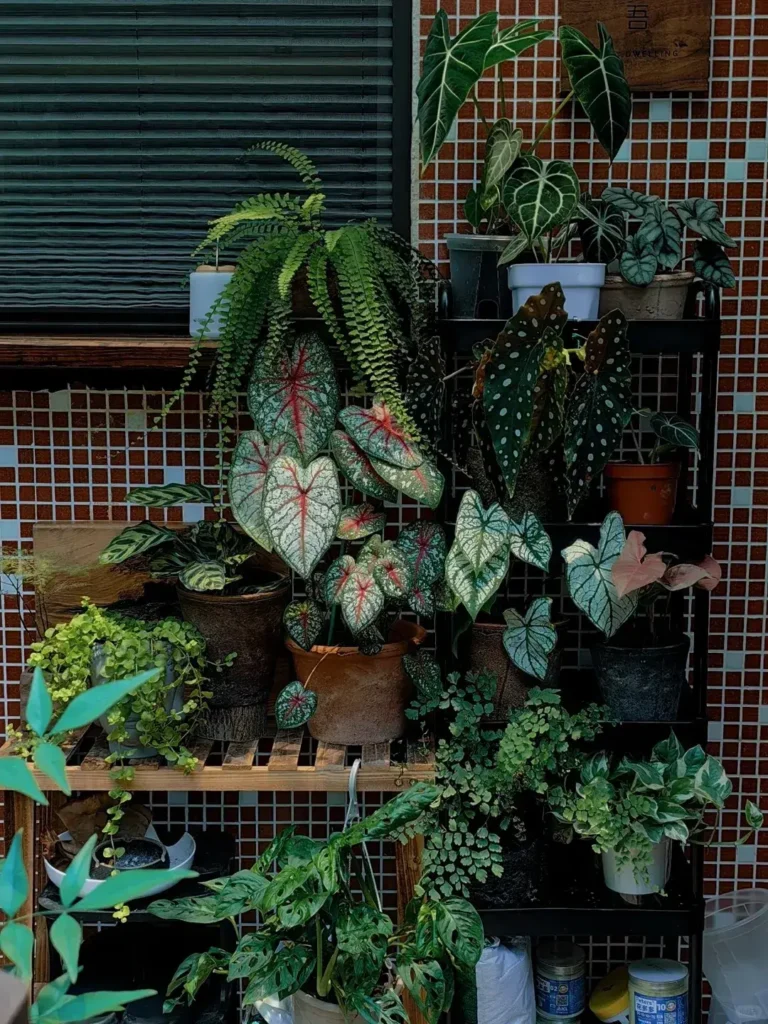
Here are a few lessons I’ve learned after many successes and just as many near-disasters.
Light & Humidity Go Hand in Hand
Alocasia loves strong, bright light—much more than most people think. Unless you’re growing a variegated type, give it as much filtered light as possible. Without it, the plant won’t die right away, but it will sulk: small, dull leaves and slow growth.
Humidity isn’t mandatory, but it’s a game-changer. In higher humidity (70–80%), the plant grows faster, pushes new leaves regularly, and resists spider mites far better. I often use a simple “humidity dome” setup or run a humidifier with good airflow—it makes a world of difference.
About the Roots
Compared with philodendrons or monsteras, Alocasia roots are fine and fragile.
They break or rot easily, especially during transitions like water-to-soil. I don’t use overly chunky aroid mixes; they dry too fast and stress the roots. My go-to blend is peat + coco coir + small-grain perlite, kept evenly moist. When the top feels dry, I water thoroughly.
“If the Corm Lives, the Plant Lives”
Even if the leaves collapse and the roots melt away—don’t panic. As long as the corm is still there, the plant isn’t dead.
I’ve revived many Alocasias by repotting the corm into fresh, airy mix, planting it shallow, and keeping it warm and humid. Within weeks, a new root and tiny spear usually appear.
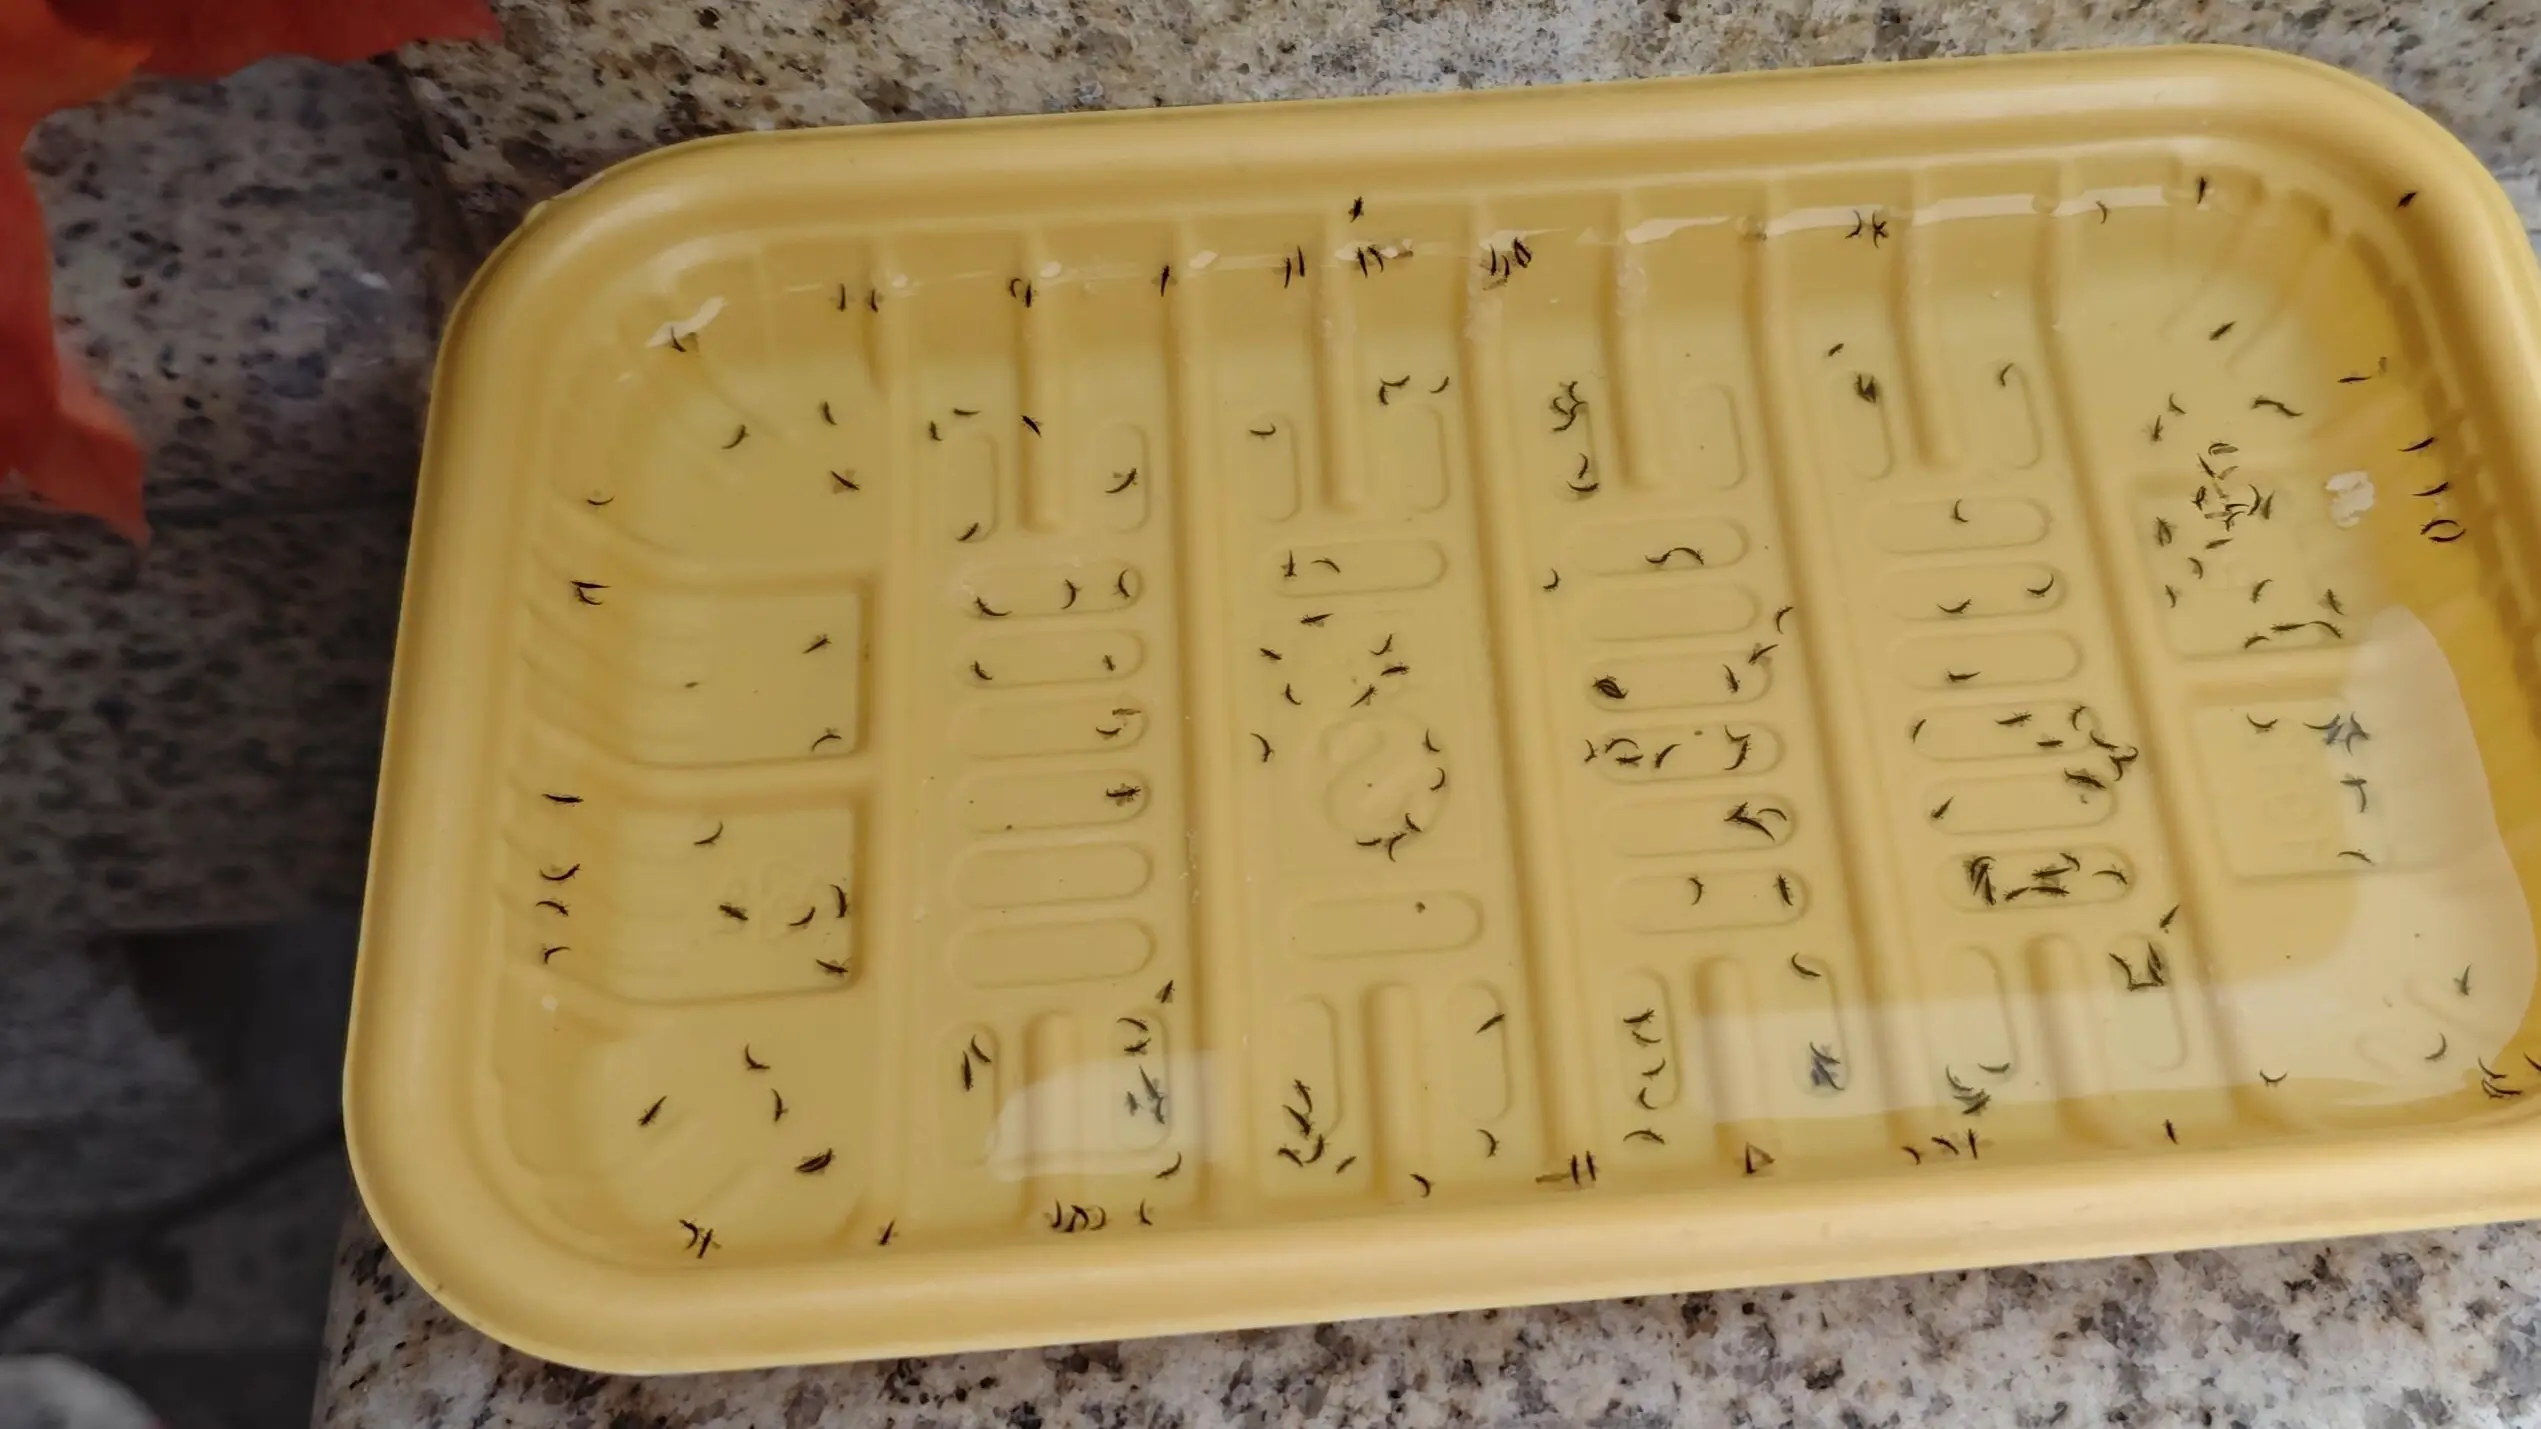
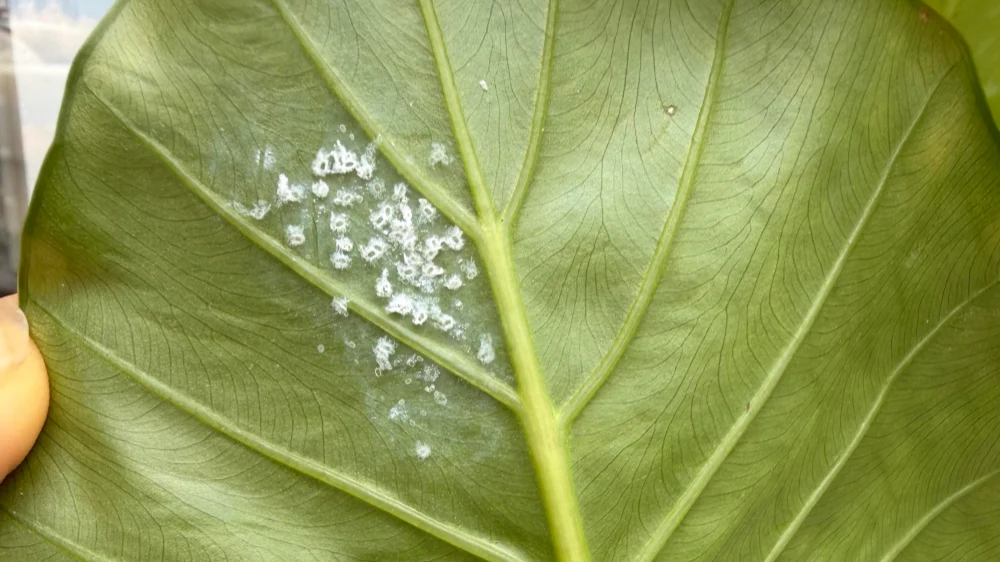
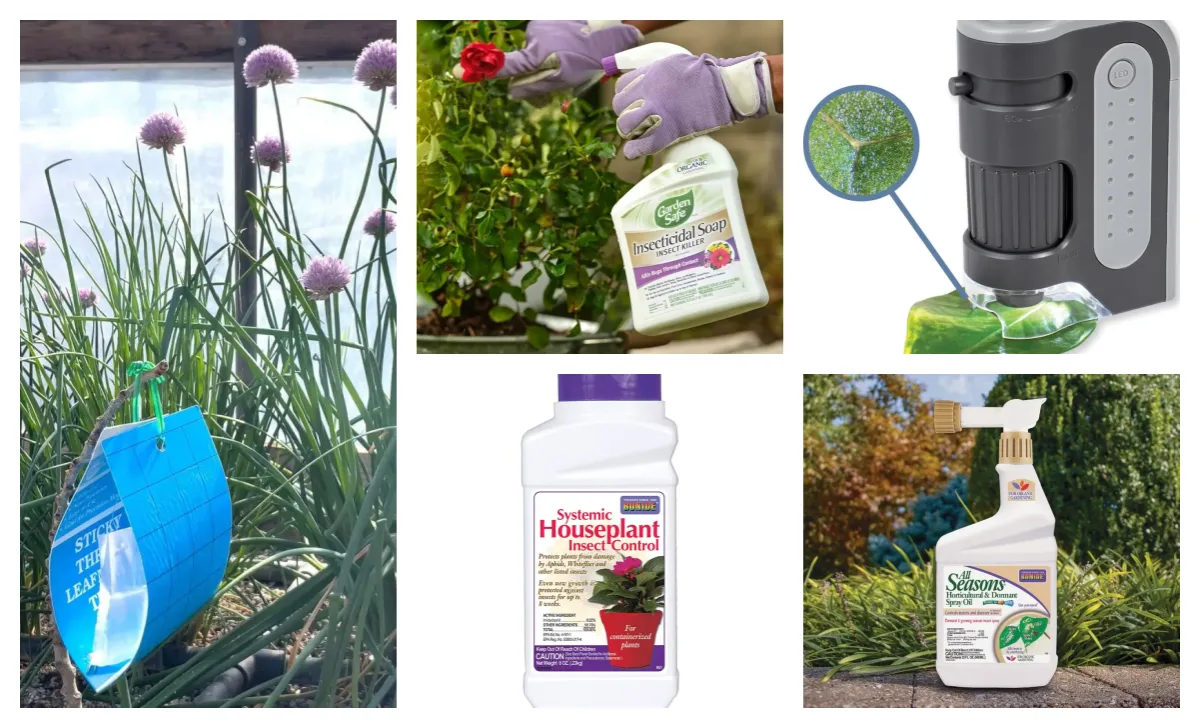
The Eternal Battle: Spider Mites
Spider mites are my worst nightmare. If they show up in numbers, it usually means dry air, high temperature, and poor airflow.
That’s why high humidity is more than just “pretty leaves”—it’s preventive care.
When I can’t maintain high humidity, I mist the plant every couple of days. It’s not perfect, but it keeps the mites under control.
💬 Final reflection:
Alocasia will test your patience, but it also teaches you rhythm.
Once you learn how to listen—light, water, and breath—it becomes one of the most expressive plants you can grow, even in Portland’s moody weather.
What Alocasia Taught Me About Care
Caring for Alocasia isn’t about chasing perfection — it’s about learning rhythm.
Some days they grow fast, some days they rest. All you can do is watch, adjust, and trust the process.
These plants taught me patience.
If the light is right, the soil breathes, and the roots stay warm, they’ll always come back.
Even a bare corm can surprise you one morning with a tiny green spike.
For me, that’s the beauty of Alocasia — quiet persistence, one leaf at a time.
FAQ
Still struggling with your Alocasia?
Learn how to fix common issues in our full Alocasia Care Hub, from watering balance to root health.
Go to Care Hub →