Last updated: May 21, 2026
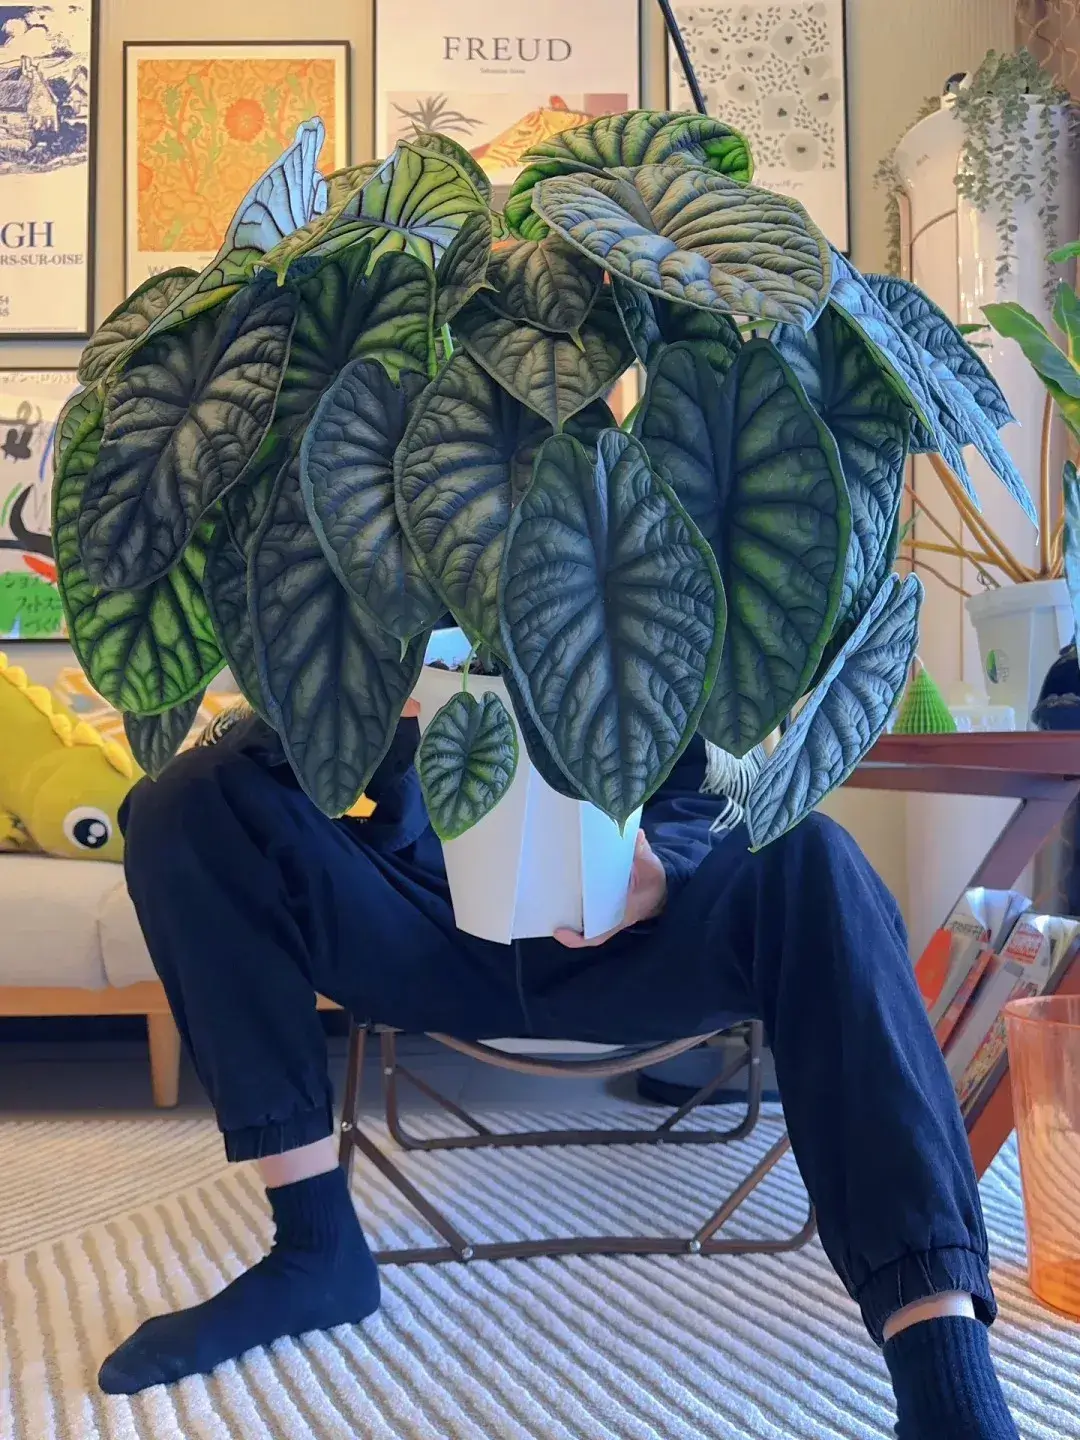
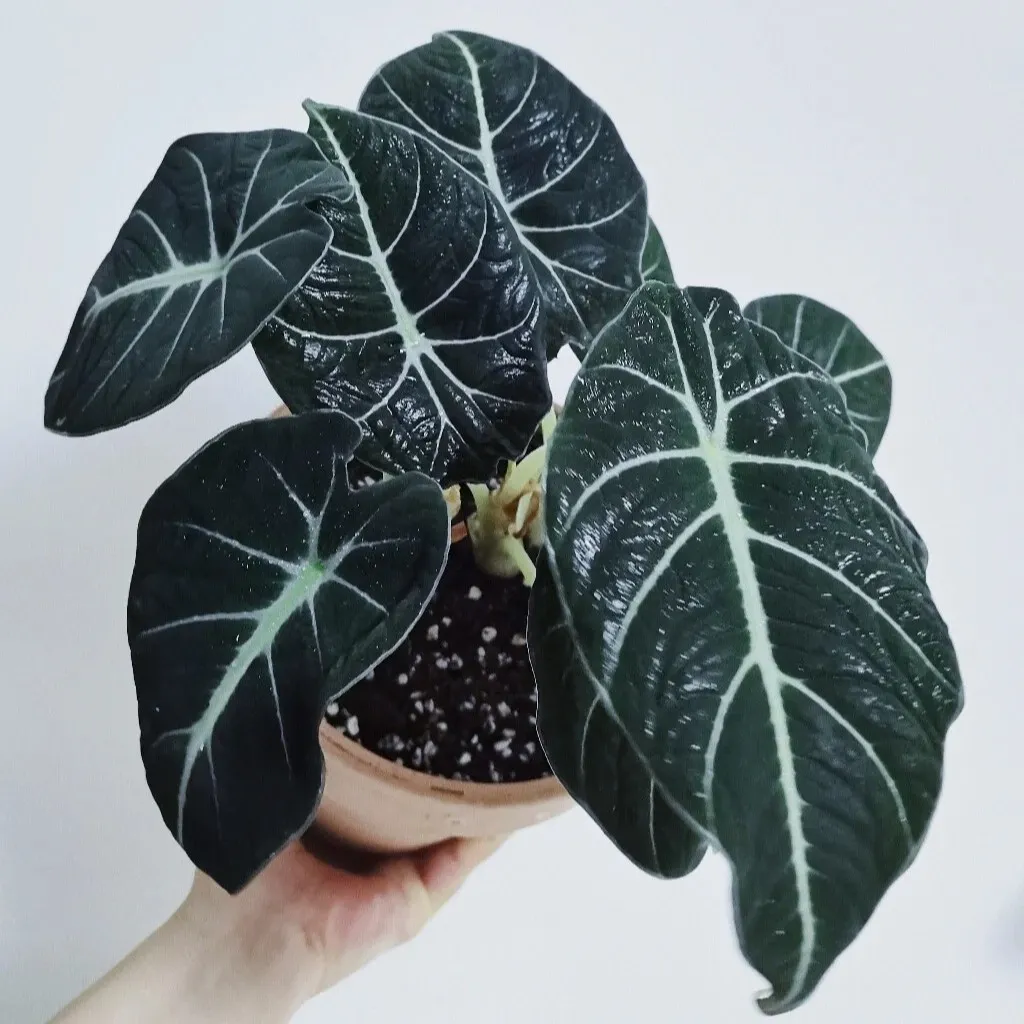
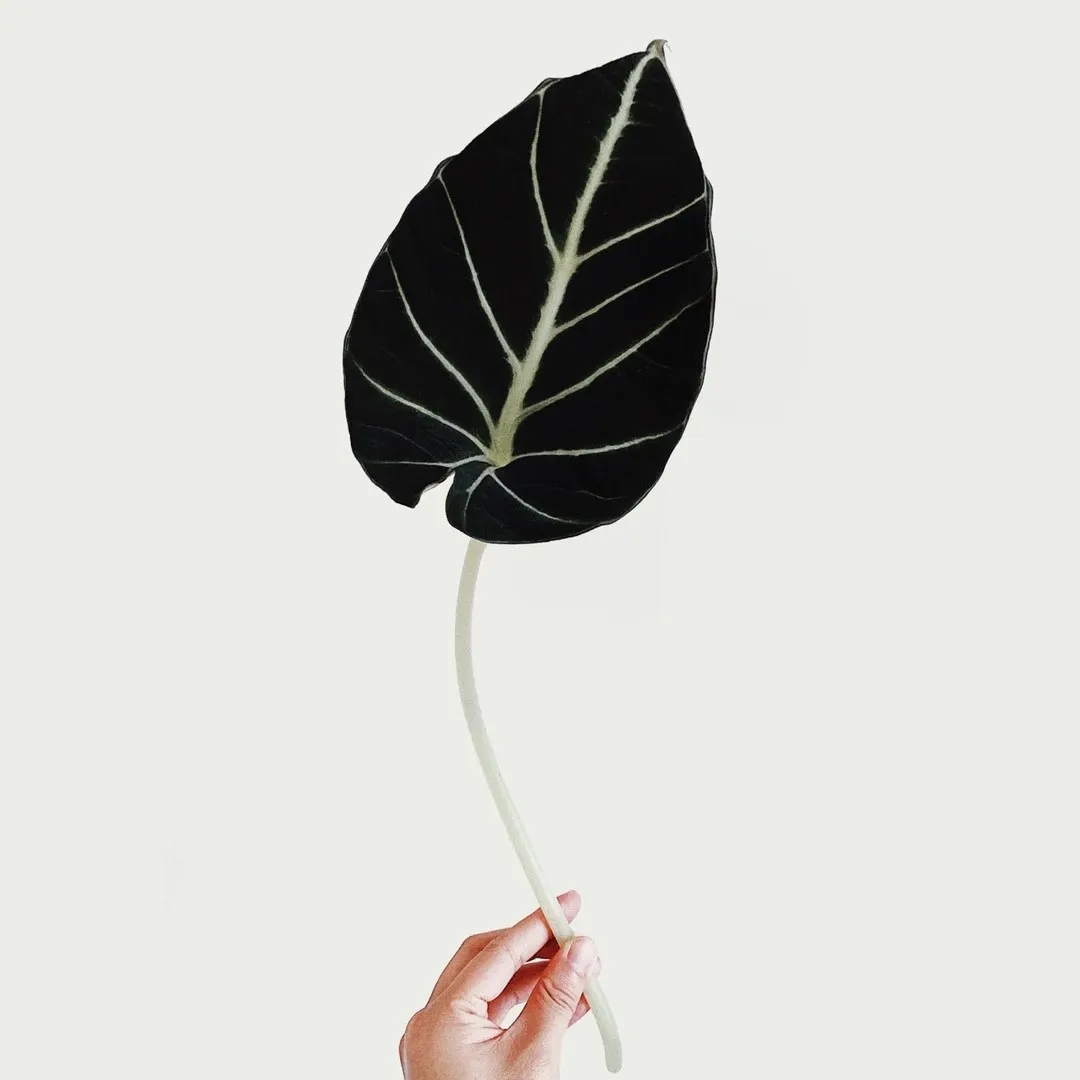
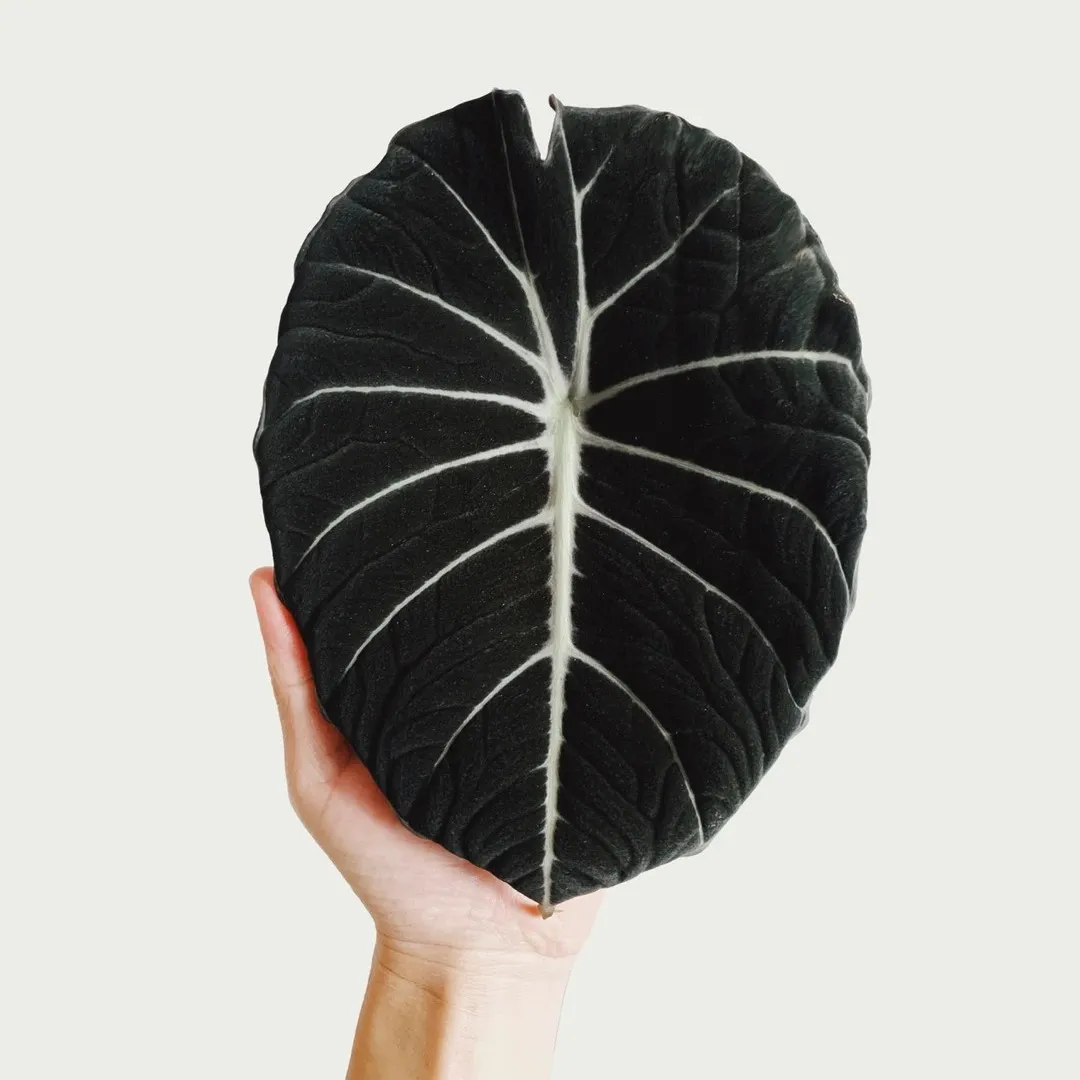
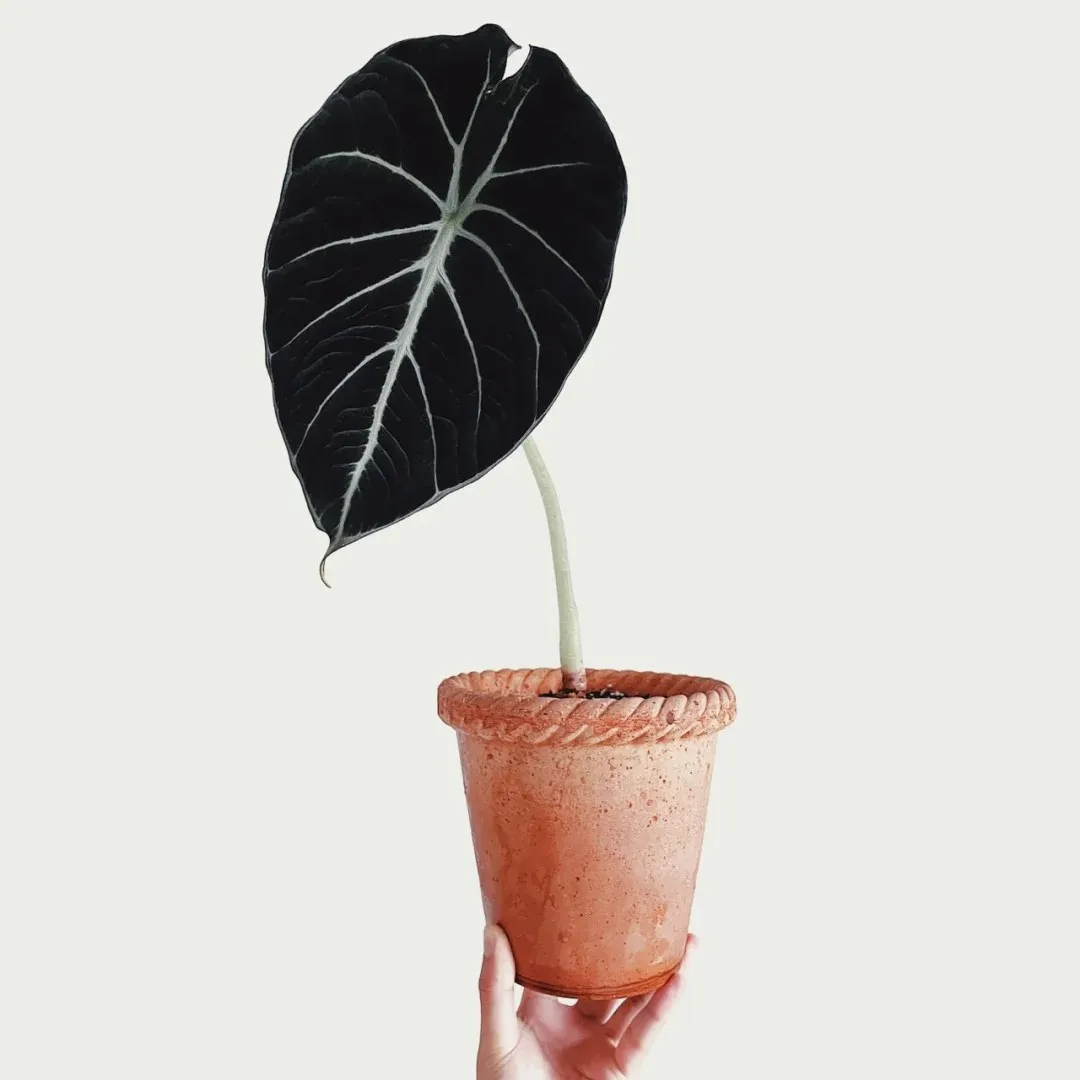
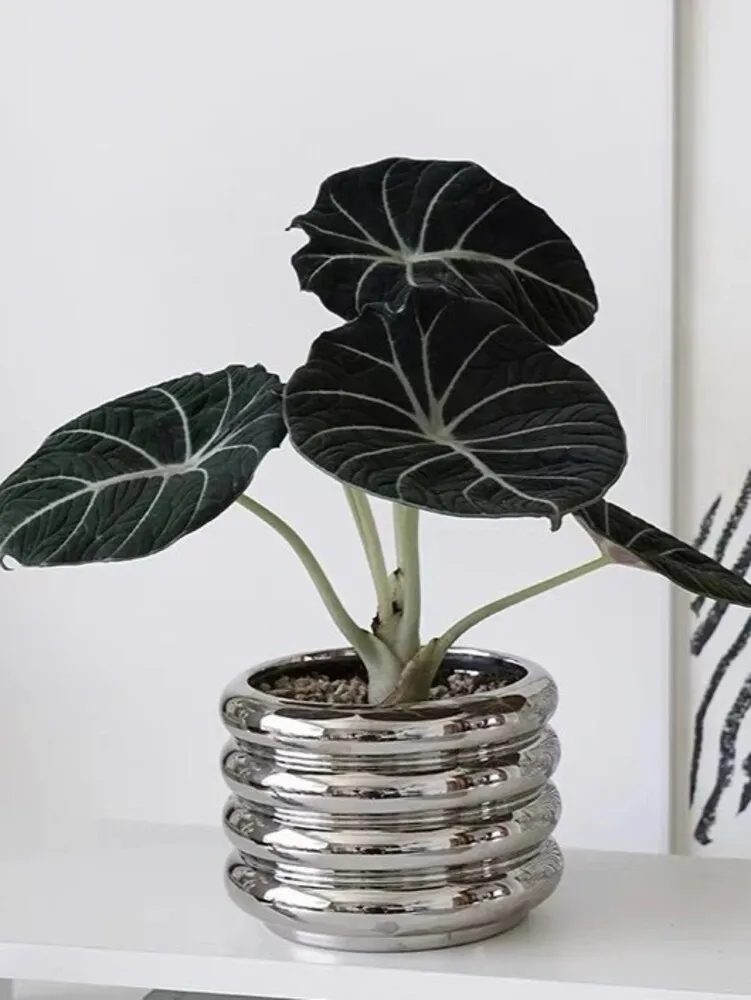
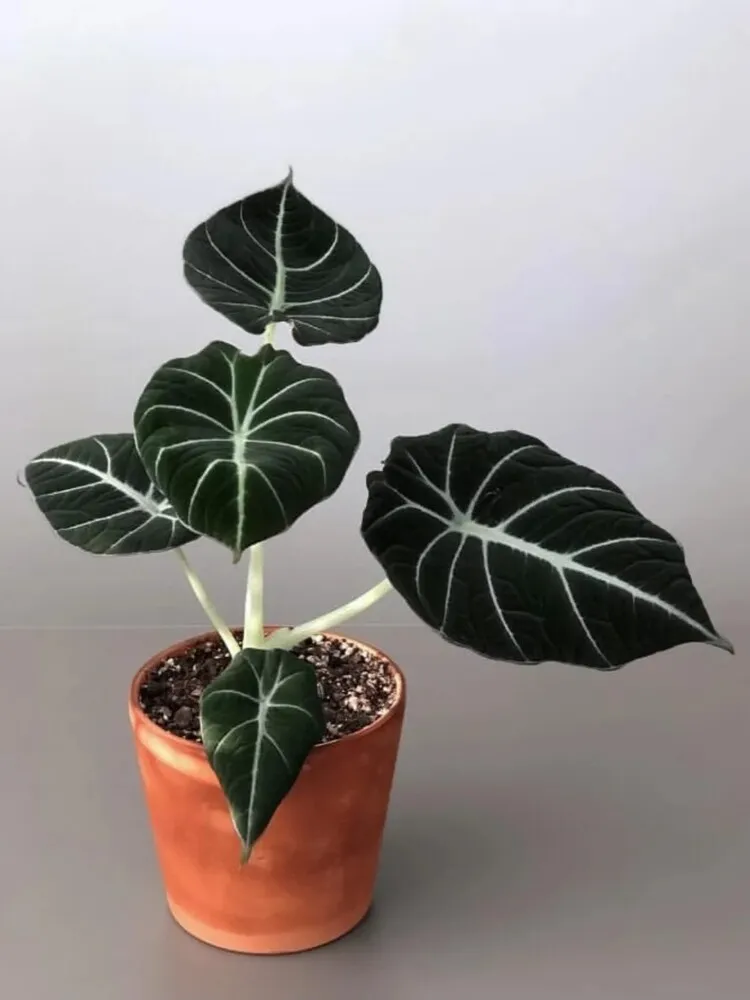
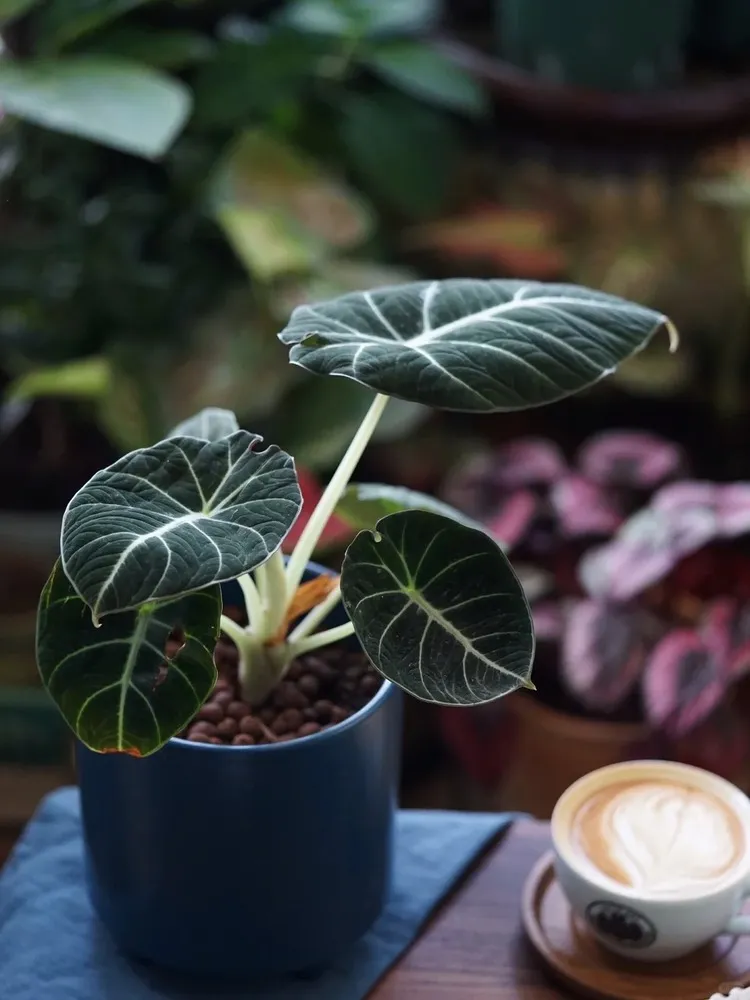
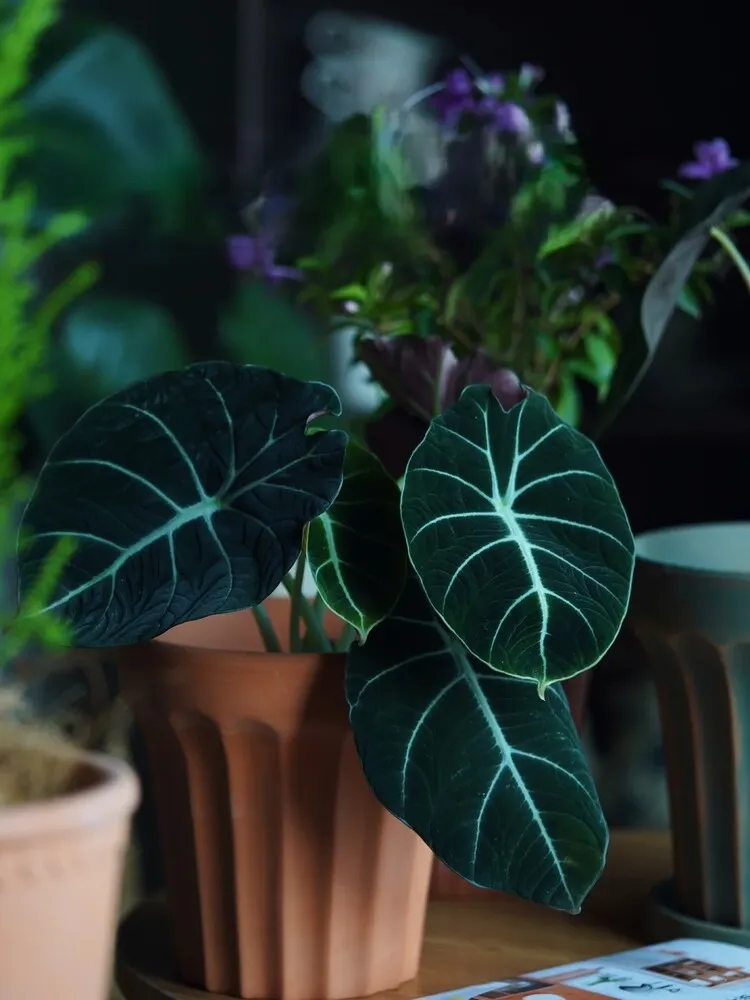
Alocasia Black Velvet (Alocasia reginula) is one of those plants that looks impossibly dramatic for its size. The leaves stay compact, but the texture is pure luxury—soft, velvety, and so dark they almost look black under the right light. It’s a jewel Alocasia in every sense: small, striking, and undeniably temperamental.
Most people who search for this plant want the same answers:
How do I care for it? Why are the leaves turning yellow? How much light does it really need? Why is it so sensitive to watering?
And the truth is, Black Velvet isn’t hard once you understand what makes it different from the typical big-leaf Alocasias.
When I first grew this plant in Portland’s dim, rainy winters, I learned very quickly that Black Velvet reacts to light, humidity, and soil choices with a kind of precision other varieties don’t. Too little airflow and it sulks. Too much water and it collapses. Too much sun and the velvet sheen fades. Get the balance right, though, and it becomes one of the most rewarding jewel Alocasias to grow indoors.
This guide is everything I wish I knew before buying my first Black Velvet.
Quick Answer: How I Keep Alocasia Black Velvet Alive Indoors
For my Alocasia Black Velvet, the biggest difference is keeping the roots slightly drier, warmer, and better aerated than I would for many larger Alocasias. I use bright indirect light, a small pot, a chunky mix, careful watering, and gentle airflow instead of high humidity with wet soil.
I do not water on a fixed schedule. I check the pot weight and the deeper part of the mix first, especially in winter. If the soil has stayed damp for too long, I wait rather than watering just because the leaves look a little tired.
Black Velvet grows slowly and reacts quickly to root stress, salt buildup, oversized pots, and low light. Once I stopped treating it like a bigger Alocasia and started treating it like a compact jewel Alocasia with sensitive roots, it became much easier to understand.
What Makes Black Velvet Unique
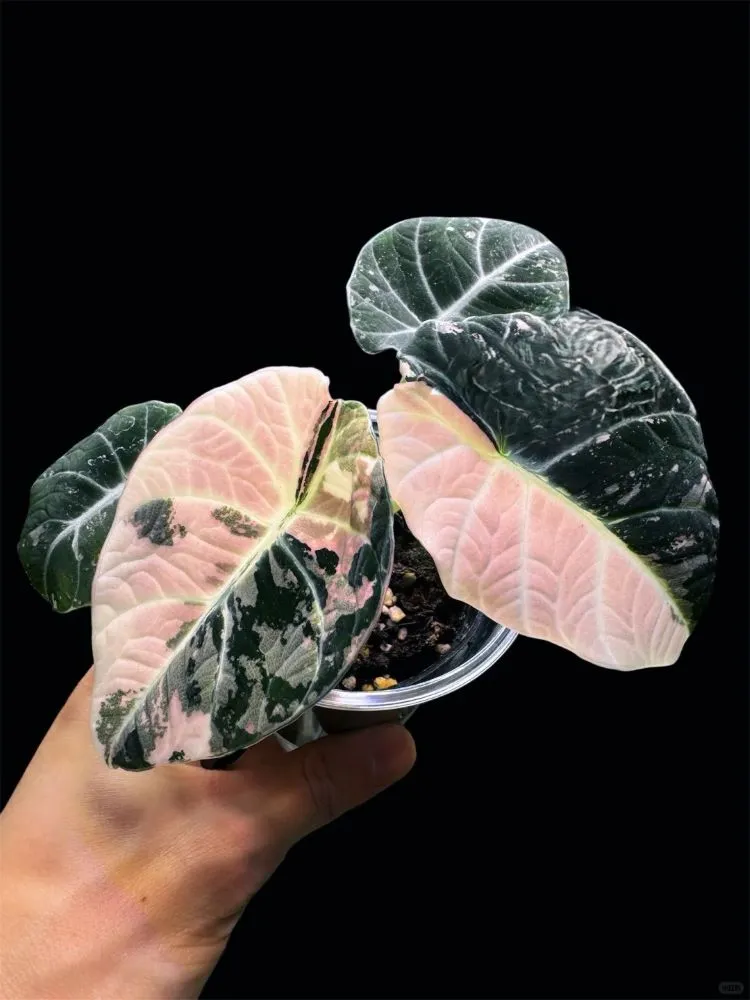
Alocasia Black Velvet isn’t just a smaller version of the big-leaf Alocasias—it’s built differently. I treat Black Velvet differently from my larger Alocasias because it behaves like a compact jewel Alocasia indoors. In my setup, it prefers gentler light, smaller pots, and a slower watering rhythm rather than the heavier moisture cycle that some larger Alocasias can tolerate. Understanding these traits is the key to keeping it alive and thriving indoors.
First, the leaves: the velvety surface absorbs and reflects light differently from glossy foliage. This makes the plant far more prone to sunburn, even in what feels like “mild” direct sun. A few minutes of harsh afternoon light can bleach the leaf surface or dull that deep, metallic sheen.
Second, the roots: Black Velvet has an unusually sensitive root system. It drinks slowly and dislikes sitting in dense or constantly damp soil. Compared to my other Alocasias, it reacts faster to salt buildup, pH shifts, and any hint of overwatering. If a big Alocasia can tolerate a mistake, Black Velvet will show it immediately.
Its growth habit is unique too—the leaves stay compact, with a tight rosette form. This isn’t a plant that will suddenly become huge. It’s a true tabletop species, and it prefers smaller pots where the soil dries evenly and the root zone stays oxygenated.
Because the leaves lose moisture slowly, Black Velvet naturally prefers a drier rhythm than most Alocasias. Water too frequently, and it responds with curling, yellowing, or root stress long before the soil looks “wet.”
My Black Velvet does best when the pot dries predictably, not when the roots sit in a large damp mix.
I learned quickly that treating it like a Frydek or a Polly is the fastest way to stress it out.
These quirks are exactly why it frustrates beginners—but also why it becomes deeply rewarding once you understand its tempo.
Detailed Care Guide
Light
Alocasia Black Velvet prefers bright, indirect light and burns easily under direct sun. Low light leads to smaller, darker new leaves; too much light causes fading along the edges and loss of the velvet texture.
Easy setups:
- Near a bright window with filtered or indirect light
- Add a sheer curtain if the sun is strong
- With grow lights, keep 30–40 cm (12–16 in) distance
In low-light months (like winter), a small grow light helps keep growth steady.
For more detailed light setups, see the full Alocasia Light Guide.
Watering
Black Velvet is one of the most water-sensitive Alocasias. It dislikes staying wet, and most problems—yellowing, curling, root rot—start with overwatering.
What to avoid:
- Waterlogged soil (its biggest enemy)
- Winter overwatering
- Pots that are too large and stay wet too long
Simple watering rules:
- Let the top inch of soil dry before watering again
- Use a wooden skewer to check moisture below the surface
- In winter, reduce watering by 40–50%
- Expect soil to dry much slower in low light (Portland winters included)
Black Velvet naturally prefers a slightly drier rhythm because:
Velvety leaves lose less moisture, so the roots simply don’t drink as fast.
For deeper troubleshooting (yellowing leaves, waterlogging vs rot), see the full Alocasia Watering Guide.
Soil
Black Velvet needs a very airy, fast-draining soil to keep the roots oxygenated. Dense mixes stay wet too long and are the most common cause of waterlogging and rot.
Simple, reliable mix:
- 40% peat or coco peat
- 30% perlite or pumice
- 20% coarse bark or coconut chips
- 10% extra aeration (charcoal, lava rock, etc.)
Why this works:
- Peat/coco holds gentle moisture
- Perlite and pumice create airflow
- Bark/chips prevent compaction
- The overall mix dries evenly and quickly
Black Velvet’s roots are shallow and sensitive, so an airy substrate is far safer than a heavy one.
For full mix variations and comparisons, see the Aroid Soil Guide.
Potting & Repotting
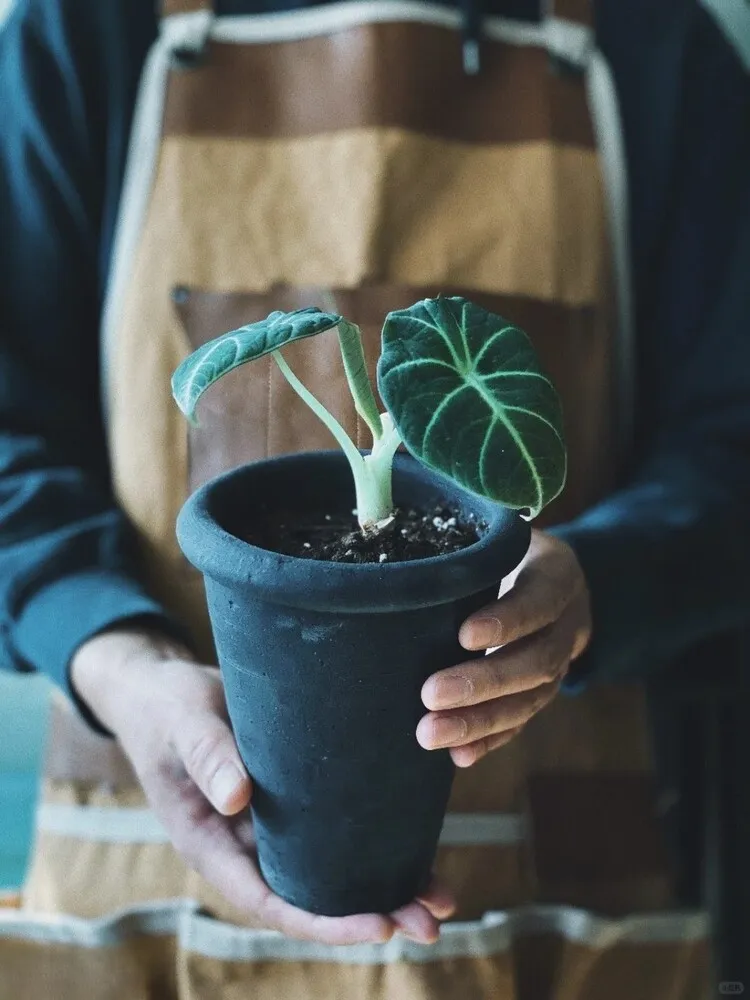
Black Velvet has a shallow, compact root system, so it always performs better in a small pot. Oversized pots hold moisture for too long, which is the fastest route to waterlogging.
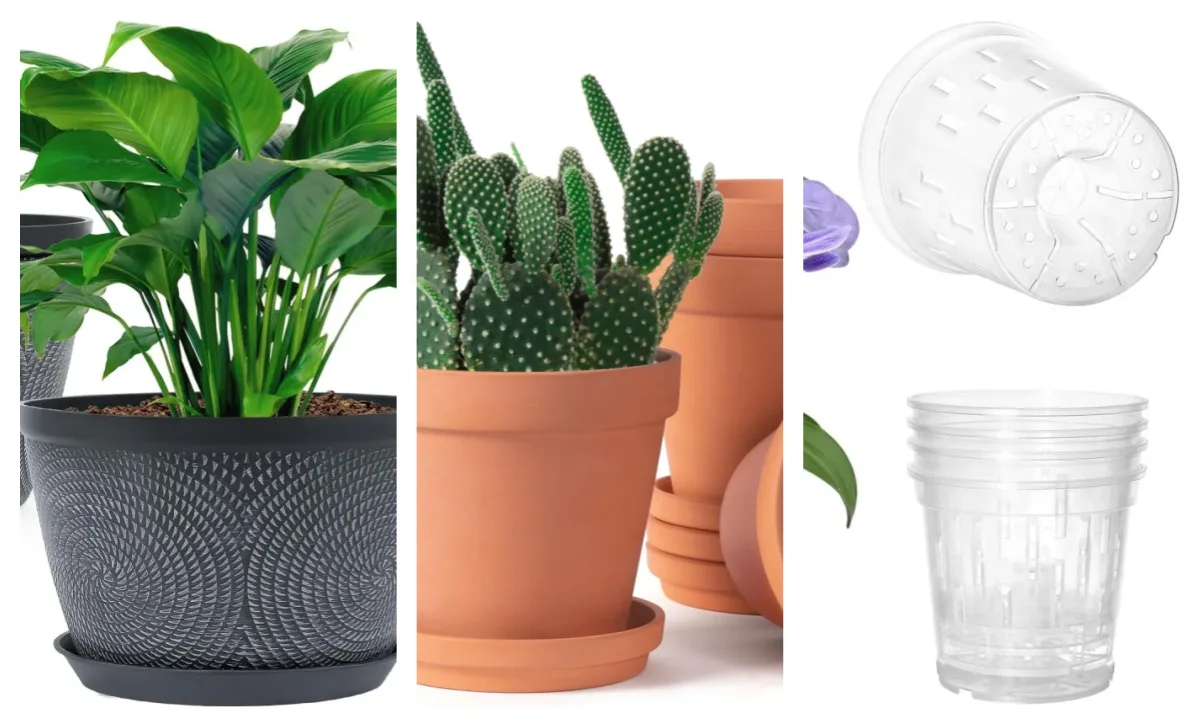
Best pot types:
- Terracotta
- Unglazed clay
- Porous options like breathable plastic pot
These materials help excess moisture escape naturally and keep the root zone oxygenated.
Repot frequency:
Every 1–2 years, or whenever the plant shows clear signs that it has outgrown its container.
When to repot:
- Roots coming out of the bottom
- The pot feels unusually light between waterings
- New leaves are smaller than usual
- Soil compacts and dries unevenly
A simple rule from experience:
If the soil stays wet longer than 5 days, the pot is too big.
Choose a pot only 1–2 cm wider than the current one—Black Velvet thrives when slightly snug. For more details, see the full Aroid Repotting Guide.
Humidity & Temperature
Black Velvet prefers moderate humidity, ideally around 50–60%.
Higher humidity isn’t always better—once it goes above 70%, the soil tends to dry slowly, and the plant becomes more prone to waterlogging and rot.
In Portland’s cool, wet winters, my indoor humidity often stays high while light stays low, so I keep airflow gently moving and avoid any “closed humidity setups.” This keeps the leaves happy without suffocating the roots.
Ideal range:
- Humidity: 50–60%
- Temperature: 18–27°C (65–80°F)
- Avoid temperatures below 15°C (59°F) and cold drafts
Simple tips:
- If using a humidifier, keep it far from the plant so the mist doesn’t settle directly on the leaves
- Ensure good airflow—Black Velvet dislikes stagnant, trapped humidity
- Keep it away from AC vents or cold windowsills
For seasonal adjustments, see the Alocasia Light Requirements Guide.
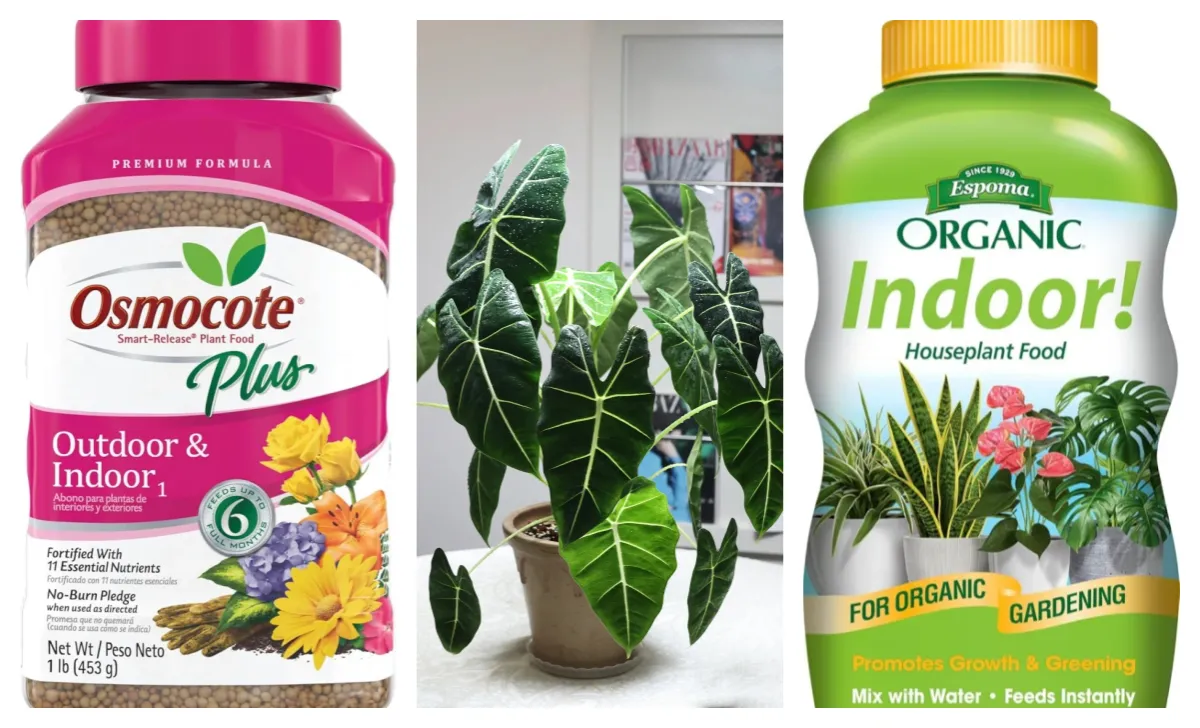
Fertilizing
Black Velvet prefers a gentle feeding routine. Its roots are sensitive, so less is always safer than more.
Simple guidelines:
- Use 1/4–1/2 strength fertilizer during the growing season
- Stop feeding in winter when growth naturally slows
- Never fertilize a plant that’s stressed, recently repotted, or recovering from root issues
Overfeeding can burn the fine root tips and cause the same symptoms as overwatering, so a light, consistent approach works best. For now, I keep feeding light and seasonal. I would rather underfeed Black Velvet slightly than push fertilizer onto sensitive roots.
Common Problems & Quick Fixes
Black Velvet is sensitive, but most issues fall into a few predictable patterns.
Use this quick table to match symptoms with likely causes; detailed guides are linked separately.
| Problem | Likely Causes | Notes |
|---|---|---|
| Root Rot / Waterlogging | Soil too dense, pot too large, overwatering, poor airflow | No smell = waterlogging; foul smell = rot. (See full Root Rot Guide) |
| Yellowing Leaves | Overwatering, low light, winter dormancy | Outer leaves yellow first; adjust watering rhythm. Full troubleshooting: Alocasia Leaves Turning Yellow |
| Curling Leaves | Low humidity, strong light, root stress (after repotting) | Often improves once watering/light are balanced. More symptoms explained in Alocasia Curling Causes & Fixes |
| Black Spots | Water sitting on leaves, fungal infection, cold drafts + humidity | Common in winter; avoid mist landing on foliage. |
| Slow Growth | Low temperature, oversized pot, natural winter slowdown | Very normal below 18°C (65°F). Don’t force growth. |
Propagation (Corms)
Black Velvet produces small corms under the soil—this is the easiest way to propagate it. Full step-by-step division guide: How to Propagate Alocasia.
How to Separate:
- You’ll see them when repotting: small round “beads” near the roots.
- Twist gently to remove.
- Keep them dry and clean—don’t squeeze.
How to Sprout:
- Place corms on slightly moist sphagnum / perlite.
- Keep warm and humid (but not wet).
- Most sprout within a few weeks.
💡 My quick note:
My Black Velvet and Black Swan (similar type) both produce corms like crazy.
Last month I collected 6 corms, and during repotting I found two full clusters hiding under the soil.
That’s when I realized:
Jewel Alocasias quietly multiply until one day they surprise you.
Real Experience Notes: My Black Velvet (Reginula) Care Log
June 18 — Arrival, flattened and stressed
My Black Velvet arrived completely flattened from shipping.
I repotted it right away using the same mix I used for my Green Velvet, assuming they’d have similar needs.
July — One leaf sacrificed (normal)
It dropped an older leaf in early July, which I considered normal “acclimation loss.”
July 15 — First signs of trouble
The outermost leaf started to develop a soft, collapsing patch.
The entire plant looked thirsty, but the soil was still lightly moist and had never fully dried since repotting.
At this point I suspected:
- early root stress
- pH imbalance
- or mild fertilizer burn
Compared to my Green Velvet, the Black Velvet seemed far more sensitive to ion concentration in the substrate. The “thirsty look” was more dramatic even though the soil wasn’t actually dry.
July 24 — Emergency repot
I soaked the root ball, replaced the soil, and increased the ratio of pumice and large bark pieces to:
- lift pH slightly
- lower salt concentration
- improve fast drainage + aeration
It immediately looked less stressed.
August 3 — First new leaf fully open
The new leaf opened completely.
Because of the heatwave, the blade came out with a few imperfections, but I could already see the second new leaf forming.
August 7 — Second new leaf opened
The plant looked stable—nothing dramatic, just quietly growing.
August 12–14 — The still period
No changes. No decline, no new push.
On August 16, aside from one aging leaf, the plant looked… neutral.
Not thriving, not failing—just surviving.
August 20 — Attempted to bloom?!
In typical dramatic Alocasia fashion, my tiny Black Velvet decided it wanted to bloom—despite being hardly recovered.
Around the same time, the newest leaf developed uniform rot across the surface.
This plant taught me one thing:
Black Velvet doesn’t follow the rules. It can look stable for days, then suddenly push a flower, then lose a leaf—all while its roots quietly negotiate the substrate you give it.
FAQ
Love discovering new Alocasias?
Explore more velvet, variegated, and large-leaf varieties in our Alocasia Varieties Hub.
Go to Varieties Hub →