Last updated: May 19, 2026
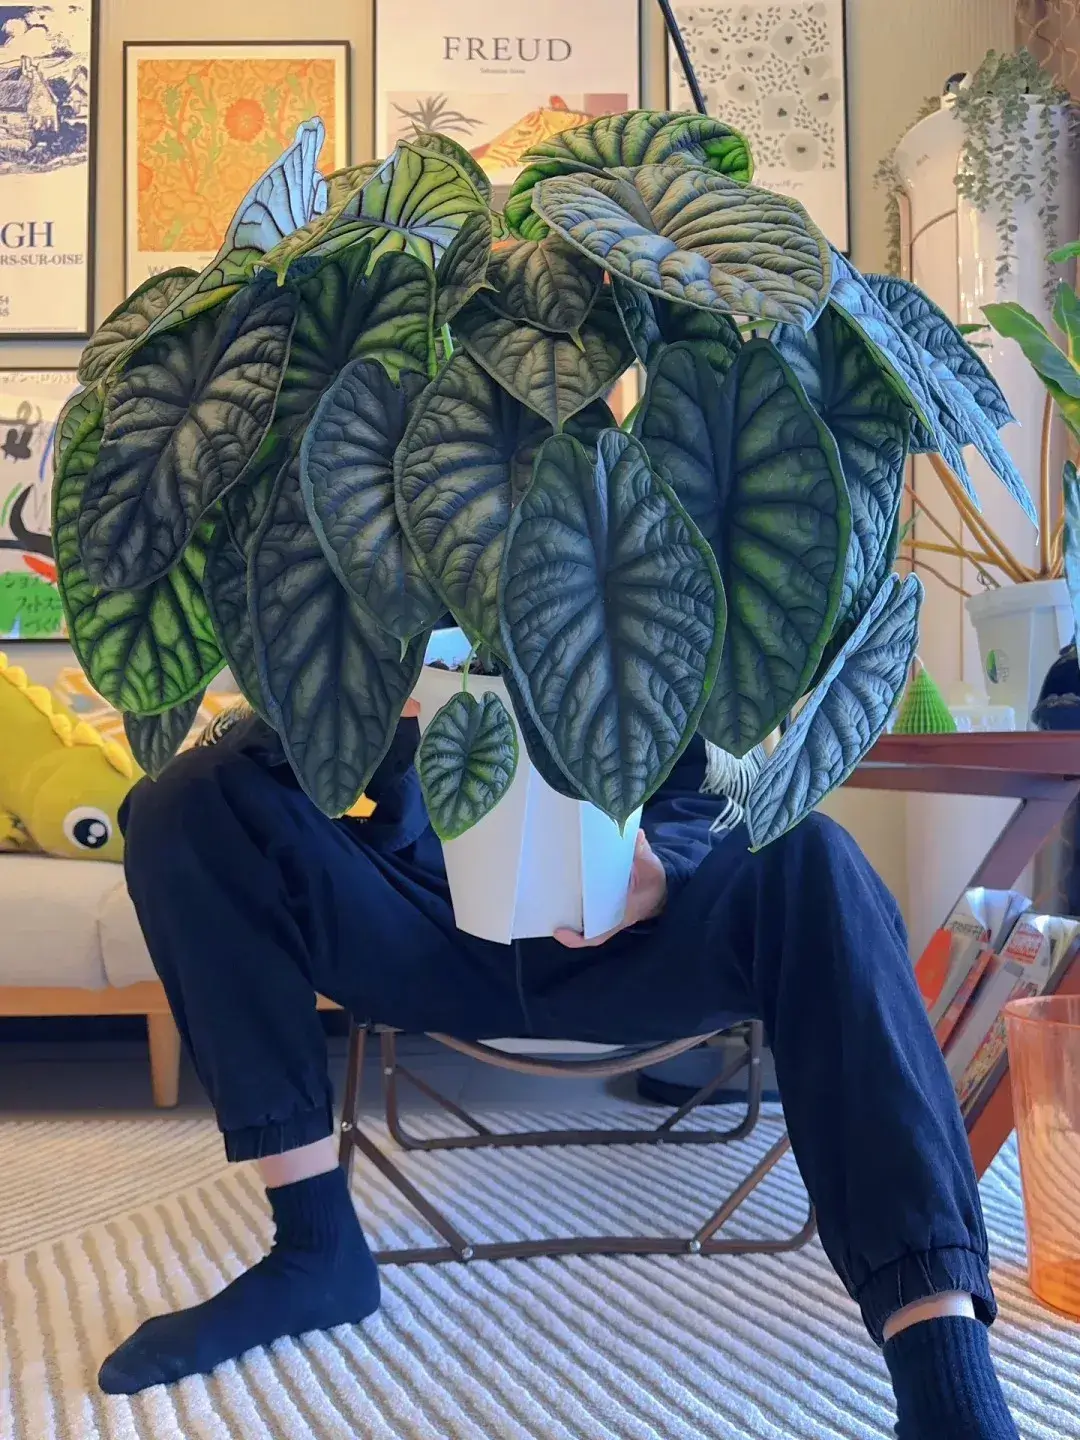
Alocasia Polly, often sold as Alocasia Amazonica, is one of the most recognizable indoor Alocasias, with dark arrow-shaped leaves and bright white veins. It looks dramatic, but in my experience, the real challenge is not the leaf shape — it is keeping the roots stable.
This guide focuses on how I care for Polly indoors, especially watering, soil, repotting, and what I do differently when the plant is healthy versus when it has root rot.
If you are still new to this genus, I would start with my Alocasia care guide first, then come back to this Polly guide for the more specific repotting and root-care details.
Quick Note: Repotting Polly Is Not the Same as Saving a Rotten Polly
The most important lesson I learned with Alocasia Polly is this: a normal repot and a root rot rescue should not be handled the same way.
If the plant is healthy and the roots are not rotting, I try not to disturb the root ball. I do not comb through healthy roots, remove every bit of old soil, or bare-root the plant just because I am moving it into a new pot. Polly has fine, fleshy roots that can sulk badly after rough handling.
But if the plant is drooping, the soil smells sour, or the roots are already black and mushy, that is a different situation. Then I do remove old soil, cut away rotten roots, disinfect the root system, and restart the plant in fresh airy mix.
So my rule is simple: keep the root ball intact when the plant is healthy; clean and trim only when there is root rot.
Appearance & Key Features
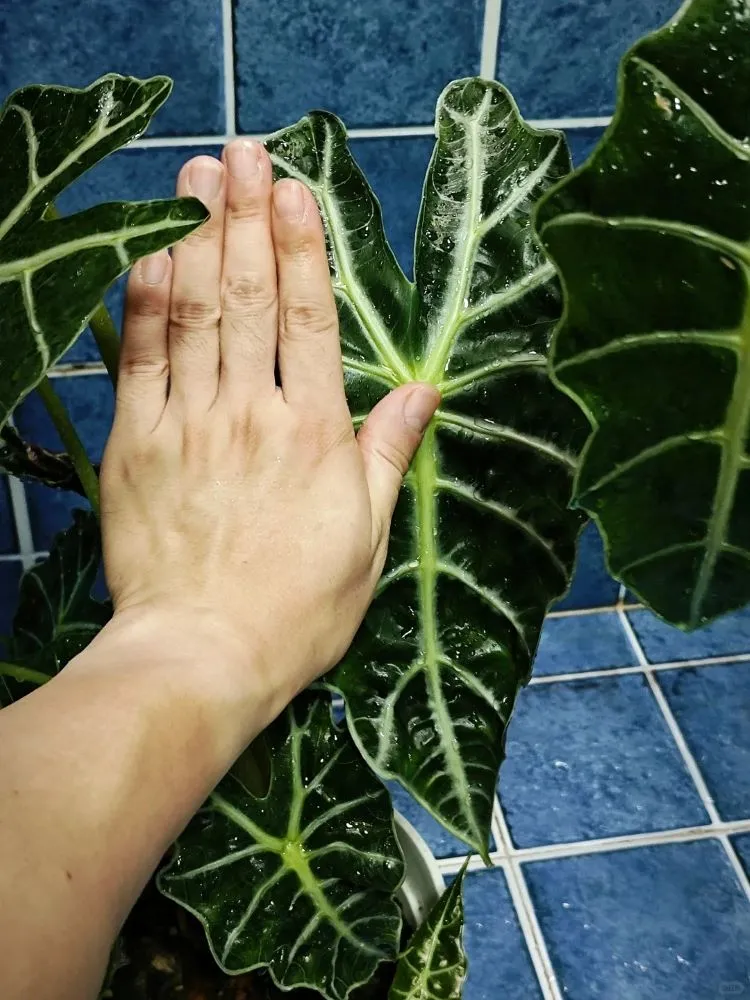
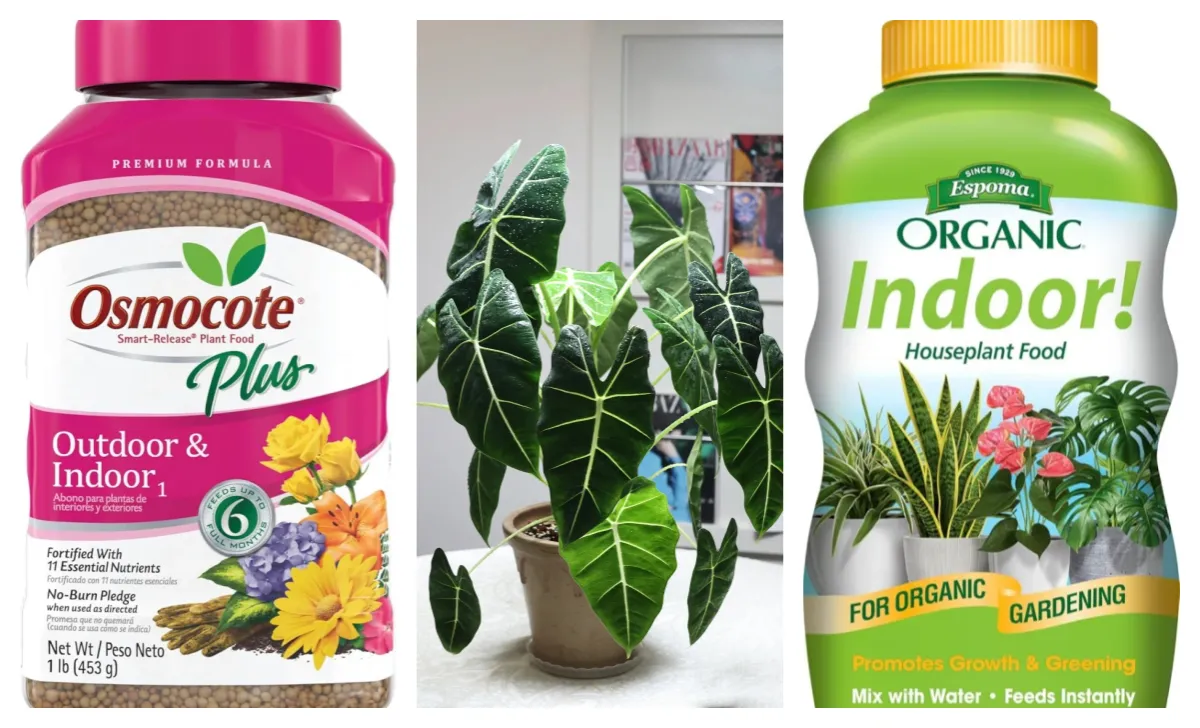
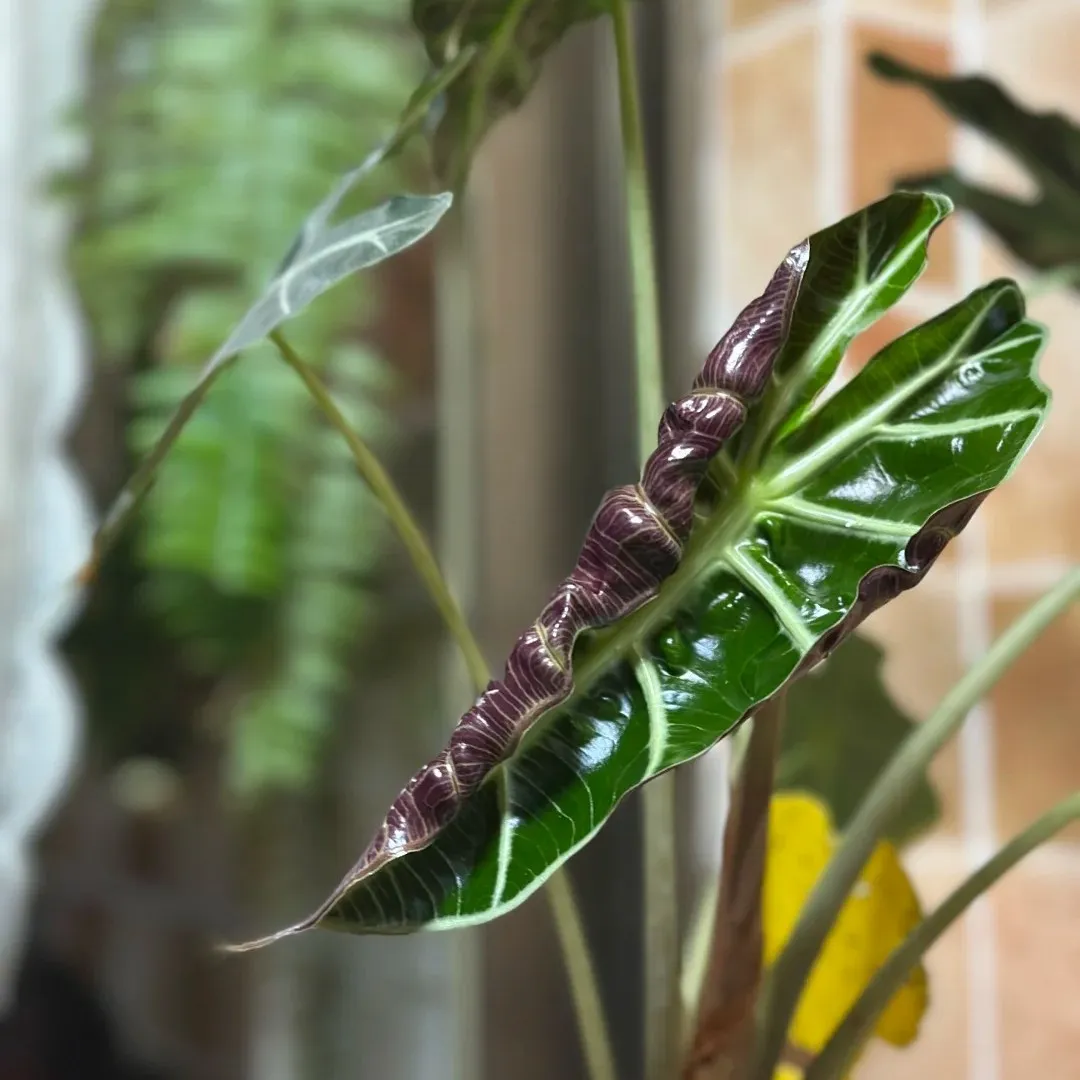
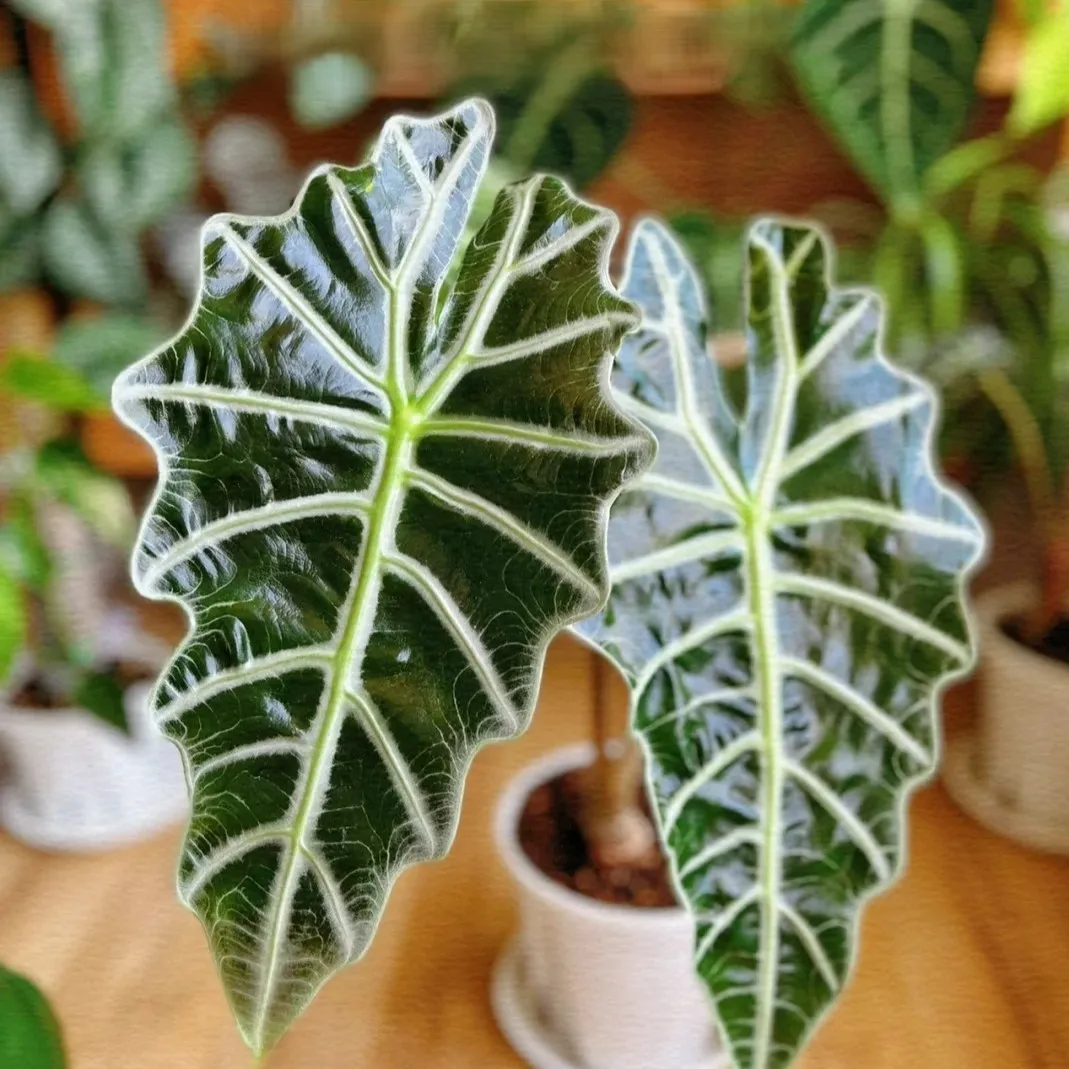
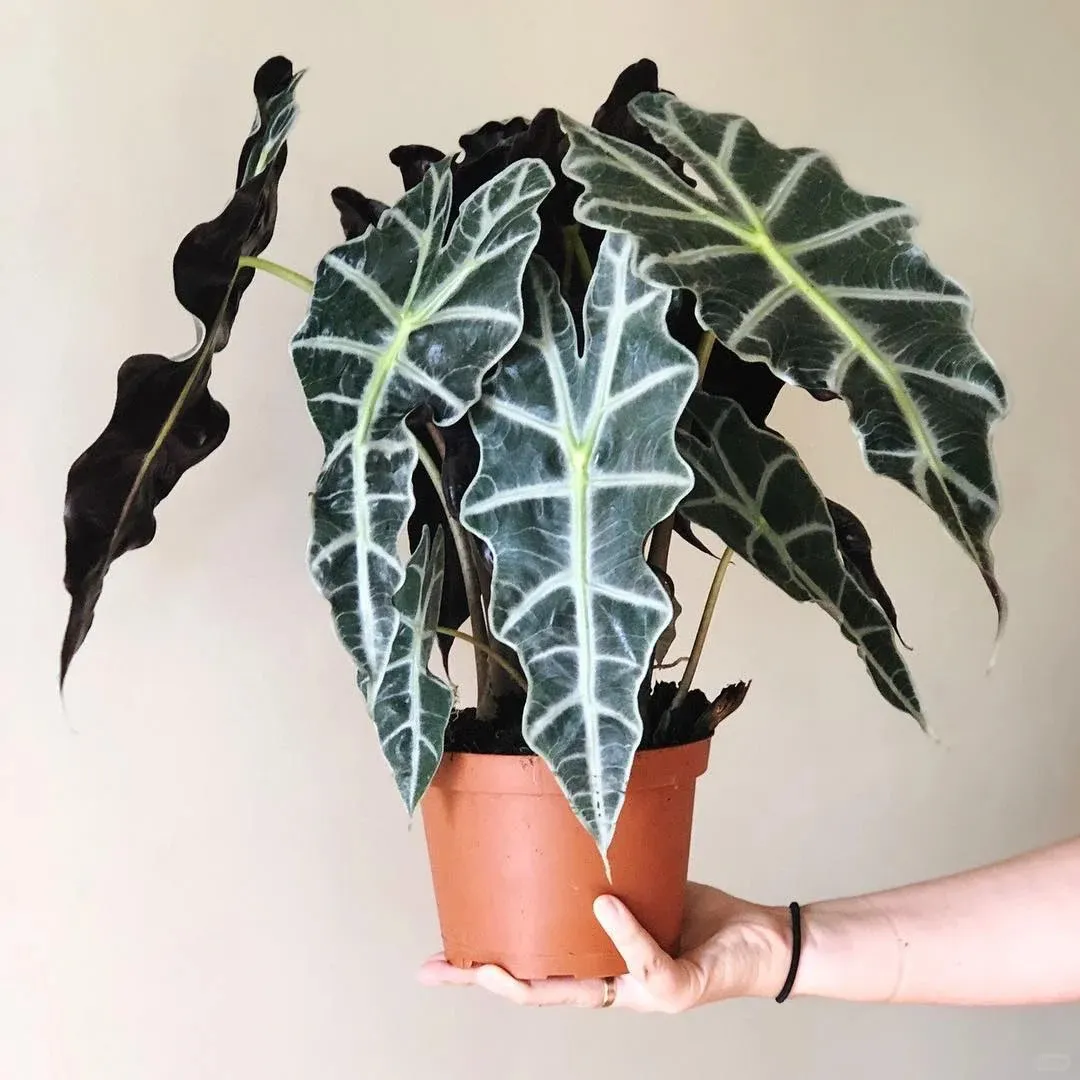
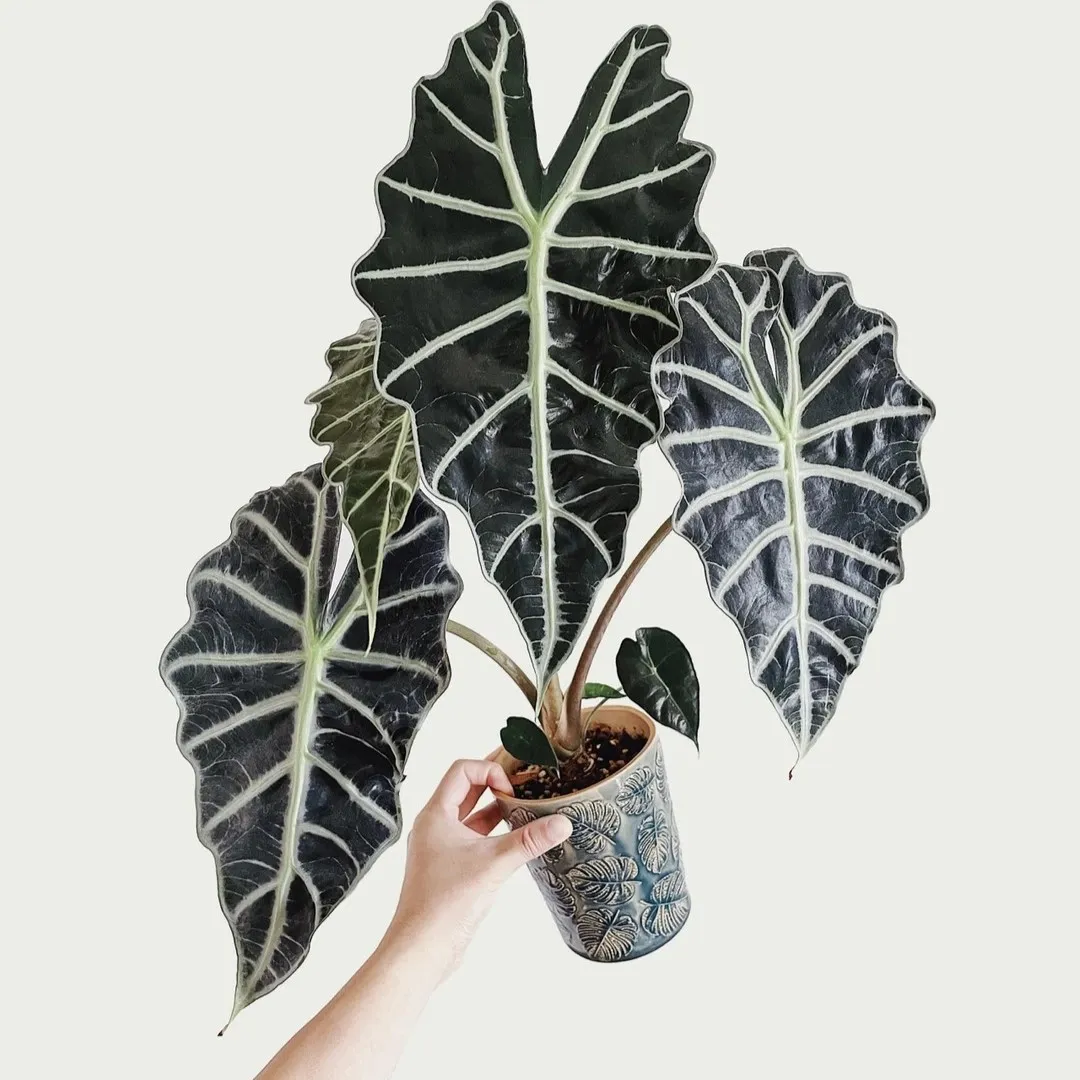
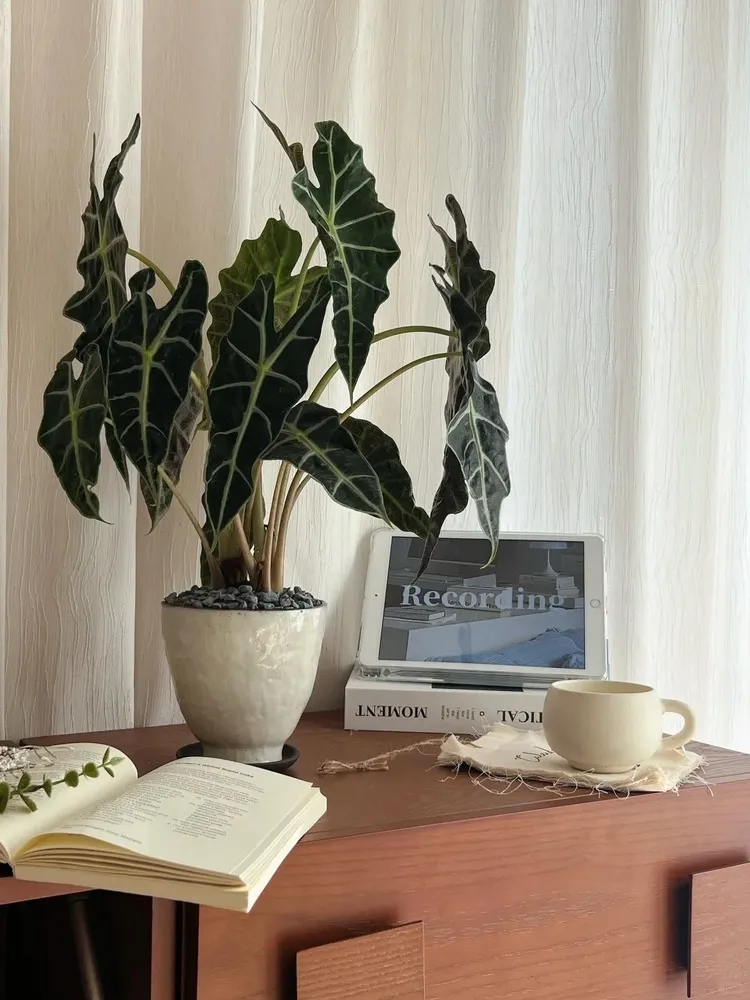
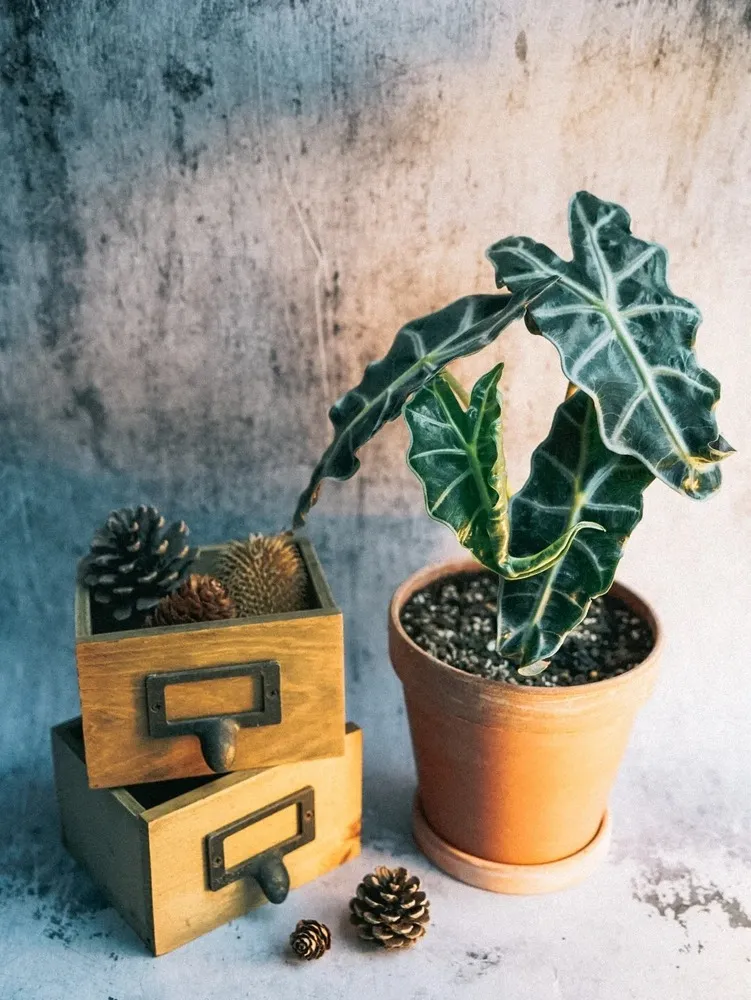
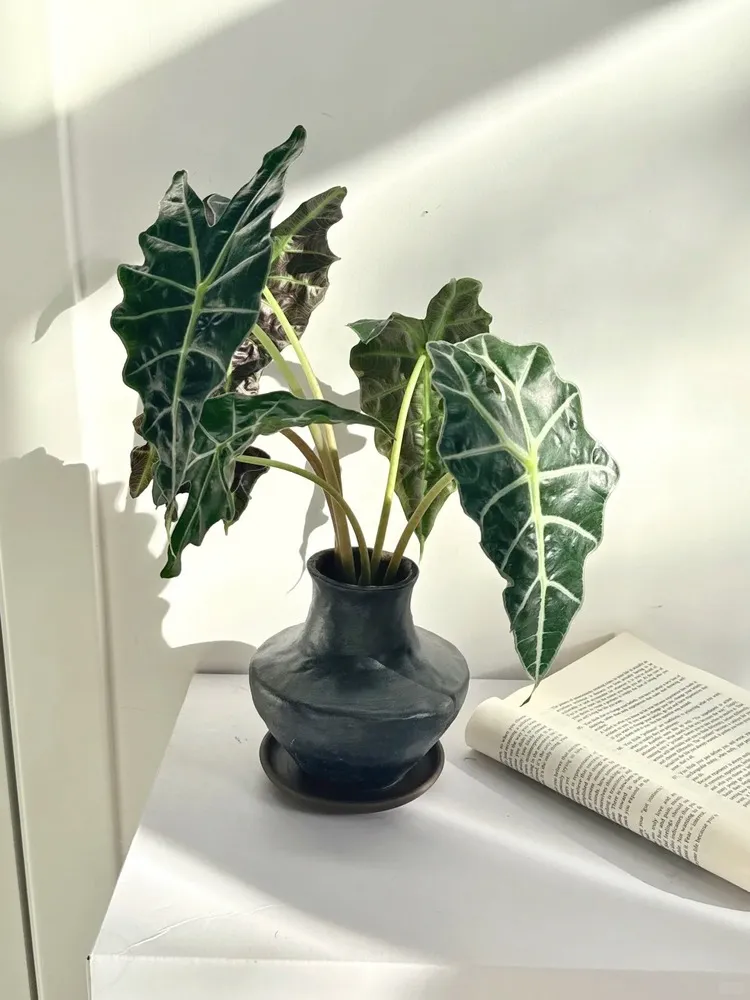
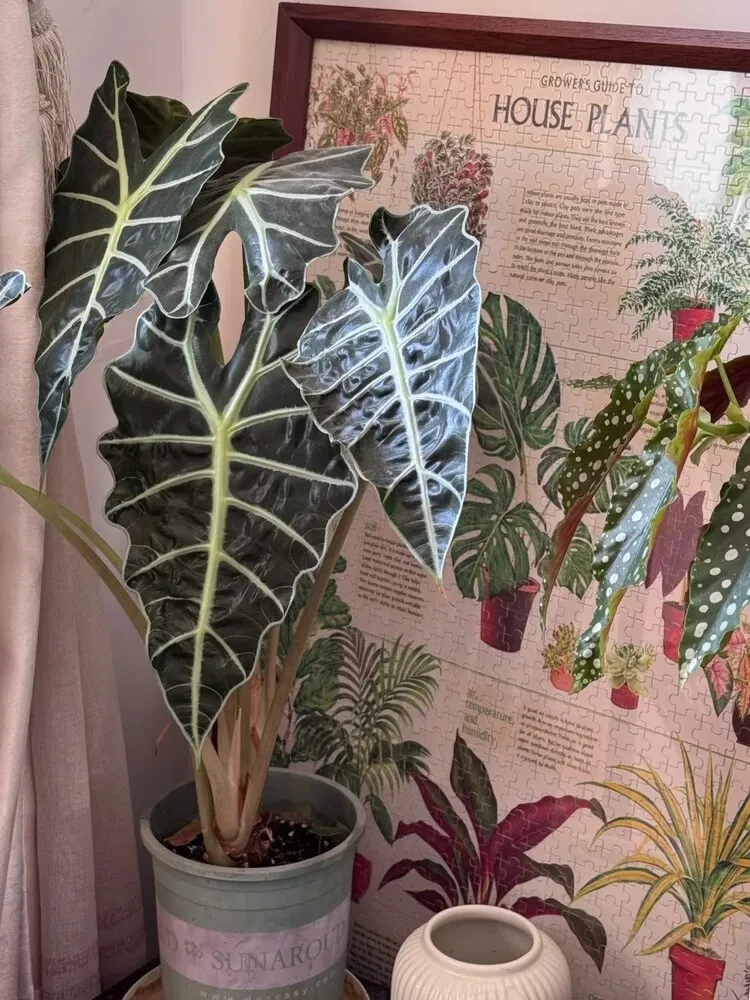
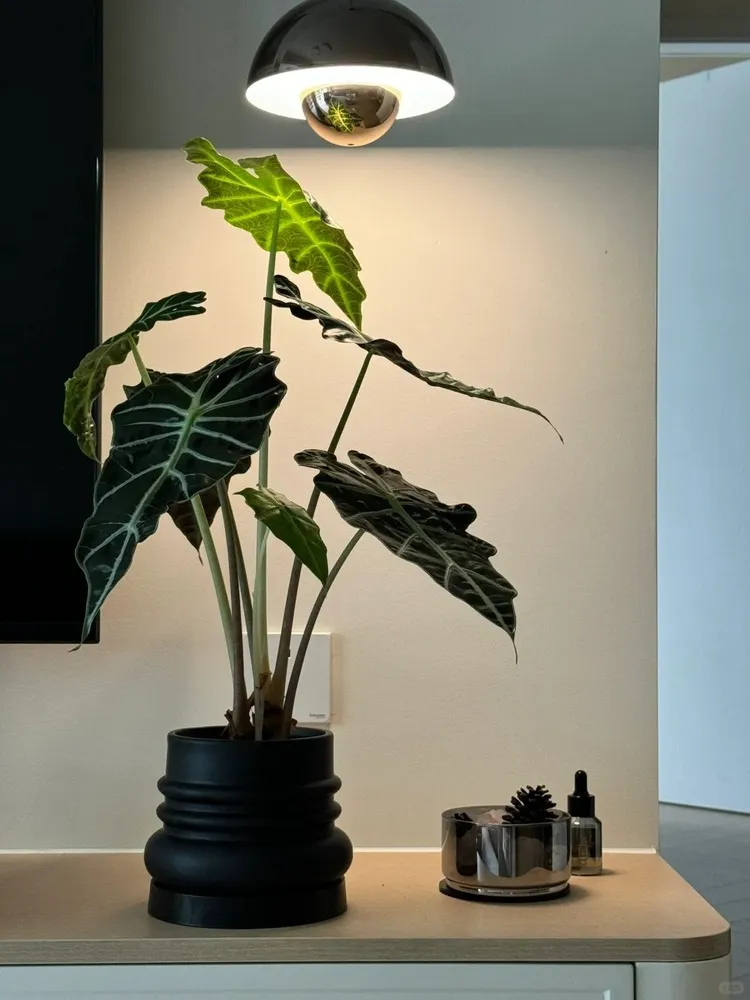
Alocasia Polly (Amazonica) is instantly recognizable for its dramatic, arrow-shaped leaves and sharp white to silver veins. The foliage is a deep, glossy green that almost looks lacquered, giving the plant a bold, architectural presence. Each leaf has defined ridges and scalloped edges, creating the “shield” or “mask” effect that has made this variety so iconic.
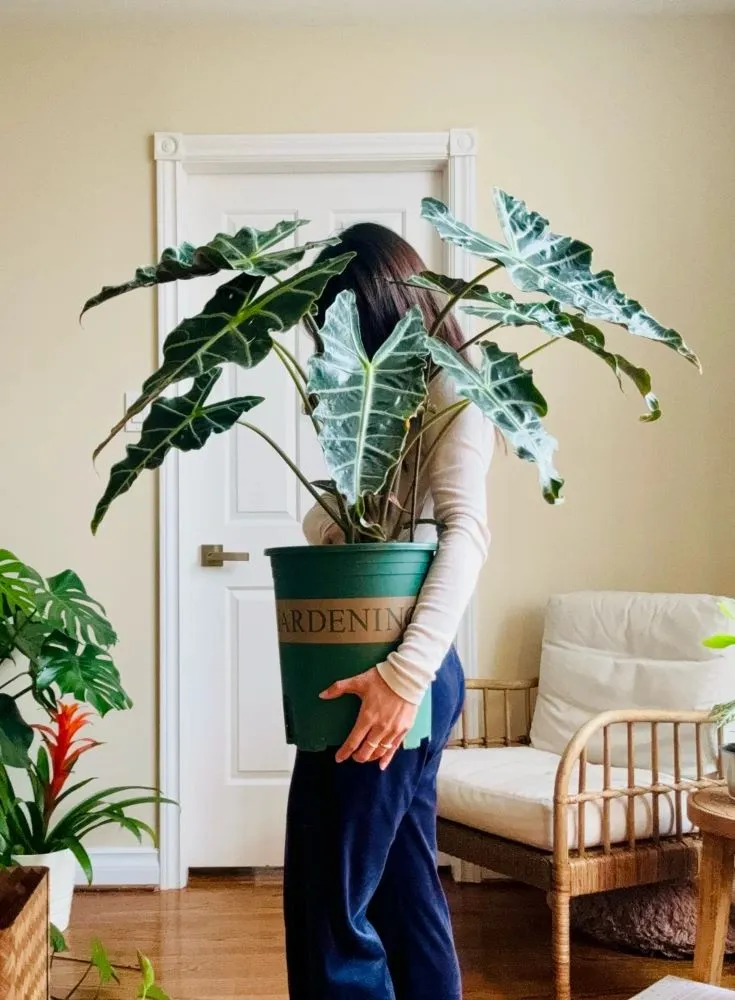
Compared with larger Amazonica types, Polly stays compact, producing shorter stems and a tighter clump of upright leaves. This makes it ideal for indoor spaces where you want something striking but not oversized. When light shifts throughout the day, the matte-glossy surface of the leaves creates subtle shadows that highlight its sculptural structure—one of the reasons many plant lovers consider Polly a “statement piece” plant.
Overall, it’s a variety prized not for size, but for shape, contrast, and dramatic texture.
Detailed Care Guide
Watering
Alocasia Polly likes moisture, but it does not like stale, airless wet soil. I water only after the upper part of the mix has started to dry. A simple way to check is to feel about 1–2 inches below the surface. If that layer still feels wet and cool, I wait.
The mistake I try to avoid is watering on a fixed schedule just because Polly looks tropical. Too much water around the roots, especially in a dense mix or a pot with poor drainage, is one of the fastest ways to trigger yellowing, drooping, and root rot. If you are not sure whether the plant is truly overwatered, compare the signs in my overwatered Alocasia symptoms guide.
When I do water, I water thoroughly and let the excess drain away. I do not let the pot sit in standing water. In warmer months, Polly may need water more often; in winter or cooler indoor conditions, I slow down and let the pot breathe longer between waterings.
I also avoid letting water sit in the crown or leaf joints for too long. A light increase in surrounding humidity is helpful, but soaking the center of the plant is not worth the risk.
→ Full guide: Alocasia Watering Tips
Light
Polly thrives in bright, indirect light, where its leaf color and contrast stay sharp. It can survive in medium light, but growth slows and the plant becomes more prone to leaf drop.
Avoid direct sunlight—its glossy leaves burn quickly, leaving pale patches along the edges.
→ More details: Alocasia Light Requirements
Soil
For Polly, I prefer a loose, chunky aroid mix rather than a heavy potting soil. The roots need moisture, but they also need oxygen. A mix that stays wet and compacted around the root ball can turn a small watering mistake into a root problem.
A simple mix can include coco coir or peat, perlite or pumice, and orchid bark or coco husk. The exact recipe is less important than the texture: it should feel airy, not muddy.
If I bring home a Polly in dense nursery soil, I do not always repot it immediately. I let the plant settle first unless the soil is clearly staying wet for too long. When I do repot, I usually keep the original root ball mostly intact and fill fresh chunky mix around it.
→ See recipes: Best Soil Mix for Alocasia
Temperature
Keep your Polly within 18–27°C (65–80°F). Cold drafts, air conditioners, or nighttime drops below 15°C (60°F) can cause sudden drooping or blackened tips. Stability matters more than perfection.
Humidity
Alocasia Polly enjoys 60%+ humidity, though it can adapt to typical indoor levels with proper watering. In dry seasons, a humidifier, grouping plants, or a bathroom placement can help prevent crispy edges and improve new leaf growth.
Fertilizer
Feed lightly during spring and summer with a diluted balanced fertilizer. Too much fertilizer can mark the leaves or dull their color. Once a month is enough for compact Alocasias like Polly.
Common Problems with Alocasia Polly
Like most Alocasias, Polly communicates through its leaves. Understanding these early symptoms makes troubleshooting much easier:
- Yellowing leaves → Usually caused by overwatering or compact soil holding too much moisture.
- Drooping or collapsing → Sudden temperature drops, underwatering, or root disturbance after repotting.
- Brown edges or tips → Low humidity, irregular watering, or salt buildup from fertilizer/tap water.
- Pale or faded leaves → Too much direct sun bleaching the glossy surface.
- Black spots → Cold drafts or water sitting on the leaf surface for too long.
- Stunted growth → Insufficient light, root stress, or rootbound conditions slowing new leaf cycles.
- Drooping after repotting → Often caused by root disturbance, sudden moisture change, or a root ball that was broken apart too aggressively. If the roots were healthy, I prefer keeping the root ball intact during repotting.
- Root rot → Usually shows up as sour-smelling soil, mushy dark roots, sudden drooping, or a potting mix that stays wet for too long.
Repotting Alocasia Polly Without Damaging the Roots
Alocasia Polly can react badly when healthy roots are disturbed too much. The roots are fleshy, fine, and easy to damage, especially the smaller feeder roots. Once those roots are torn or exposed for too long, the plant may struggle to take up water, droop after repotting, or become more vulnerable to rot.
For a normal repot, I do not bare-root the plant. I do not wash the roots, comb through the root ball, or remove all the old soil just to make the plant look “clean.” If the root system is healthy, I keep the root ball together as much as possible.
When I Prefer to Repot
The safest time is spring to early summer, when the plant is actively growing and the room is warm. I avoid repotting during cold periods, heat stress, or when the plant is already weak unless there is a real root problem that cannot wait.
Before repotting, I usually let the soil dry slightly for a few days. Not bone dry, but dry enough that the root ball holds together and slides out more easily. A soggy root ball breaks apart more easily and makes the whole process messier.
How I Move a Healthy Polly Into a New Pot
I gently loosen the pot first. If it is a flexible nursery pot, I press the sides instead of pulling the plant hard. If it is a rigid pot, I run a thin tool around the inside wall of the pot to separate the soil from the container, without stabbing into the root ball.
Once the plant comes out, I check the outside of the root ball. If the roots are firm and pale, I leave them alone. A few circling roots on the surface are not a reason for me to tear the whole thing apart.
The new pot should only be slightly larger than the old one. I add a small layer of fresh mix at the bottom, place the intact root ball in the center, then fill the side gaps with fresh airy mix. I press the new soil lightly around the edges, but I do not compact the root ball itself.
After repotting, I water gently to help the new mix settle around the old root ball. Then I keep the plant in bright indirect light with stable warmth and airflow. I do not fertilize right away. I give the roots time to settle first.
If your Polly has multiple crowns or offsets, repotting may also be the right time to divide it. For step-by-step division tips, see Alocasia Propagation Guide.
How I Rescue an Alocasia Polly With Root Rot
Root rot is the exception to my “do not disturb the roots” rule. If Polly is drooping, the potting mix smells sour, the soil stays wet for too long, or the roots feel black and mushy, then keeping the old root ball intact is no longer safe.
In that situation, I treat it as a rescue, not a normal repot.
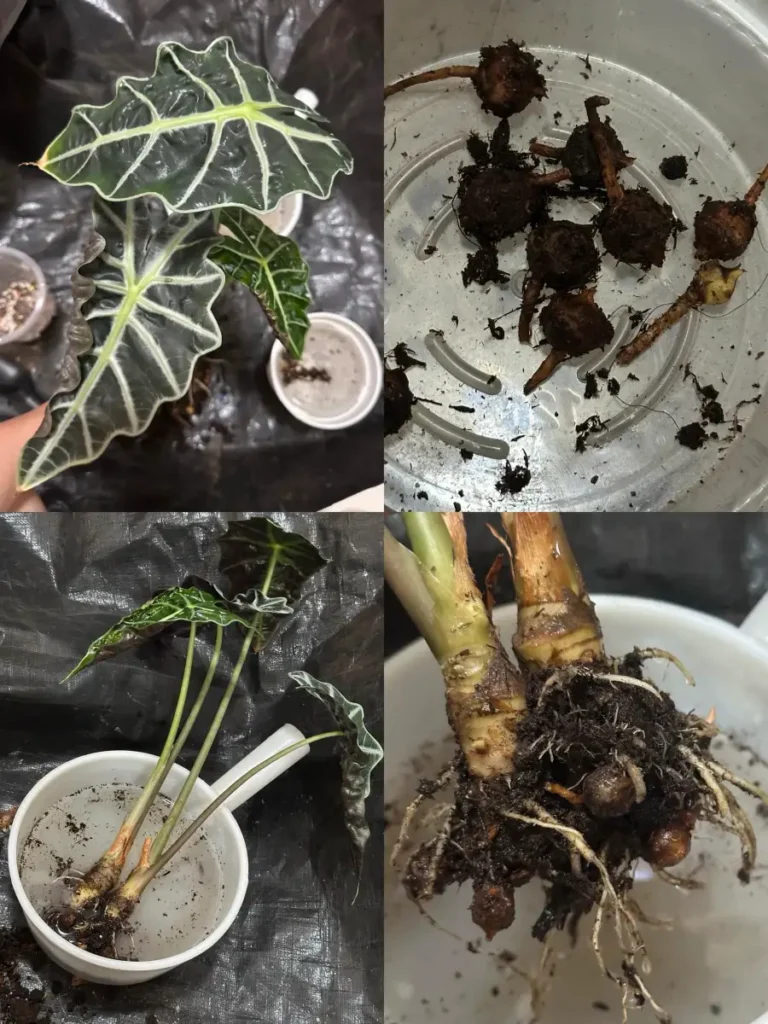
Step 1: Take the Plant Out and Check the Roots
I stop watering for a day or two first, then gently remove the plant from the pot. Healthy roots are usually firm and pale white to light tan. Rotten roots are soft, dark, hollow, or smelly. If the soil has a sour smell, I do not reuse it.
For root rot, I remove enough old soil to clearly see what is still healthy and what needs to go. This is different from a normal repot, where I try to keep the root ball intact.
Step 2: Cut Away the Rotten Roots
I use clean scissors or pruners and remove all soft, black, or mushy roots. I keep cutting until I reach firm, healthy tissue. It feels harsh, but leaving rotten roots behind usually causes the problem to continue.
After trimming, I let the plant sit in a shaded, airy spot for a few hours so the cuts are not soaking wet when it goes back into soil. Some growers use a fungicide soak at this stage. If you do, follow the label directions carefully rather than guessing the strength.
Step 3: Restart in Fresh Airy Mix
I use a clean pot with drainage holes and a fresh chunky mix. I do not use a much larger pot after root rot, because a big pot holds too much unused moisture around a weakened root system.
I place the plant at the same depth as before, fill around the roots gently, and avoid pressing the mix too hard. The goal is contact, not compaction.
Step 4: Aftercare After Root Rot
After a root rot rescue, I keep the plant in bright indirect light and stable warmth. I do not fertilize for at least a few weeks. The roots need to recover before they can handle feeding.
I also water more carefully than before. The mix should not stay wet for days, and the plant should never sit in standing water. If a few old leaves yellow after the rescue, I do not panic immediately. I watch the center growth and root stability instead.
If you are unsure whether the plant is only stressed or actually rotting, compare the symptoms in my Alocasia root rot guide.
FAQ
Love discovering new Alocasias?
Explore more compact, dramatic, and beginner-friendly Alocasias, or browse the full Alocasia Varieties Hub.
Go to Varieties Hub →