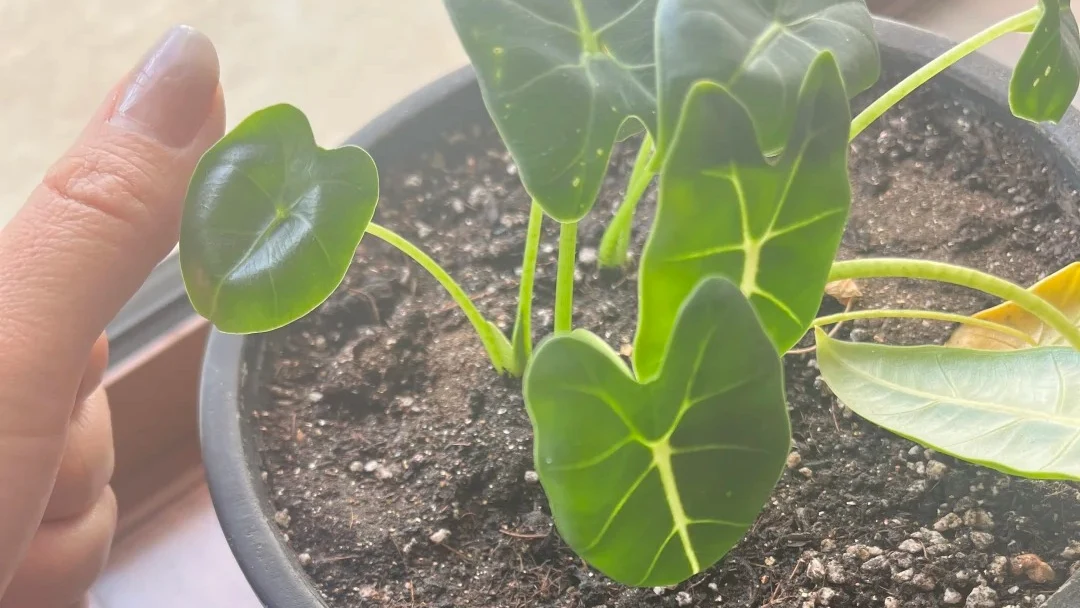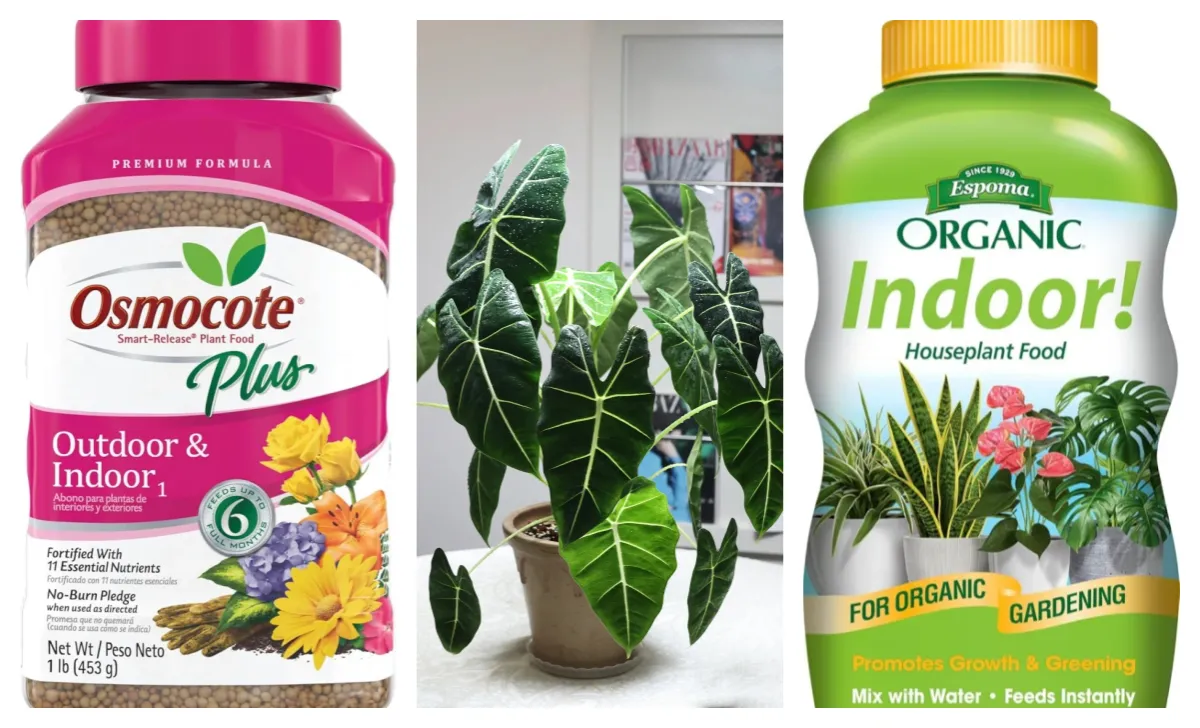
My green Swan Alocasia had been sitting quietly in my study for months.
It grew fast — from about 40 cm to nearly 80 cm — and all the way through summer, it looked strong and healthy. Big leaves, steady growth, no obvious issues.
Then I came back from a short business trip.
One night, while working at my desk, I noticed something strange.
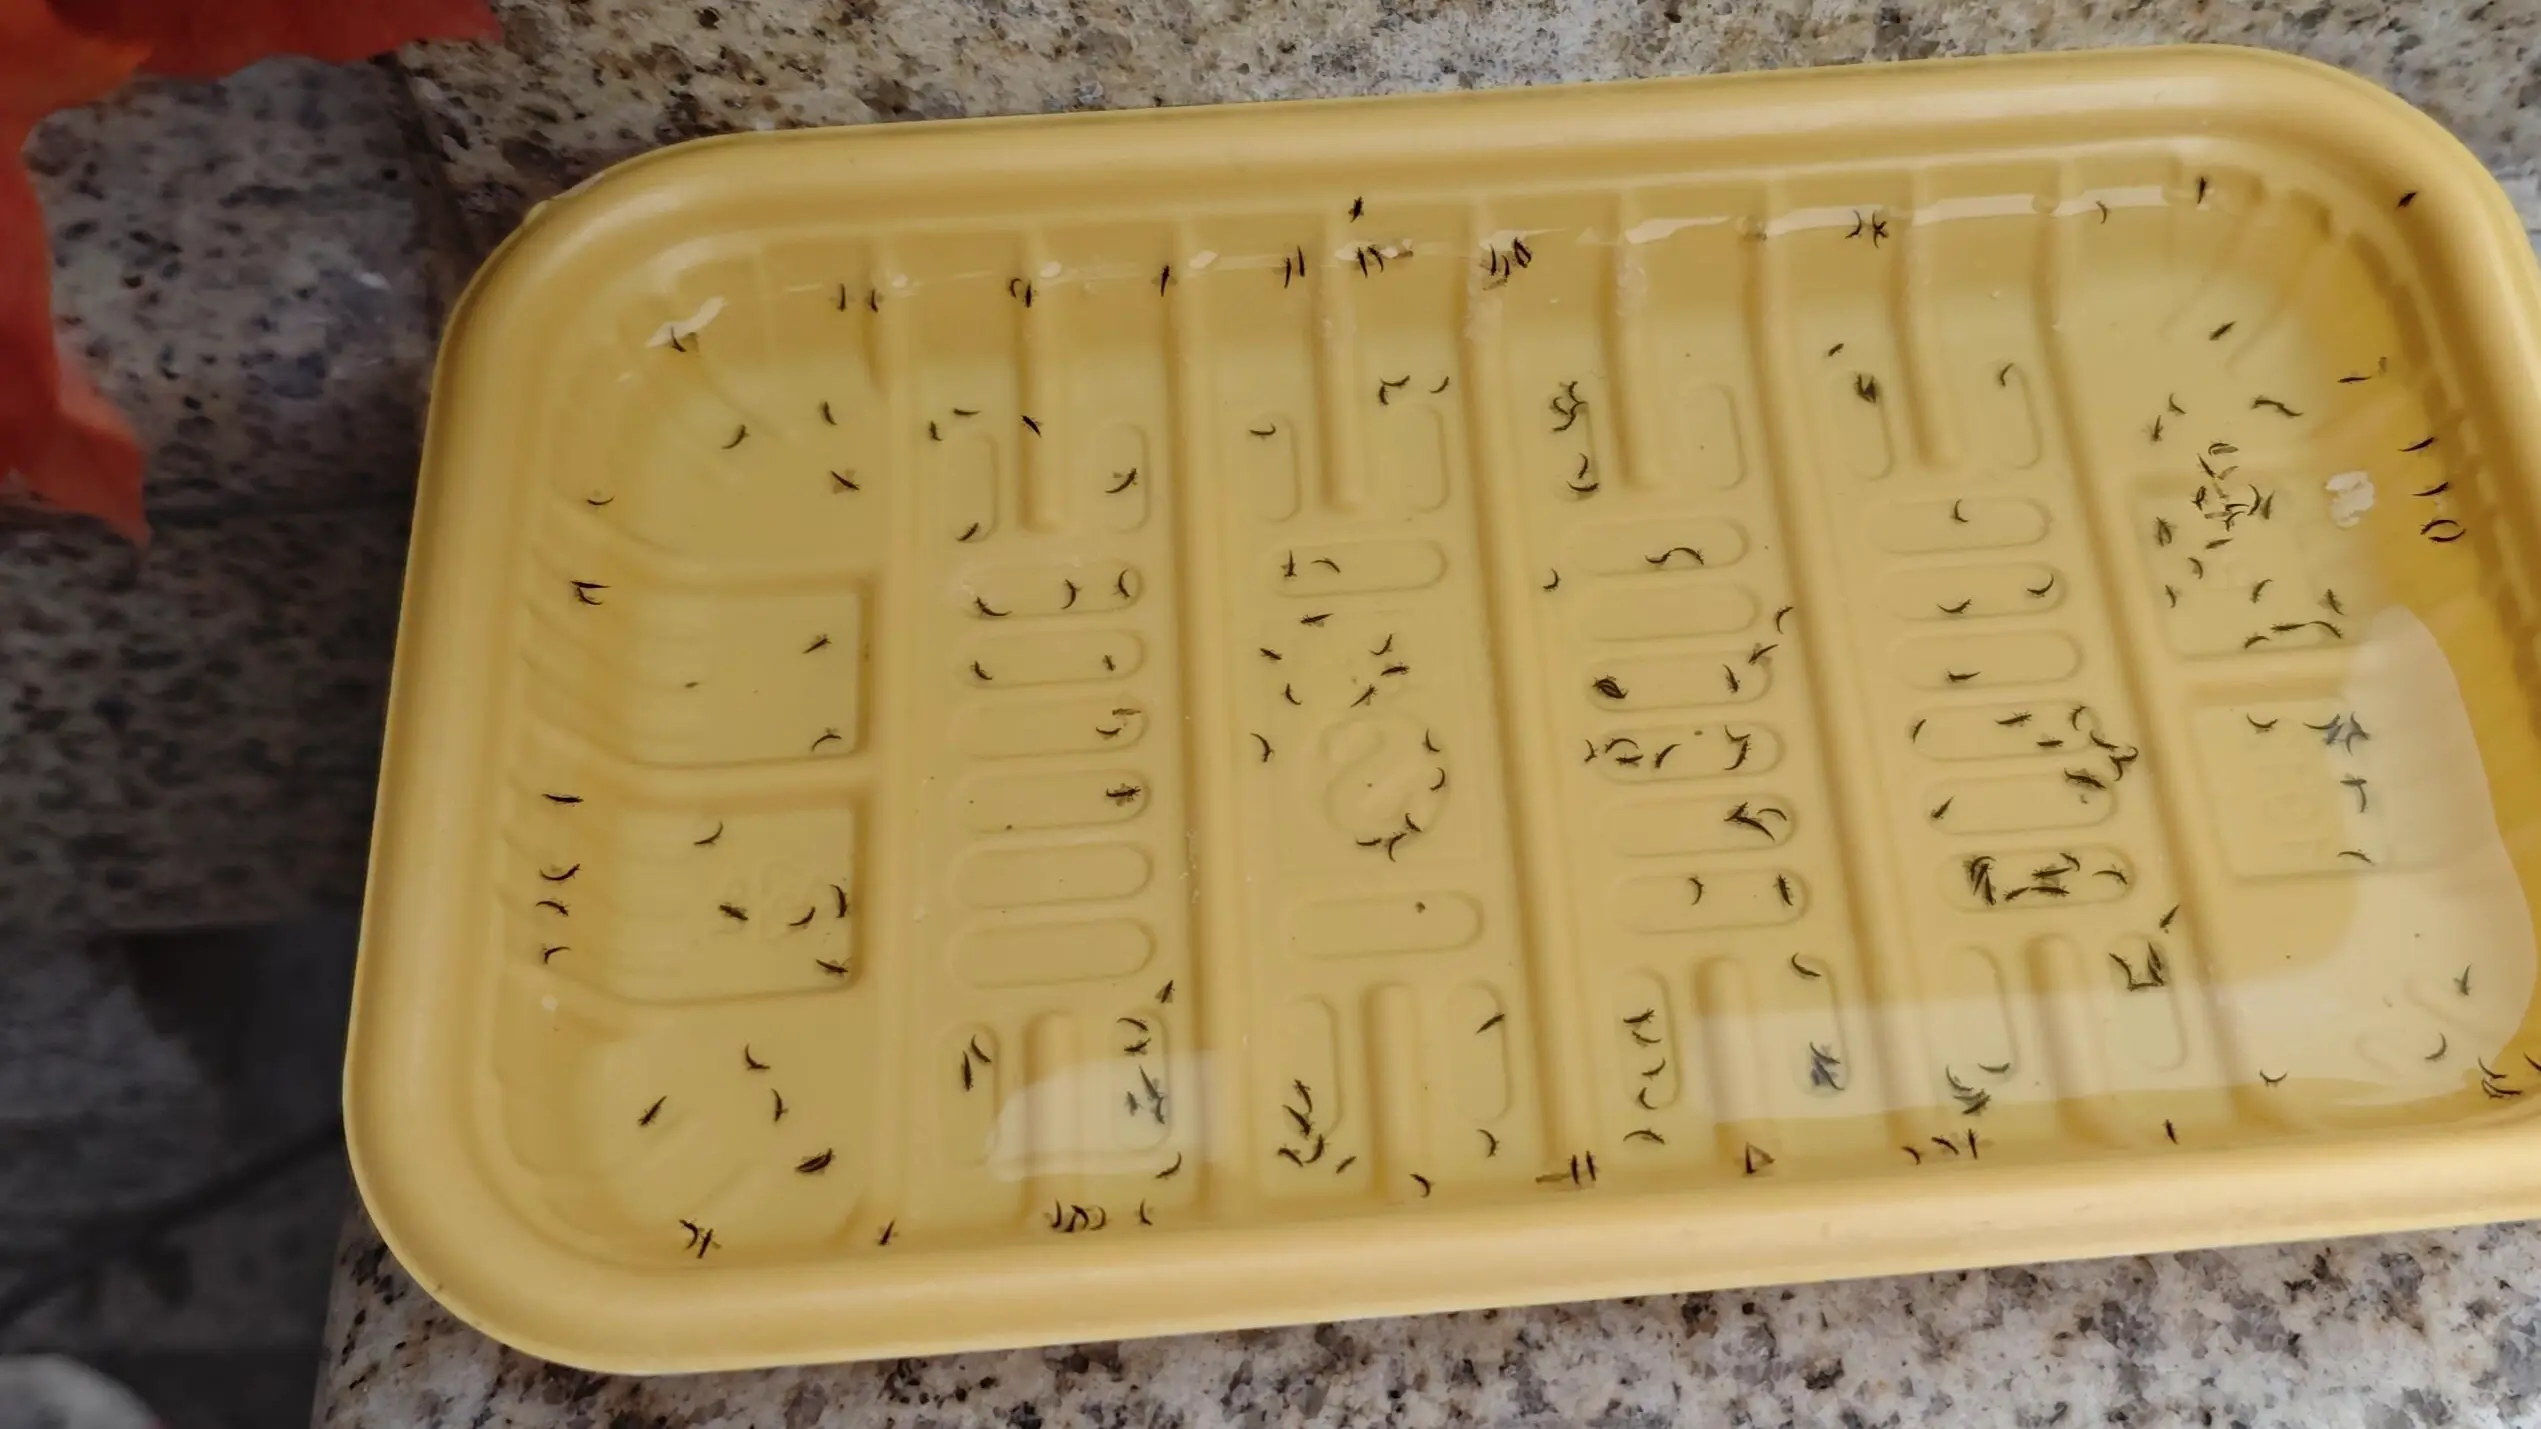
Tiny red dots kept crawling across my keyboard. I brushed them away without thinking, pressing them flat one by one — until it suddenly clicked.
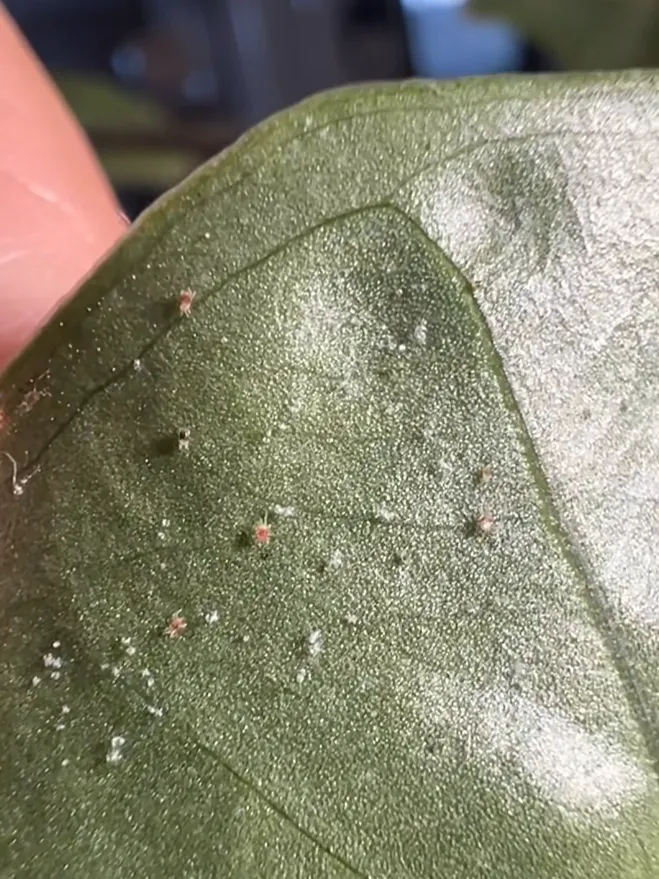
Wait… why are there red bugs on my desk?
I turned toward the plant.
That’s when I saw it.
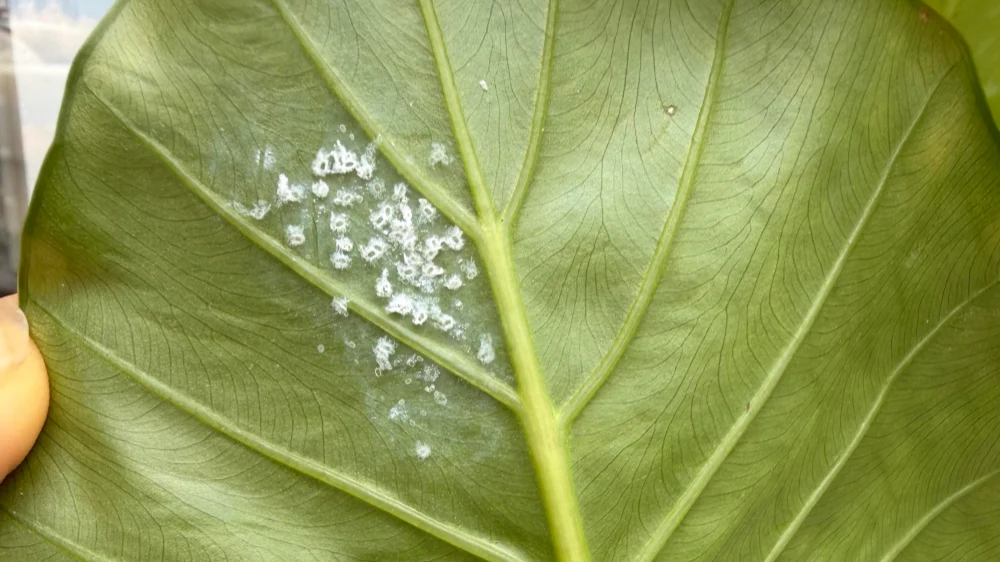
Fine webbing stretched across the leaves. Not dramatic at first glance, but once you see it, you can’t unsee it. The underside of the leaves looked dull and dusty, and the growth that once felt vigorous suddenly made sense in a different way — it had been under attack.
That was my first real encounter with spider mites on Alocasia.
What shocked me most wasn’t how fast they spread, but how quietly they did it. The plant still looked “okay” from a distance. No yellowing, no collapse — just subtle signs I had ignored until the infestation was already well underway.
This article isn’t a generic pest guide.
It’s exactly how I discovered spider mites, what actually stopped them, and what I now do differently so they don’t come back. If you’re dealing with other Alocasia issues too (drooping, curling, yellow leaves), you can also browse my Alocasia Problems Hub to troubleshoot step by step.
If you’re seeing unexplained webbing, tiny moving dots, or leaves that just don’t look right anymore — especially in warm, dry indoor spaces — this might save you a lot of time, panic, and unnecessary treatments.
Why Spider Mites Appear So Suddenly on Alocasia
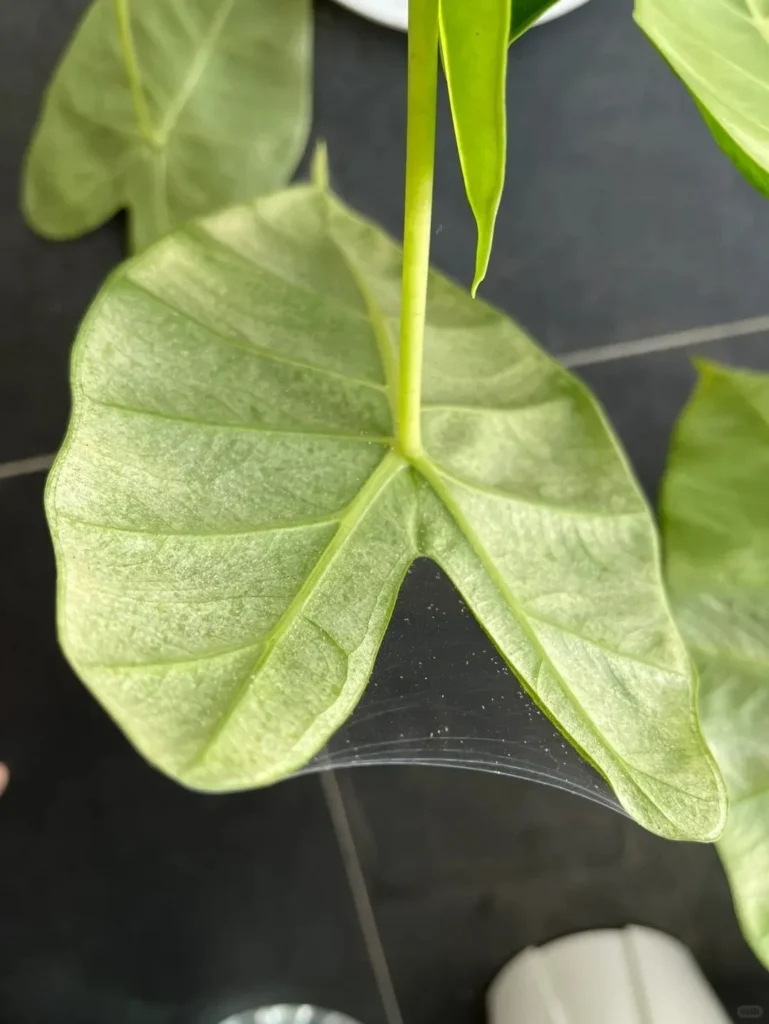
What confused me most at first wasn’t how to treat spider mites — it was why they showed up so suddenly. The plant had been growing beautifully for months. No visible stress, no warning signs I took seriously. And then, almost overnight, webbing.
Looking back, the signs were there. I just didn’t connect them yet.
Dry Indoor Air + Fast Summer Growth
Alocasia grow fast in summer, and mine was no exception. Bigger leaves, thicker stems, more surface area — all signs of health. But that rapid growth also meant the plant was constantly moving water through its leaves.
Inside a study, especially one with electronics and limited airflow, the air gets drier than we realize. I wasn’t running a humidifier consistently, and the plant was sitting in a warm, stable spot that felt comfortable to me. If you’re not sure whether your spot is actually “bright enough,” this guide on Alocasia light requirements can help you judge the difference between survival light and growth light.
Spider mites thrive in exactly that kind of environment: warm, dry, and still.
The faster the plant grows, the more vulnerable those fresh, tender leaves become.
At the time, I thought “it’s growing well, so conditions must be fine.”
In reality, growth was masking stress.
Why Even Healthy Alocasia Get Spider Mites
One of the biggest misconceptions I had was believing pests only attack weak plants. What I learned the hard way is that spider mites don’t wait for a plant to decline.
They prefer consistency — steady warmth, predictable dryness, and leaves that aren’t regularly disturbed. A healthy-looking Alocasia in a stable indoor environment is actually an ideal target.
From a distance, my plant looked fine. Up close, the leaves had started to lose a bit of their natural sheen. That dull, dusty look wasn’t dirt — it was early damage.
By the time I noticed webbing, the mites had likely been feeding for days, maybe longer. For overall care (watering rhythm, humidity, soil, and common mistakes), I keep an updated Alocasia care guide here.
What Changed While I Was Away
The final piece was the timing.
While I was traveling, no one checked the plant. No leaves were wiped, no underside inspected, no airflow adjustments made. Small changes — slightly drier air, a few warmer days — went unnoticed.
Spider mites reproduce fast. When conditions are right and nothing interrupts them, their population can explode in a matter of days.
It wasn’t one dramatic mistake that caused the outbreak.
It was a short period of unobserved stability — the exact environment spider mites love most.
Once I understood that, it became clear why prevention mattered just as much as treatment.
What I Did Immediately (Before Any Chemicals)
When I realized spider mites were involved, I didn’t wait for sprays or labels. I focused on reducing damage fast and breaking their momentum using what I already had at home. These first steps made a bigger difference than I expected.
Pruning the Worst Leaves First
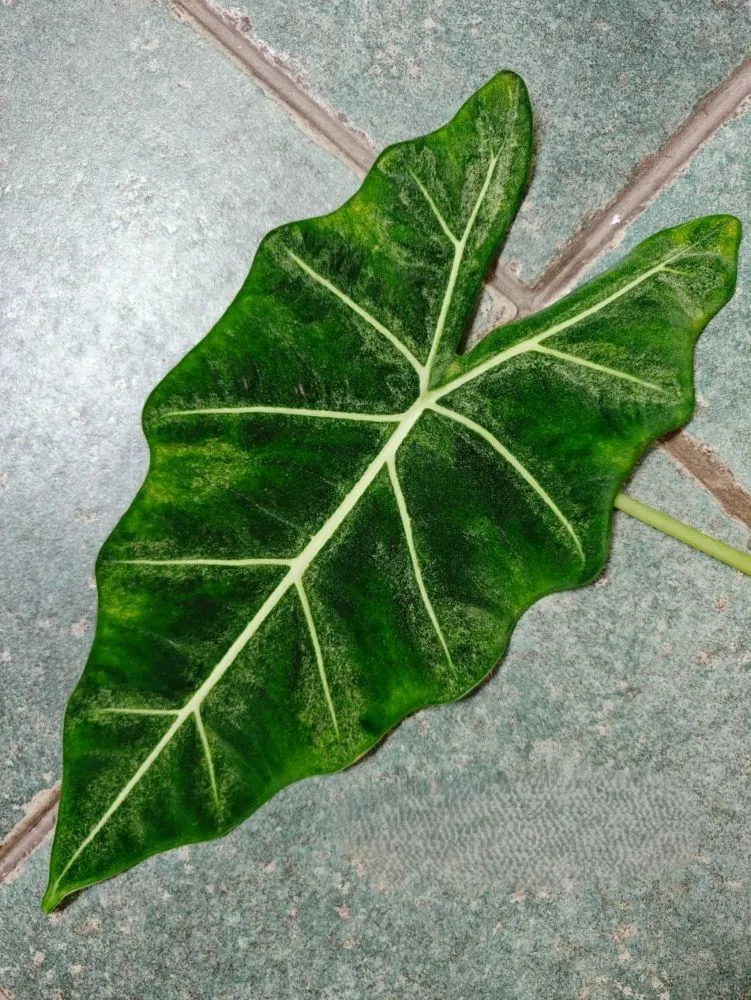
The first thing I did was remove the leaves that were clearly beyond saving.
This wasn’t about aesthetics — it was about numbers. Heavily infested leaves hold the largest mite populations and the most webbing. Leaving them on only gives pests more time and surface area to spread.
I used clean scissors and cut the worst leaves at the base, then removed them from the room entirely. That single step immediately reduced the pressure on the remaining leaves.
The 360° Shower Method
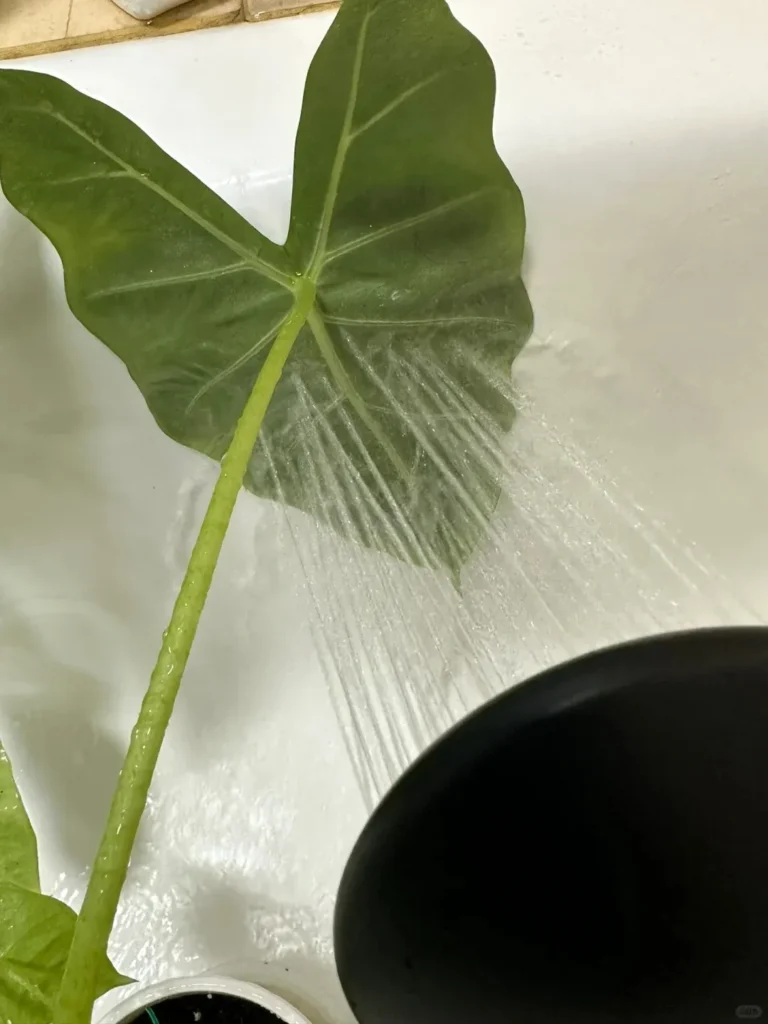
Next, I moved the plant into the bathroom.
Using a handheld shower, I rinsed every leaf from all angles — especially the undersides, where spider mites hide and feed. I didn’t rush. Each leaf was supported by hand and thoroughly washed, including the leaf stems and joints.
This wasn’t a gentle mist. It was a deliberate, physical removal of mites, eggs, and webbing. I repeated this full shower every two days, and each time, I could see fewer signs of activity.
Water alone doesn’t “kill” spider mites — but it removes them, and that matters. One thing I watched closely was overwatering after repeated showers — Alocasia can spiral fast if roots stay wet. If you’re worried about that, this post on Alocasia root rot explains the early signs I look for.
Using Diluted Alcohol Safely
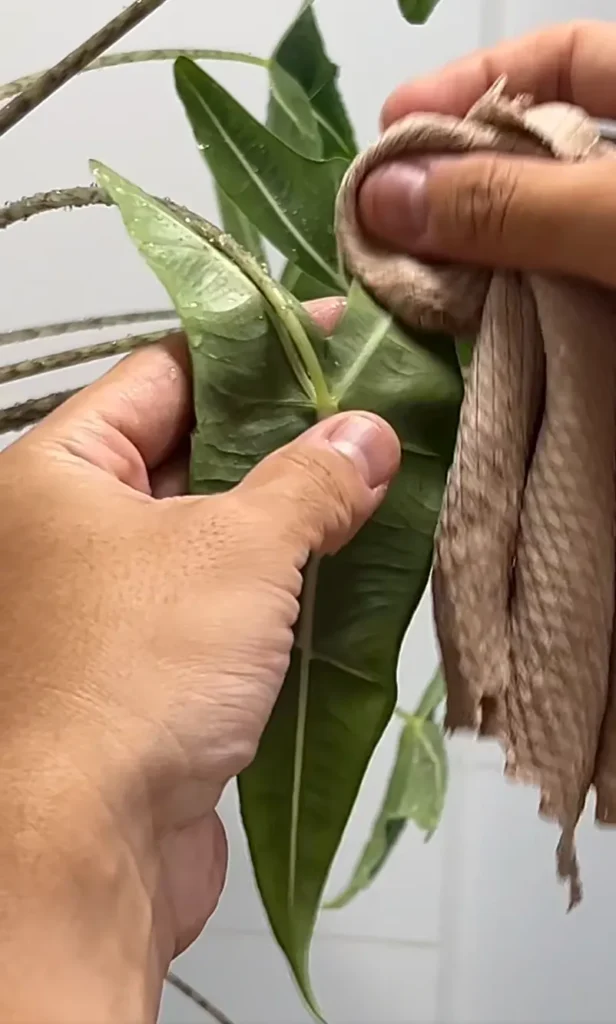
After rinsing, I used a diluted alcohol solution to spray the leaf surfaces.
This step needs care. I never sprayed dry leaves. Alcohol on dry Alocasia leaves can damage the surface and leave permanent scars, especially on textured varieties.
I waited until the leaves were still slightly damp from the shower, then lightly sprayed both sides. Before treating the whole plant, I tested one leaf and waited. When no damage appeared, I continued.
This wasn’t about soaking the plant — just a controlled, targeted application. After any pest treatment week, I always return to a simple watering check instead of a fixed schedule — if you struggle with that part, this guide on how often to water Alocasia may save you a lot of second-guessing.
Humidity Boost (and Airflow)
Finally, I adjusted the environment.
Spider mites struggle in higher humidity, so I ran a humidifier near the plant for about two hours a day. I also lightly misted the leaves, front and back, to keep conditions less favorable for mites.
At the same time, I made sure airflow wasn’t blocked. Humidity helps, but stagnant air creates new problems. The goal was moist air that moves, not trapped moisture.
These steps didn’t eliminate spider mites overnight — but they slowed them down enough for me to regain control before any chemicals arrived.
The Part That Actually Ended the Infestation
If I’m being honest, the shower and sprays slowed the spider mites — but they didn’t finish them.
What actually ended the infestation was something much less glamorous: daily, deliberate observation.
Daily Inspections (Especially at Night)
After the initial treatment phase, I checked the plant every single day.
Not casually. Not from across the room. I picked up each leaf, flipped it over, and looked closely at the undersides — especially at night, when spider mites are more active and easier to spot under direct light.
This is when I started noticing the truth: even after washing and spraying, a few mites always survived. They were easy to miss during the day and invisible from a distance.
But once I made nightly checks a habit, nothing escaped for long. Sometimes people confuse early mite damage with “random leaf issues.” If your leaves also look limp or soft, you may want to compare with Alocasia leaves drooping — the causes overlap more than you’d think.
Why I Manually Removed the Last Survivors
Whenever I spotted a moving red dot, I didn’t hesitate.
I removed them manually — literally pressing them off the leaf with my finger or tissue. It sounds crude, but it was incredibly effective.
By that point, the population was small. Every mite I removed meant dozens that wouldn’t be born a few days later. This step closed the gap that sprays and water alone couldn’t.
More importantly, it gave me confidence. I wasn’t guessing anymore — I knew what was happening on my plant.
How I Knew It Was Finally Over
The signs weren’t dramatic, but they were clear.
No new webbing appeared.
New growth emerged clean and undamaged.
And for several days in a row, I couldn’t find a single moving dot — even during late-night inspections.
That’s when I stopped reacting and started maintaining.
From that point on, spider mites weren’t something I feared anymore. They became something I knew how to spot early — and stop completely.
What to Do If Spider Mites Keep Coming Back
Most spider mite outbreaks can be controlled with consistent washing, humidity adjustments, and close monitoring. But sometimes, despite doing everything “right,” they return.
That doesn’t mean you failed — it means it’s time to change tactics.
When Showers Are No Longer Enough
If you’ve been rinsing the plant regularly and still see new webbing or active mites after a full week, water alone may not be breaking the cycle.
This usually happens when:
- Eggs survive in protected areas like leaf joints and petioles
- The infestation spread before you noticed it
- Multiple plants were affected and reinfected each other
At this point, showers can reduce numbers, but they won’t eliminate the population entirely.
When to Consider Miticides
Miticides aren’t my first choice — but they do have their place.
I start considering them when:
- Spider mites return repeatedly after 7–10 days
- New leaves show damage shortly after unfolding
- Manual removal becomes unrealistic
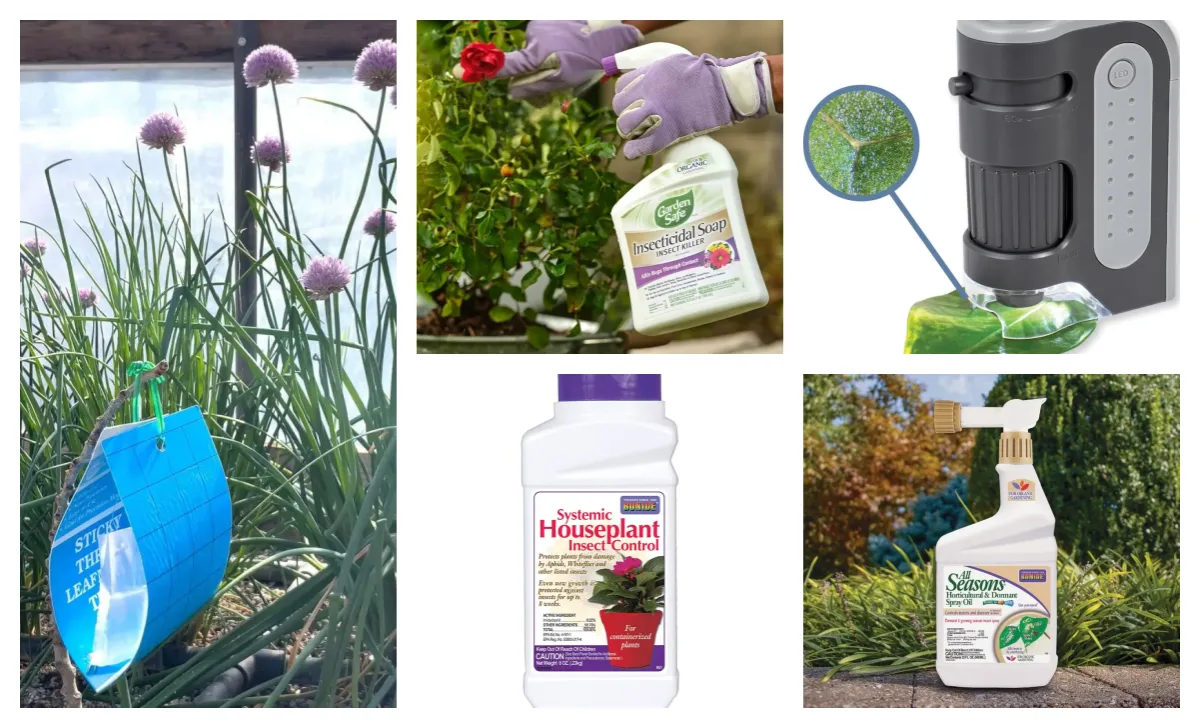
If you go this route, make sure the product is specifically labeled for spider mites. General insect sprays often don’t work well on mites and can even make things worse by harming beneficial predators.
Always follow the instructions, test on a small area first, and avoid over-application. Stronger doesn’t mean better.
Why Treatments Must Repeat
This is the part many people miss.
Spider mite treatments rarely work in a single round. Eggs are resistant to many treatments, and newly hatched mites can repopulate the plant within days.
That’s why repeat applications matter — usually every few days, over multiple cycles. The goal isn’t just killing adults, but interrupting reproduction.
Once I understood this, treatment made sense. Consistency, not intensity, is what finally prevents a comeback.
How I Prevent Spider Mites on Alocasia Now
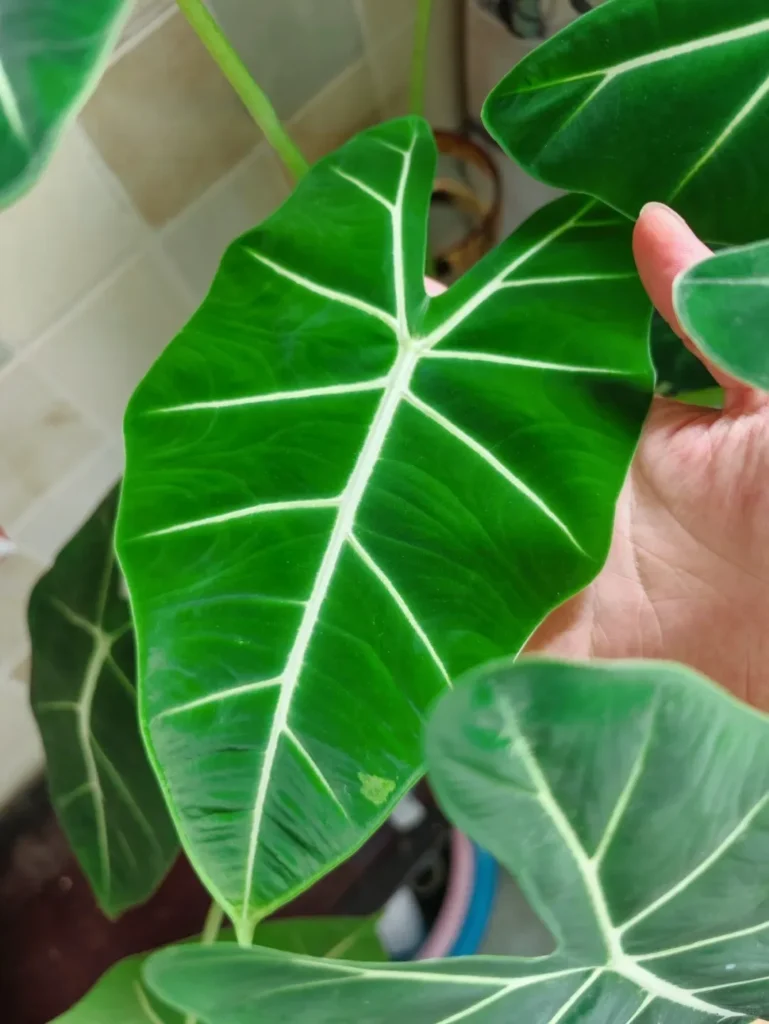
After dealing with spider mites once, I realized prevention doesn’t need to be complicated. It just needs to be consistent.
My Weekly Check Routine
About once a week, I do a quick inspection.
I flip a few leaves, especially newer ones, and check the undersides under good light. It only takes a minute, but it’s usually enough to catch problems early.
Humidity and Airflow Balance
I no longer aim for “high humidity” at all costs.
Instead, I focus on balance — slightly moist air with gentle movement. A humidifier helps, but so does making sure the plant isn’t stuck in still, dry corners of the room. And if you keep seeing leaf edges curl or crisp during dry seasons, this breakdown on Alocasia leaves curling helps you separate humidity problems from watering mistakes.
Isolating New Plants
Any new plant gets its own space for at least a week or two.
Even healthy-looking plants can carry pests, and isolation gives me time to observe before introducing them to the rest of the collection.
These small habits have made spider mites something I manage — not something I worry about. During quarantine, I also pay attention to the potting mix — pests are one problem, but soggy soil creates another. If you’re rebuilding your setup, my best soil mix for Alocasia is what I personally stick to.
FAQ
In my experience, spider mites don’t appear because you’re a “bad plant parent.” They usually show up when conditions quietly shift — drier air, higher temperatures, or less daily observation. Even very healthy Alocasias can get mites if the environment becomes favorable for them.
They don’t need dramatic movement. Mites can travel through air currents, nearby leaves touching, or even on your hands and clothes. That’s why I now isolate affected plants immediately and avoid checking multiple plants back-to-back without washing my hands.
In my case, I eliminated a full infestation without miticides, using showers, humidity, alcohol spray, and daily checks.
However, if mites keep returning or spread to multiple plants, chemicals can become necessary — not as a first reaction, but as a backup plan.
The visible mites may disappear in a few days, but I consider the infestation “over” only after at least 10–14 days with no new webbing or fresh damage. The key isn’t speed — it’s consistency.
Spider mite damage is permanent. The goal isn’t to “heal” old leaves but to protect new growth. If new leaves emerge clean, that’s your real success indicator, not how old damage looks.
I missed them during daytime checks, but at night, under indoor lighting, I could clearly see movement. That single habit — checking after dark — changed how quickly I catch infestations now.
Trouble with your Alocasia?
Find real fixes for yellow leaves, drooping stems, and root issues in our Problems Hub.
Go to Problems Hub →