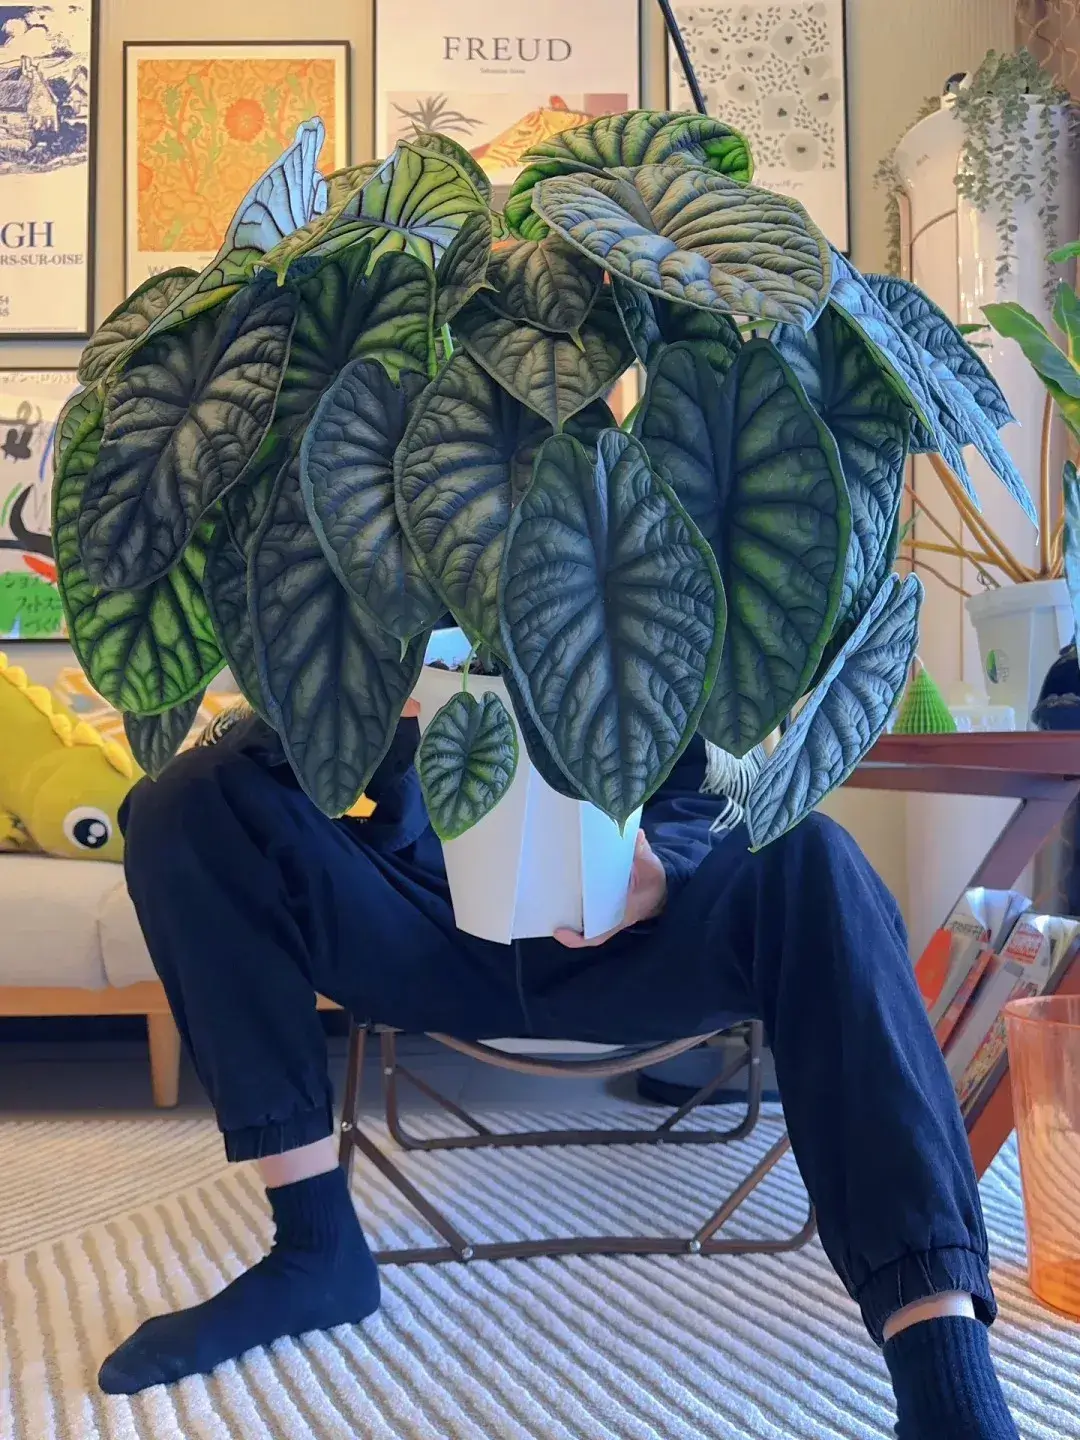
I bought Alocasia Stingray because of its strange leaf shape. The rounded leaves and long pointed tips looked completely different from the other Alocasias I was growing, and at first, I treated it mostly as a decorative plant with a funny personality.
Then one leaf started showing yellow spotting. It did not look like a normal old leaf fading, so I checked the plant more carefully. When I turned the leaves over, I found tiny white specks and a little fine webbing. That was my first real spider mite outbreak on an Alocasia.
After washing the plant, treating it, and keeping it in better airflow, my Stingray slowly recovered. Over the next few months, the roots grew stronger, the plant settled in, and I finally started to understand its texture and character. It became one of the most satisfying Alocasias I have grown — not because it was perfect, but because I learned so much from saving it.
What Makes Alocasia Stingray Different
Alocasia Stingray is a plant people notice because of its leaf shape, not because it has velvet texture, dramatic white veins, or rare variegation. The leaves have a rounded body with a long pointed tip, which really does give the plant that stingray-like look.
I would not call it the most elegant Alocasia in my collection, but it has character. If you want an unusual Alocasia without chasing expensive variegated types, Stingray is a fun one to grow.
It Can Look Awkward Before It Looks Beautiful
Young Stingray plants can look a little uneven at first. Some leaves may be smaller, some tails may be shorter, and the whole plant can feel awkward before it settles in.
I would not judge it too early. Mine only started to look more impressive after it recovered from spider mites, built stronger roots, and began producing healthier leaves. Once the root system improved, the leaf shape looked much better instead of just strange.
The First Sign Something Was Wrong
The first warning sign was not a full collapse. From a distance, my Alocasia Stingray still looked mostly fine. The problem was one leaf with yellow speckling that did not look like normal aging.
It Started With Speckled Yellowing, Not a Normal Old Leaf
A normal old Alocasia leaf usually fades more evenly before it drops. This looked different. The surface had small yellow spots, dull patches, and that slightly tired, dusty look that made me pause.
That difference is important. Spider mite damage often starts as tiny pale or yellow speckles before the plant looks badly damaged. If I had only treated it as a normal yellow leaf, I probably would have missed the outbreak for much longer.
Checking the Underside Changed Everything
After seeing the strange spotting, I checked each leaf more carefully, front and back. That was when I found the real clue: tiny white dust-like specks on the underside of the leaves, along with a little fine webbing.
Once I saw specks and webbing together, I knew this was not just a watering issue. That moment taught me not to diagnose Alocasia problems from the top of the leaf alone.
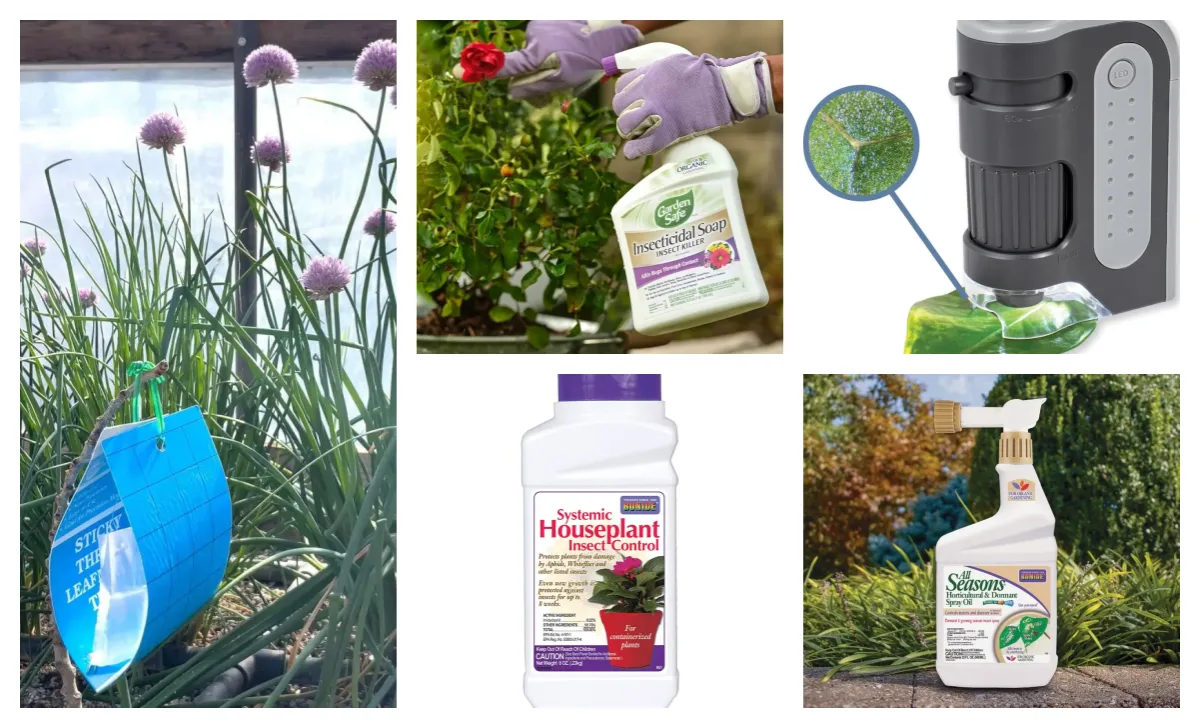
What I Did During My First Spider Mite Outbreak
Because this was my first real spider mite outbreak, I did not have a perfect routine yet. But I knew I needed to do three things quickly: remove as many mites as possible, keep the plant away from my other houseplants, and keep checking after treatment.

I Washed the Whole Plant First
I put on disposable gloves and rinsed the whole Alocasia Stingray with cool water. I focused on both sides of the leaves, especially the undersides, where I had seen the white specks and webbing.

After rinsing, I gently wiped the leaves dry. Washing was not a complete cure, but it removed a lot of visible mites, webbing, and dust-like specks before I used any stronger pest treatment.
I Moved It Outside for Treatment
After washing, I moved the plant outdoors for pest treatment. I did not want spray residue indoors, and I wanted the affected plant away from the rest of my collection for a while.

I also kept it out of harsh direct sun after treatment. A rinsed or sprayed plant can be more sensitive, and strong sun at that moment can add extra stress.
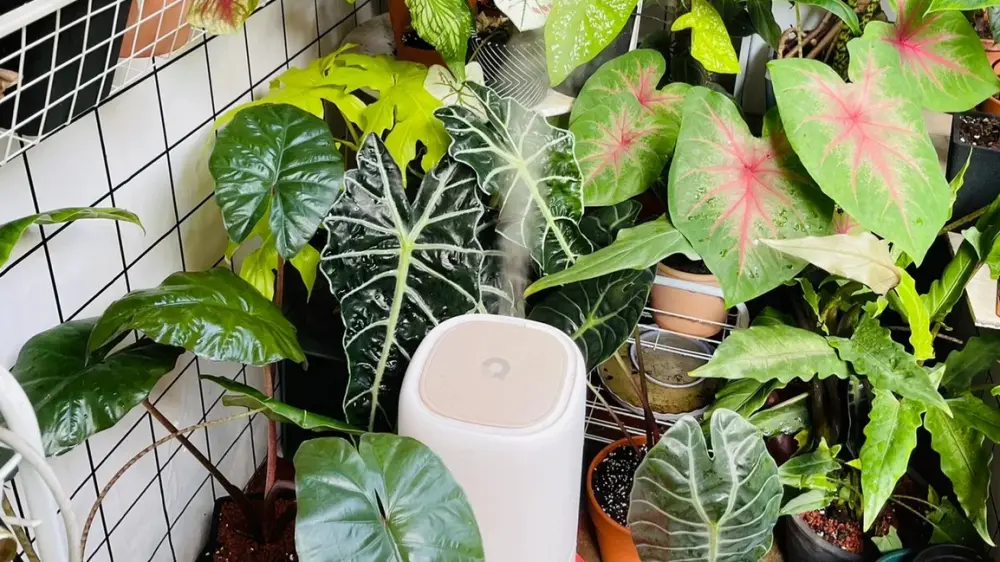
I Kept It in Better Airflow Afterward
After treatment, I kept the plant in a brighter, better-ventilated spot. Good airflow helped the leaves dry properly and kept the plant from sitting in a still, damp corner.
The biggest lesson was that one treatment is rarely the end. I kept checking the undersides and petiole areas over the next few days because hidden mites or eggs can remain even after the leaves look cleaner.

What Recovery Looked Like Later
The recovery was not instant, but over the next few months, the plant became much stronger. When I repotted it later, I could see that the roots had filled the pot much better than before. That was the point where I felt the plant had truly recovered, not just survived the spider mite outbreak.

It also started producing small offsets around the base. If you are not sure when to separate pups or leave them with the mother plant, my Alocasia propagation guide covers the basic approach. For me, those offsets were a much better sign than one perfect leaf. Stronger roots and new little shoots told me the plant was active again and had enough energy to keep growing.

How I Care for Alocasia Stingray Now
After dealing with spider mites and watching my Alocasia Stingray recover, I care for it less like a decoration and more like a plant that needs regular observation. I do not fuss over it every day, but I do check the leaf undersides, watering rhythm, and airflow much more carefully than I did at first.
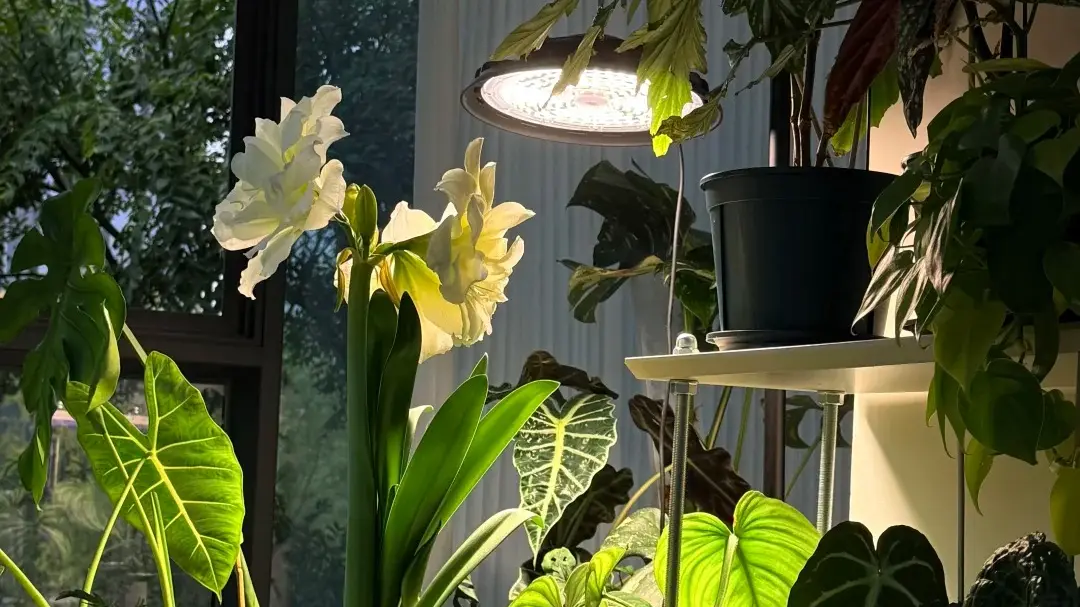
Light
I keep my Alocasia Stingray in bright indirect light. An east-facing window or a bright filtered window works well, especially if the plant can get gentle morning sun without being exposed to harsh afternoon light.
This matters even more after spraying, washing, or any kind of stress. Wet or recently treated leaves should not sit in strong direct sun, because that can add more stress just when the plant is trying to recover.
Watering
I check below the surface before watering. My usual rule is to follow a flexible Alocasia watering rhythm: water when the top few centimeters of the mix have dried, then water thoroughly until the whole root ball is evenly moistened and the excess can drain away.
I do not keep the pot constantly wet, and I do not give tiny sips of water. For Stingray, I would rather water properly and then wait, instead of keeping the root zone lightly wet all the time.
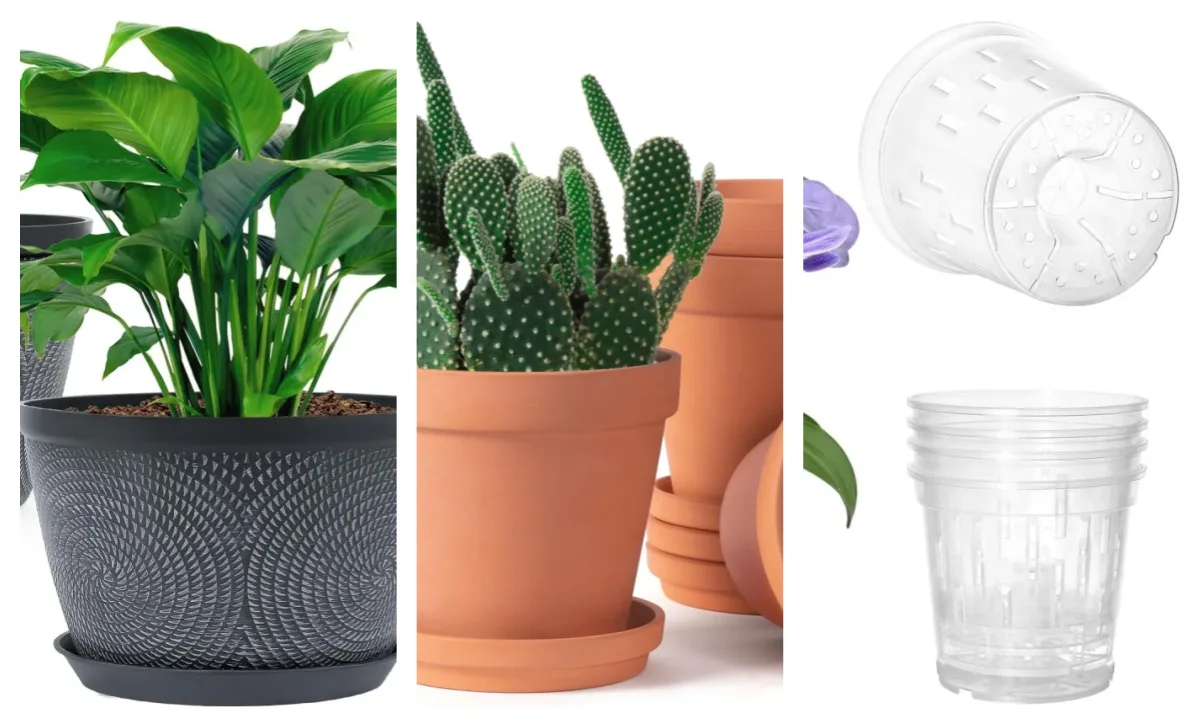
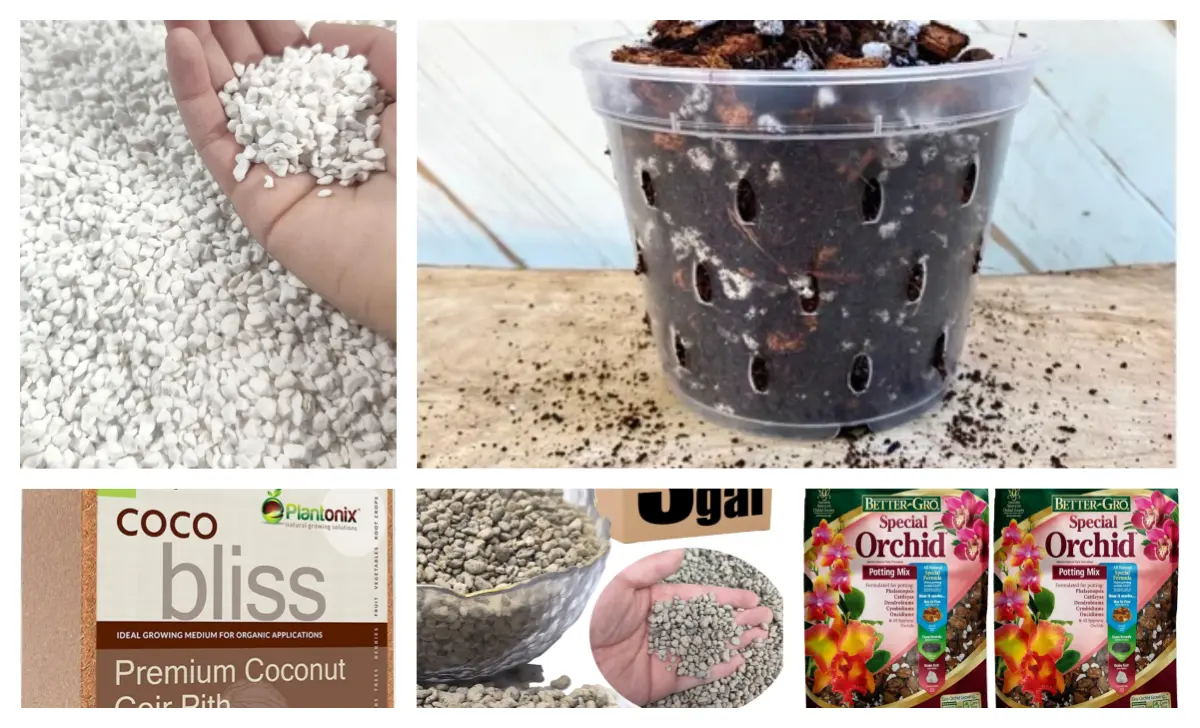
Soil and Pot
I prefer an airy, chunky Alocasia soil mix for Alocasia Stingray. The roots need moisture, but they also need oxygen. A dense soil that stays wet for too long can become risky, especially in cooler or lower-light conditions.
Drainage matters as much as the mix itself. I use a pot with drainage holes and avoid anything that lets water sit around the roots for too long.
Temperature
Warm, stable conditions suit Alocasia Stingray best. Around 20–25°C is a comfortable growth range in my experience, as long as the plant also has enough light and the pot is not staying too wet.
I try to avoid cold drafts, sudden temperature drops, and cold wet soil. A chilly root zone can slow the plant down quickly, even if the leaves still look fine for a while.
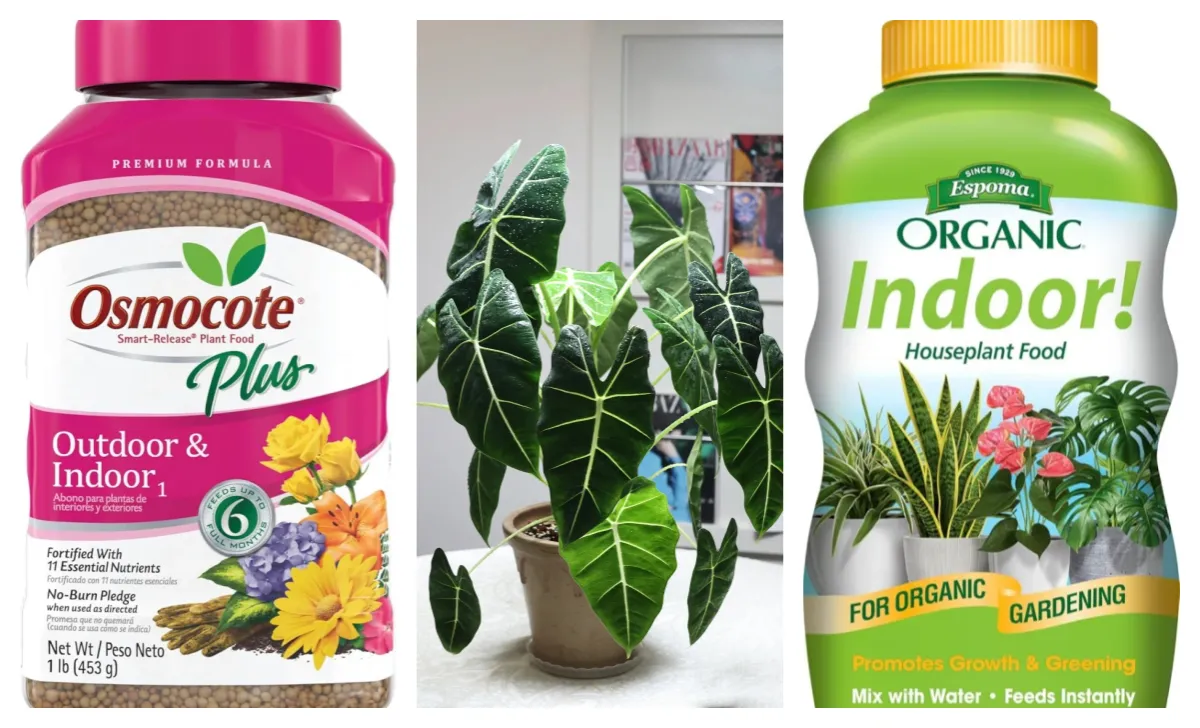
Feeding
During spring and summer, I feed lightly with a balanced fertilizer at about half strength. I do not push heavy fertilizer, because good light, healthy roots, and stable watering matter more than feeding alone.
If the plant is cold, stalled, recently treated for pests, or recovering from stress, I skip fertilizer. If it is kept warm and bright year-round, feeding can be a little more regular, but I still keep it gentle rather than strong.
What New Growers Often Miss With Stingray
The first thing I would watch for with Alocasia Stingray is yellowing that does not look like a normal old leaf. A normal aging leaf usually fades more evenly, often from an older lower leaf. Spider mite damage feels different. It can look like tiny pale dots, dull yellow speckling, or a dusty, tired surface before the plant looks seriously sick.
Because Stingray leaves have that curved shape and pointed tail, it is also easy to miss early pest signs if you only look from above. Now I always check the undersides, the veins, the tail area, and the petiole base. That is where I am more likely to catch tiny specks or fine webbing before the damage spreads.
Washing the plant can help a lot, but I would not treat one rinse as the whole solution. It removes many visible mites and webs, but hidden mites or eggs can remain. After my first outbreak, I learned to recheck the plant every few days instead of assuming the problem was gone just because the leaves looked cleaner.
So, Is Stingray Actually Beginner-Friendly?
I would not call Alocasia Stingray the hardest Alocasia to grow, but I also would not call it completely carefree. It can do well indoors if it gets bright indirect light, warm stable conditions, and a potting mix that does not stay wet for too long.
The part I pay the most attention to now is not the leaf shape or watering schedule, but pest inspection. Spider mites can show up quietly, and the first signs may look like small yellow speckles rather than a serious problem.
For that reason, I think Stingray is best for someone who enjoys unusual plants and does not mind checking the leaves regularly. If you like plants with personality and you are willing to inspect the undersides from time to time, it is a very rewarding Alocasia to grow.
Why I Still Think Stingray Is Worth the Trouble
Alocasia Stingray is not only interesting because it looks like a stingray. That leaf shape made me buy it, but the recovery process is what made me appreciate it more.
After dealing with spider mites, washing the plant, watching it recover, and seeing the roots grow stronger over the next few months, I started to understand the plant better. Its texture, shape, and odd little silhouette became more satisfying because I had seen it come back from a real problem.
If you want an Alocasia with character and you are willing to inspect it regularly for pests, I think Stingray is absolutely worth growing. It is playful, unusual, and rewarding — but it is not a plant I would ignore for weeks at a time.
FAQ
Love discovering new Alocasias?
If you like the unusual leaf shape of Alocasia Stingray but want to compare it with larger, darker, or more dramatic types, browse my Alocasia varieties guide. I find it easier to choose the right plant after comparing leaf shape, mature size, and how much attention each type needs indoors.
Go to Varieties Hub →