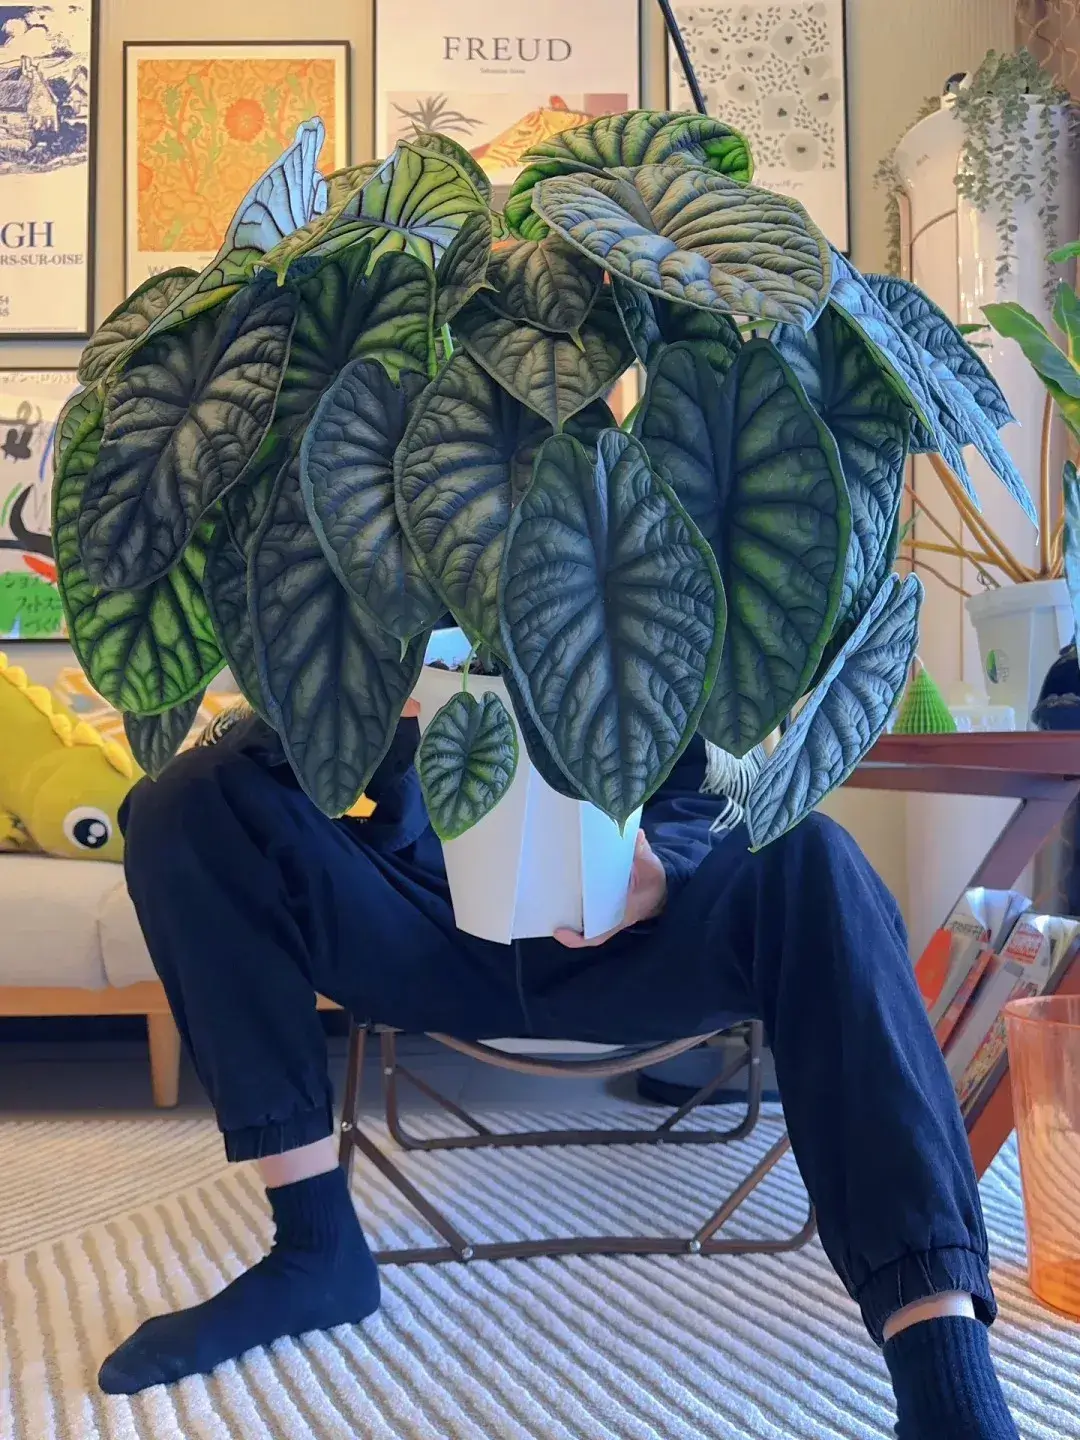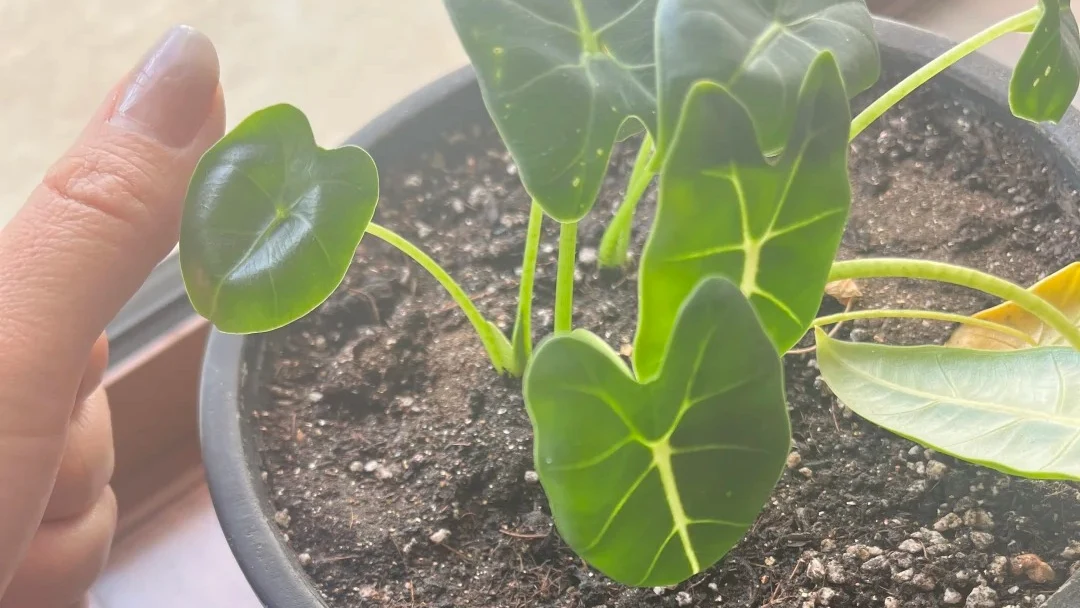
I originally grew all my Alocasias in soil.
Over time, they propagated quickly, and I ended up with far more plants than I expected. Repotting, mixing soil, and monitoring watering schedules started to feel repetitive and messy (especially when Alocasia watering is easy to overdo).
I wasn’t unhappy with soil growing, but I wanted something cleaner and easier to manage long term.
That’s when I decided to experiment with semi-hydro, starting with my Alocasia micholitziana ‘Frydek’.
I didn’t convert everything at once. I just wanted to see if one healthy plant could adapt successfully.
When that first transition worked — and the plant pushed out new growth without decline — I began testing the method on other varieties.
That’s how this turned from a small experiment into a new growing system for part of my collection.
What to Know Before Switching to Semi-Hydro
Before converting an Alocasia to semi-hydro, it’s important to understand that not every plant is a good candidate.
The plant should be healthy, actively growing, and free from root rot. Weak or already stressed plants rarely transition smoothly, and semi-hydro is not a shortcut for saving declining roots.
Semi-hydro also does not mean fully submerging the root system in water.
Alocasia roots require oxygen to function properly. If the entire root mass stays constantly underwater, oxygen levels drop and absorption weakens over time.
The goal of semi-hydro is controlled moisture with airflow — not constant saturation.
This method works best when the roots can access both water and air at the same time. If you treat it like pure water culture, problems usually follow.
Understanding this difference prevents most beginner mistakes.
Step-by-Step: How I Converted My Frydek to Semi-Hydro
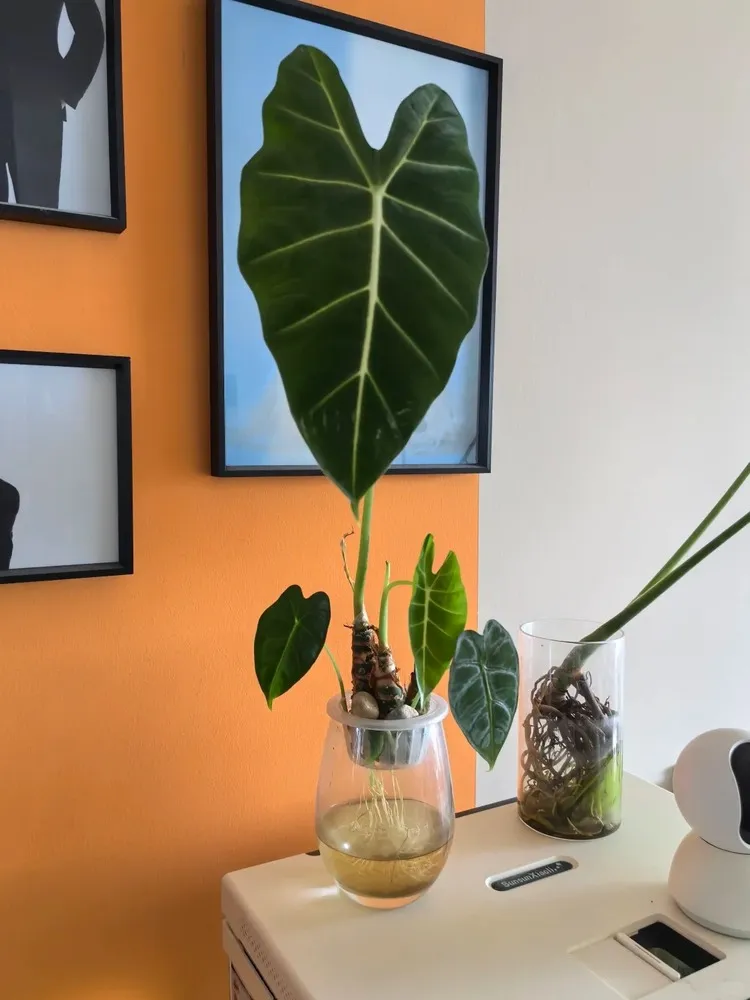
What You’ll Need
I kept the setup simple and used items that are easy to find.
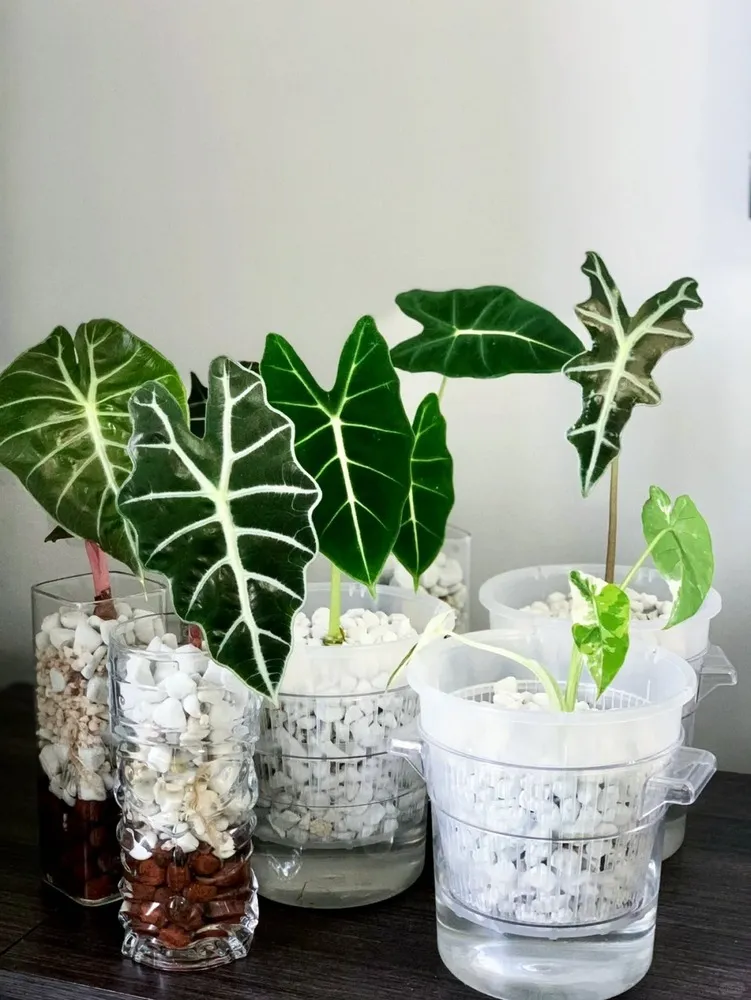
You’ll need a clear container (so you can monitor roots and water level), pebbles or LECA to hold the plant upright, a mild fungicide solution for disinfecting, clean water, and a very diluted hydroponic nutrient (optional at the beginning, but helpful once the plant stabilizes).
If you’re using tap water, let it sit out for a bit before using it. I usually leave mine out briefly so it’s not straight-from-the-tap “fresh chlorine” water.
Cleaning and Disinfecting the Roots
The most important part of the transition is removing soil completely.
I gently took the Frydek out of its pot and rinsed the root ball under running water until there was no soil left. Any trapped soil in a semi-hydro setup can break down and turn into the kind of wet, oxygen-poor mess that triggers rot — the same pattern you often see with overwatered Alocasias.
After washing, I soaked the roots in a diluted fungicide solution for about 15–20 minutes. Then I rinsed the roots again with clean water so nothing concentrated was left clinging to them.
At this point, I also did a quick inspection. If anything felt soft or smelled off, I would trim it. For a healthy plant, the roots should feel firm.
Placing the Plant and Securing It
I placed the plant into the container first, then added pebbles or LECA around the roots to stabilize it.
The goal is to keep the plant upright while letting the roots sit naturally. I try not to pack the medium too tightly, because even in semi-hydro, airflow matters.
If the roots are forced into a tight ball or bent sharply upward, the plant tends to struggle more during the transition.
Water Level Control (This Is the Part That Makes or Breaks It)
This is the step that determines whether semi-hydro feels “easy” or turns into a rot problem.
In the beginning, I kept the water level low — only about one-third of the root system was in water. I made sure the base of the plant (the corm/stem area) stayed completely above the waterline, because that’s where rot starts fastest.
I also avoided the common mistake of submerging everything “just to be safe.” Alocasia roots need air. If you keep the entire root mass underwater, you usually get weak roots and faster leaf loss — often starting with older leaves drooping or yellowing first, even if the plant doesn’t rot immediately.
As the plant adjusted and started producing water-adapted roots, I gradually raised the water level. But I never rushed this step. The transition works best when you give the roots time to adapt instead of forcing them to live underwater from day one.
A small detail that helped: I added only a tiny amount of nutrient at first (literally a few drops in a container), because I wanted the plant to focus on root adjustment, not being pushed into fast top growth too early.
Ongoing Care: Finding the Right Rhythm
Once the plant is settled in semi-hydro, care becomes more about consistency than constant adjustment.
Light
I keep my semi-hydro Alocasias in bright, indirect light — basically the same light requirements they need in soil. They still need strong light to maintain leaf size and color, especially varieties like Frydek.
Direct sun, especially through glass, can overheat the water and stress the roots. Stable light is more important than intense light.
Water Changes
In the first couple of weeks, I changed the water every 2–3 days. This helps prevent bacterial buildup while the roots are adapting.
After the plant stabilized and started producing new growth, I stopped changing the water on a strict schedule. Instead, I watched the water clarity and smell.
If the water stays clear and there’s no odor, there’s no need to rush a full change. Semi-hydro shouldn’t feel like daily maintenance.
Nutrient Concentration
Semi-hydro plants still need feeding, but the concentration should stay low.
I use diluted hydroponic nutrients rather than full-strength fertilizer. It’s better to feed lightly and consistently than to shock the roots with a heavy dose.
When roots are adapting, minimal feeding is enough. Once new water roots form and growth resumes, you can maintain a steady but gentle nutrient routine.
When to Extend the Water Cycle
You’ll know the plant is stabilizing when:
- New roots appear thicker and lighter in color
- A new leaf pushes without older leaves collapsing
- The water remains clear for longer periods
At that stage, you can gradually extend the time between water changes.
I don’t follow a fixed calendar anymore. I adjust based on how the plant looks and how the water behaves.
Semi-hydro works best when you observe the plant, not when you follow rigid rules.
Common Semi-Hydro Mistakes I’ve Seen (Real Examples)
Mistake #1: Pure Water Culture With Low Oxygen
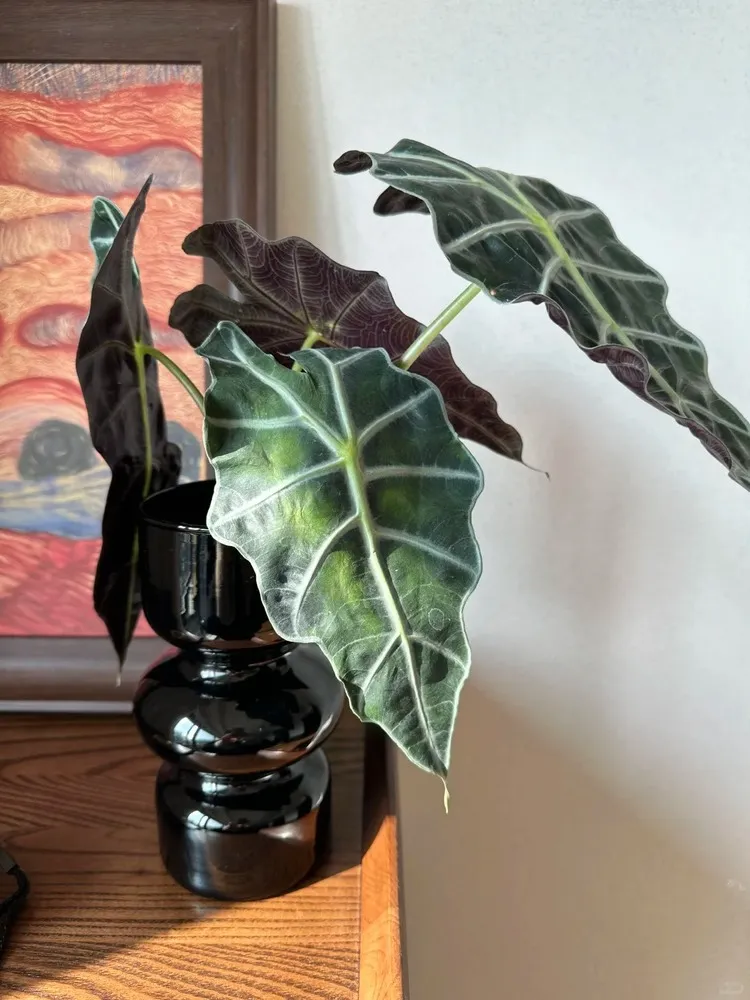
One of my Alocasia Polly plants started developing a soft, drooping leaf (the kind of symptom that often gets mistaken as “needs more water”). The setup was pure water culture, and the water level was low — only covering part of the roots. Interestingly, the rest of the plant looked fine. Just one leaf had turned limp.
At first glance, it didn’t seem like overwatering. There wasn’t much water in the container.
But the real issue wasn’t water quantity — it was oxygen availability.
In pure water culture, even a shallow water level can create low-oxygen conditions. Roots sitting in stagnant water gradually weaken, even if they don’t immediately rot. When root absorption drops, the plant sacrifices or softens older foliage.
The solution wasn’t to reduce water further. It was to switch to semi-hydro.
Using LECA or pebbles to stabilize the plant, with only a small reservoir at the bottom, allows the roots to access both moisture and air. Fully submerging roots — even partially — long-term simply doesn’t work well for most Alocasias.
Mistake #2: Newly Purchased Plant + Low Root Mass
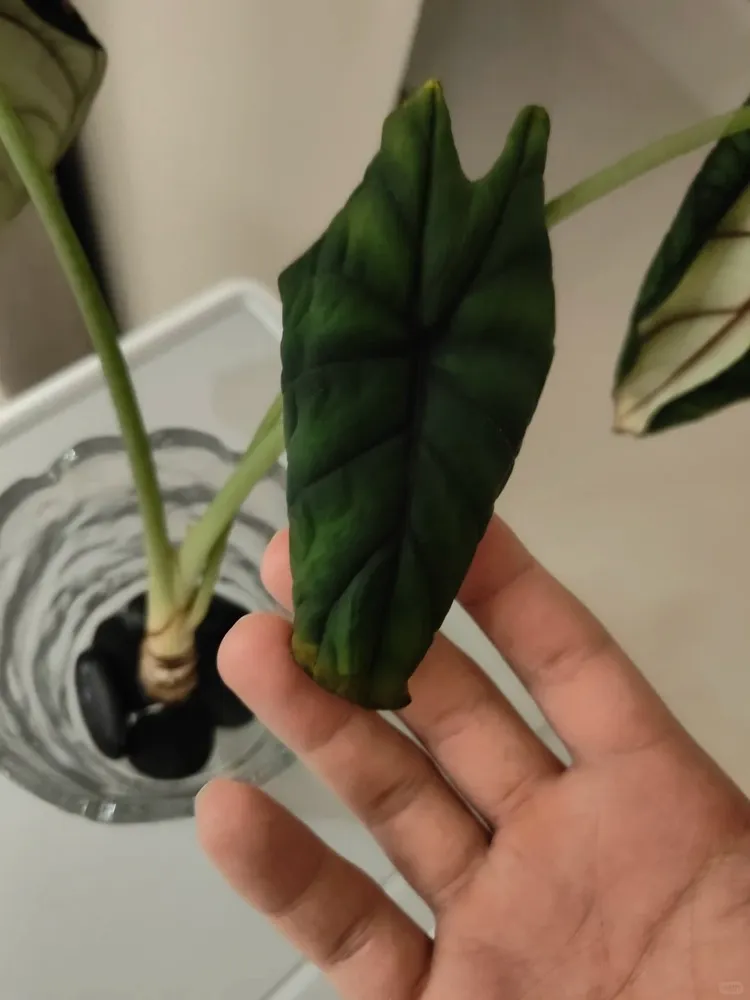
Another case involved a newly purchased Alocasia that I placed directly into pure water. The water level was low, only covering about one-third of the corm.
Within two days, the leaves began curling at the edges — which can look like humidity trouble, but isn’t always. Some yellowing appeared along the margins.
At first, I wondered whether humidity was the issue. I even placed the plant near a humidifier.
But the deeper problem was root capacity.
Newly acquired plants often have limited root mass, especially after transport stress. In pure water culture, oxygen levels are already reduced. Combine that with large leaves transpiring moisture in a dry indoor environment, and the roots simply can’t keep up.
Water supply becomes slower than water loss.
In situations like this, soil is often the safer choice. If avoiding soil, a chunky semi-hydro setup works better than pure water.
Short-term, increasing humidity helps. I’ve even used a loose plastic cover to temporarily create a high-humidity environment and reduce transpiration while the roots adjust. Once the plant stabilizes, the cover can be gradually removed.
Mistake #3: Light Deficiency and the Downward Spiral
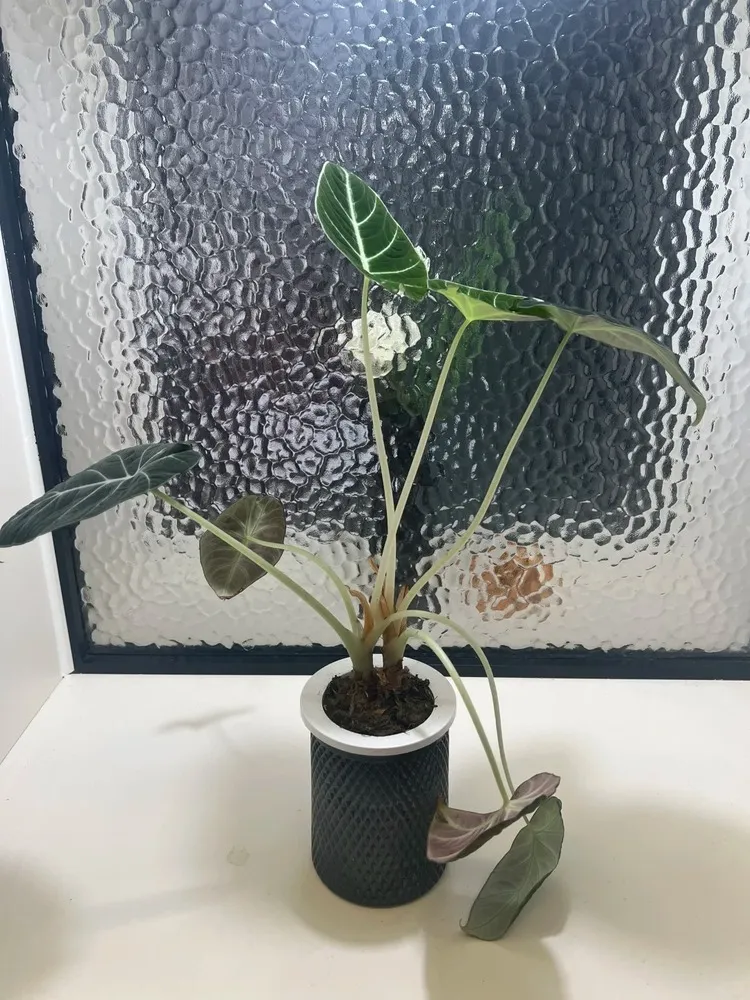
I’ve also seen Alocasia reginula ‘Black Velvet’ collapse in water setups, with leaves suddenly flopping over. Some people assume this happens because the leaves become “too heavy” from water uptake.
In reality, the issue often starts with light.
When light is insufficient, the plant stretches. Stems elongate and become weaker. Weak stems can’t support upright growth properly.
Reduced light also limits photosynthesis. Lower photosynthesis means less energy production. Lower energy production affects root health.
When roots weaken, nutrient absorption drops. Once absorption declines, the plant cannot sustain all its leaves.
The oldest leaves begin softening at the petiole base. What looks like sudden collapse is actually the end result of a longer chain reaction.
This is a feedback loop.
Low light weakens stems. Weak stems reduce efficiency. Reduced efficiency weakens roots. Weak roots accelerate leaf loss.
Water wasn’t the primary cause here — light was.
So, Is Semi-Hydro Worth It?
Semi-hydro worked well for me — but only after I understood what the roots actually need.
It isn’t about keeping Alocasia in water. It’s about balancing moisture and oxygen while maintaining strong light and steady growth.
When the fundamentals are right, semi-hydro can be clean, stable, and surprisingly low-maintenance.
When they’re ignored, water setups tend to magnify existing weaknesses.
If you decide to try it, start with one healthy plant and observe closely. The roots will tell you whether the system is working — and if they don’t look right, treat it like a root issue first.
FAQ
Pure water culture often lacks sufficient oxygen around the roots. Even if the water level is low, stagnant conditions can weaken root function over time. Semi-hydro, where roots have access to both moisture and air, tends to work more reliably.
If roots sit in stagnant water without enough airflow, absorption efficiency drops. The plant may respond by weakening older leaves, even if the entire root system isn’t submerged.
If the base of the plant or entire root mass remains submerged constantly, rot can still occur. The key difference is oxygen availability, not just the absence of soil.
When placed directly into pure water, reduced oxygen combined with normal leaf transpiration can create an imbalance. The roots simply cannot keep up with water demand. In these cases, soil or a well-aerated semi-hydro setup is usually more stable.
Insufficient light reduces photosynthesis, which lowers energy production. Over time, weaker energy production affects both stem strength and root health, creating a downward spiral that ends in leaf softening or collapse.
Water is not always the main issue — light often is.
New roots appear thicker and lighter in color. A new leaf forms without older leaves rapidly declining. The water remains clear without odor for longer periods.
When those signs appear together, the system is likely balanced.
Trouble with your Alocasia?
Find real fixes for yellow leaves, drooping stems, and root issues in our Problems Hub.
Go to Problems Hub →