Last updated: May 19, 2026
Alocasia Frydek is one of the most beautiful Alocasias I grow, but it is not a plant I would describe as completely beginner-proof. Mine has been with me for more than two years, and for a long time, I was mostly learning by trial and error. I did not kill it, but I also did not really understand what made it grow well.
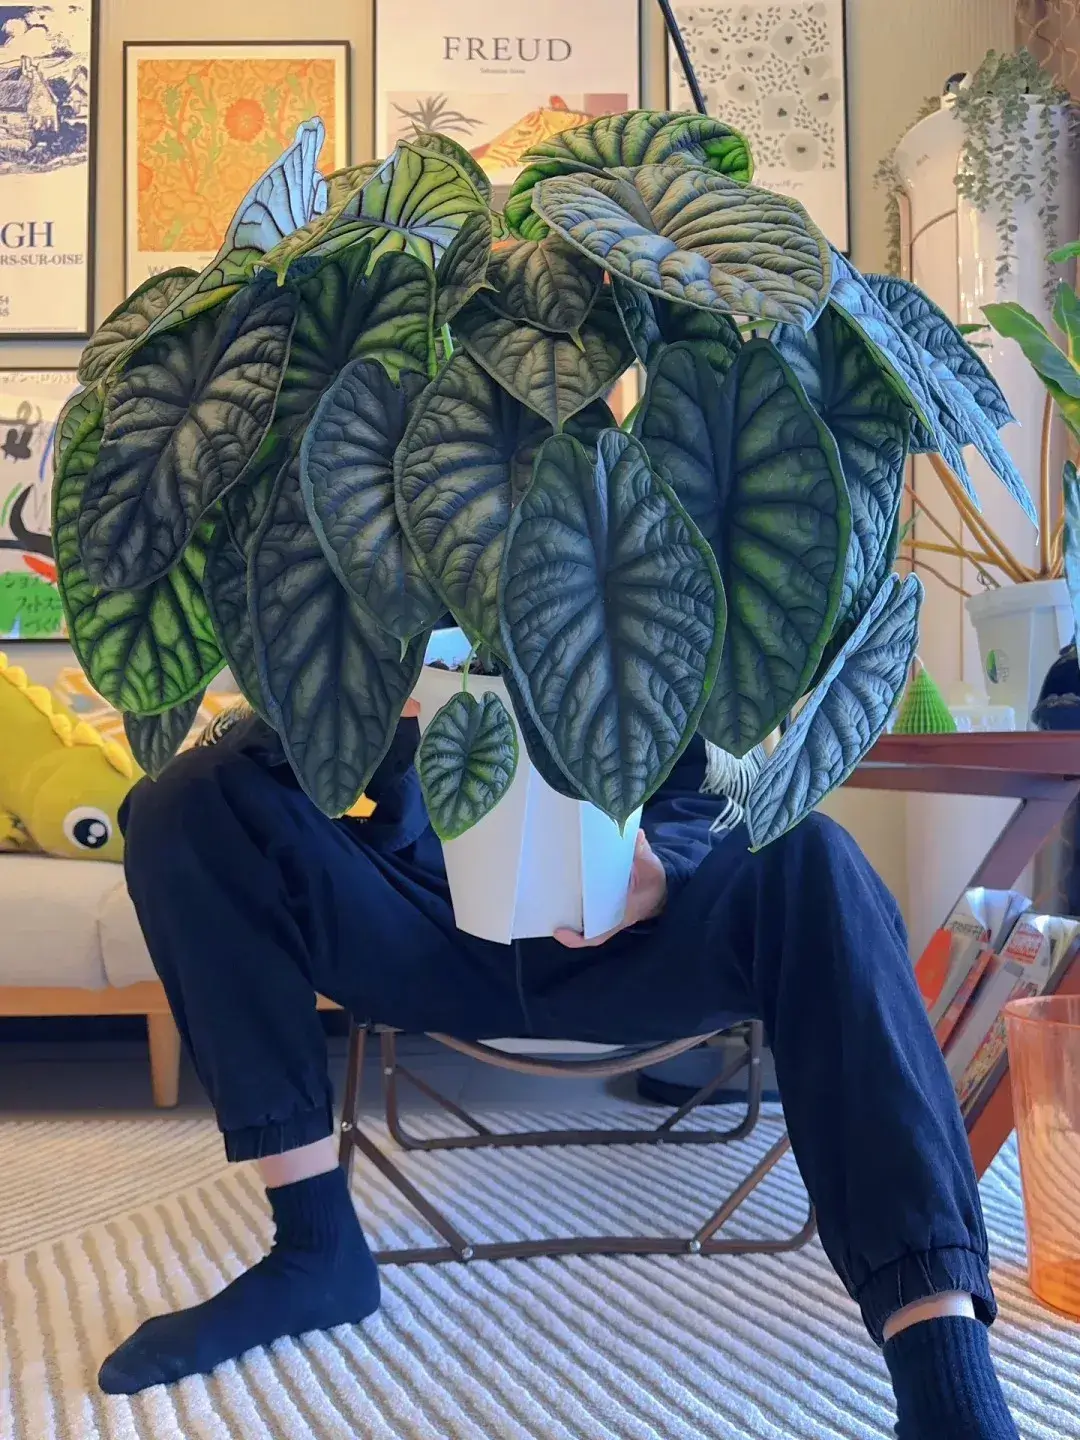
The biggest change happened after I stopped treating it like a decorative leaf plant and started paying attention to the roots, the pot, the watering rhythm, and even the flowers. This year, after changing the pot and slightly burying more of the lower stem, my Frydek started pushing out leaves much faster, and the new leaves became noticeably larger than before.
Then I made another mistake. When my Frydek produced two flower spikes, I hesitated and left them on for a few days because I wanted to see what would happen. Soon after, the oldest leaf beside them turned yellow. I cannot say the flower was the only reason, because old Alocasia leaves do yellow naturally, but the timing was enough to teach me a lesson: indoors, I now cut Frydek flowers early unless I have a specific reason to keep them.
This guide is based on what has actually worked for my own Frydek indoors: filtered sun, a dry-wet watering cycle, a tall airy pot, loose aroid mix, light feeding, and careful repotting without tearing apart the root ball.
Quick Answer: How I Keep My Alocasia Frydek Growing Well Indoors
My Alocasia Frydek grows best in bright filtered light, a loose chunky soil mix, and a pot that allows air to reach the roots. I let the soil go through a clear wet-dry cycle instead of keeping it constantly wet. In my home, that usually means watering every 4–5 days during warmer, drier periods, but the exact timing depends on pot size, light, and room conditions.
The biggest improvement came after I repotted it into a taller pot, improved drainage with extra holes, and buried part of the lower stem where new roots could form. After that, the root system became stronger and the leaf size increased noticeably.
If my Frydek produces a flower spike, I usually cut it early. I grow Frydek for the foliage, and flowering can take energy away from leaf growth, especially on a plant that is not already extremely strong.
My Frydek Flowered — and I Learned the Hard Way
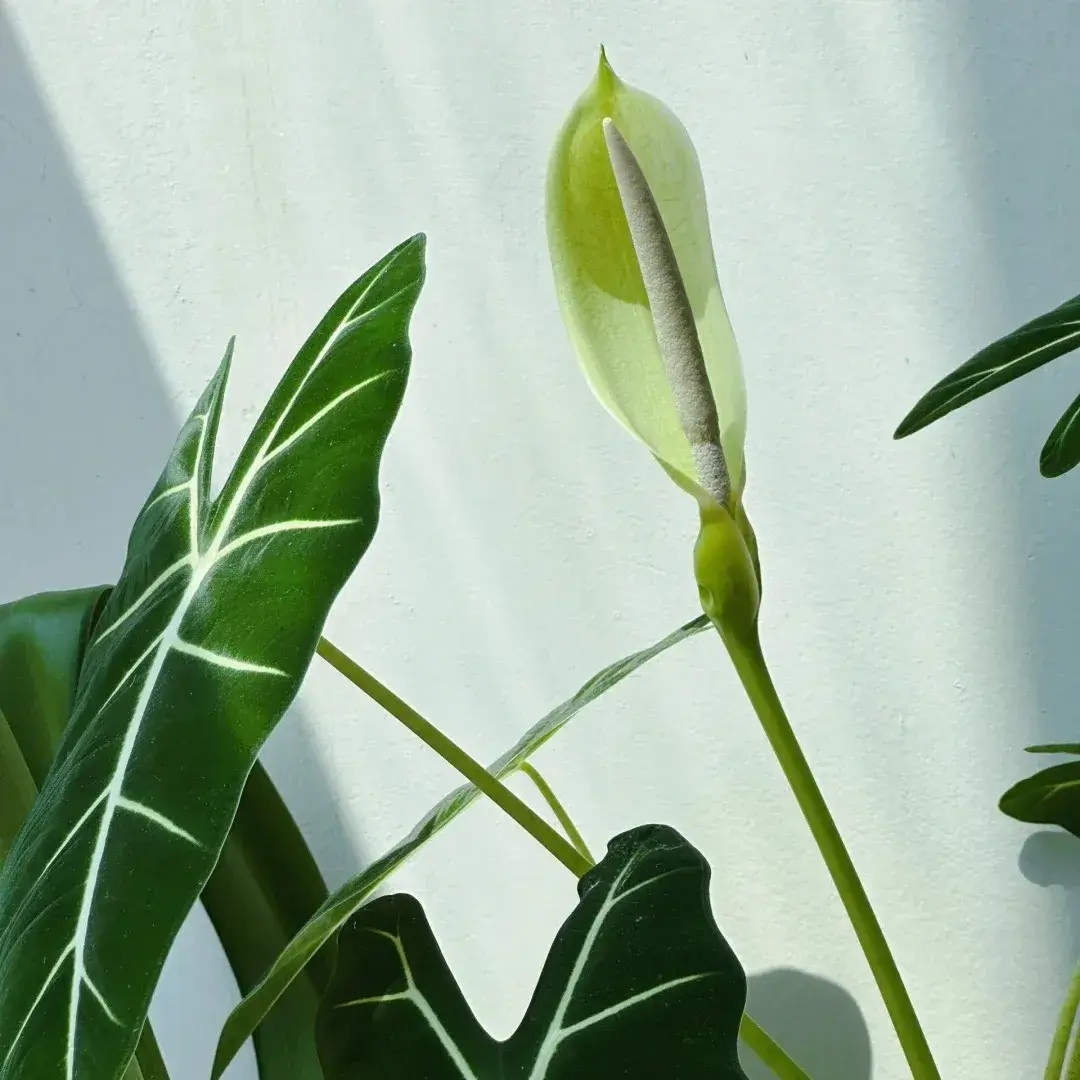
The first time I saw two upright spikes coming out of my Frydek, I thought they might be new leaves. They kept getting taller, but the shape looked wrong — more like a small corn cob than a leaf. That was when I realized they were inflorescences.
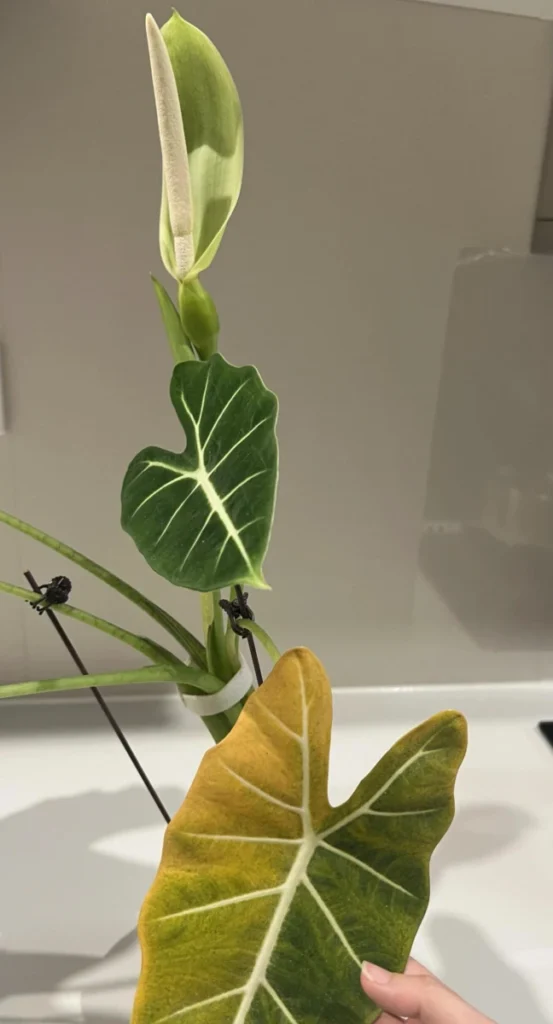
I hesitated. Part of me wanted to keep them just to see the full flower, and part of me knew I probably should cut them. A few days later, the oldest leaf near the flower spike turned yellow. That was the moment I decided I would not keep Frydek flowers again unless the plant was very strong and I specifically wanted to observe the bloom.
Should You Cut Alocasia Frydek Flowers?
For most indoor growers, yes, I would cut them early. Alocasia flowers are interesting, but Frydek is usually grown for its foliage, not for the bloom. Flowering takes energy, and on a plant that is still building roots or holding only a few leaves, that energy may be better used for new foliage.
I do not want to overstate it and say one flower will always destroy a leaf. Old Alocasia leaves can yellow naturally, especially when the plant is shifting energy. But after watching mine flower and then lose an old leaf, my personal rule is simple: if I want bigger leaves, I cut the flower spike as soon as I recognize it.
When to Cut the Flower Spike
The best time is when the spike is still young and easy to remove. Use clean scissors or pruners and cut it close to the base without damaging the surrounding petioles. After cutting, keep the plant stable. Do not repot, fertilize heavily, or move it into stronger light at the same time.
If a leaf has already started turning yellow, I usually let it yellow fully before removing it. This is especially true when it is only one older leaf, because Alocasia losing old leaves can be part of how the plant redirects energy. I only remove it earlier if it is mushy, diseased, or in the way.
What Makes Alocasia Frydek Different
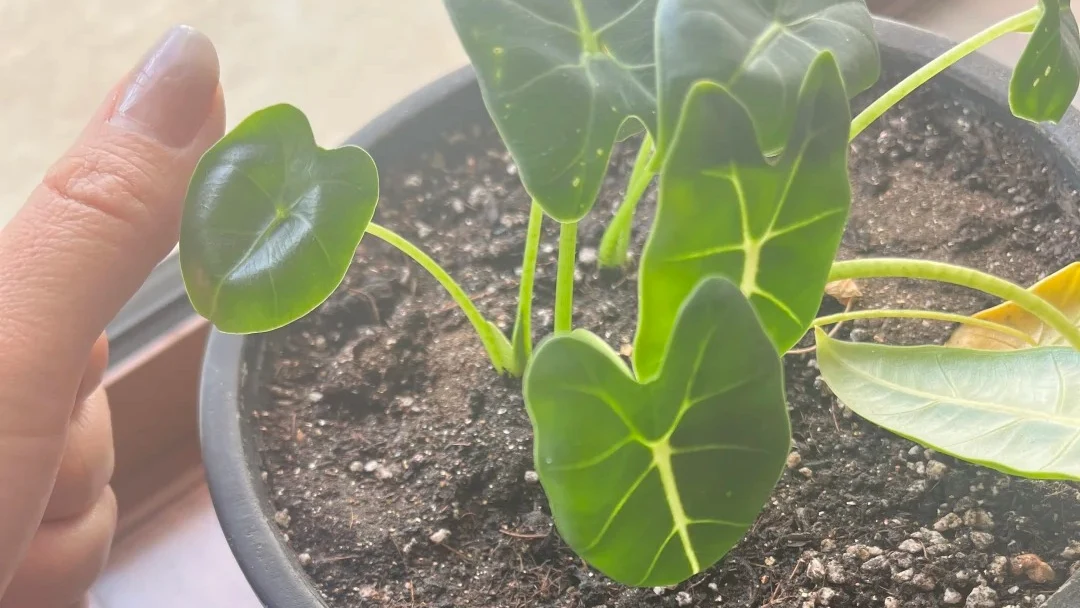
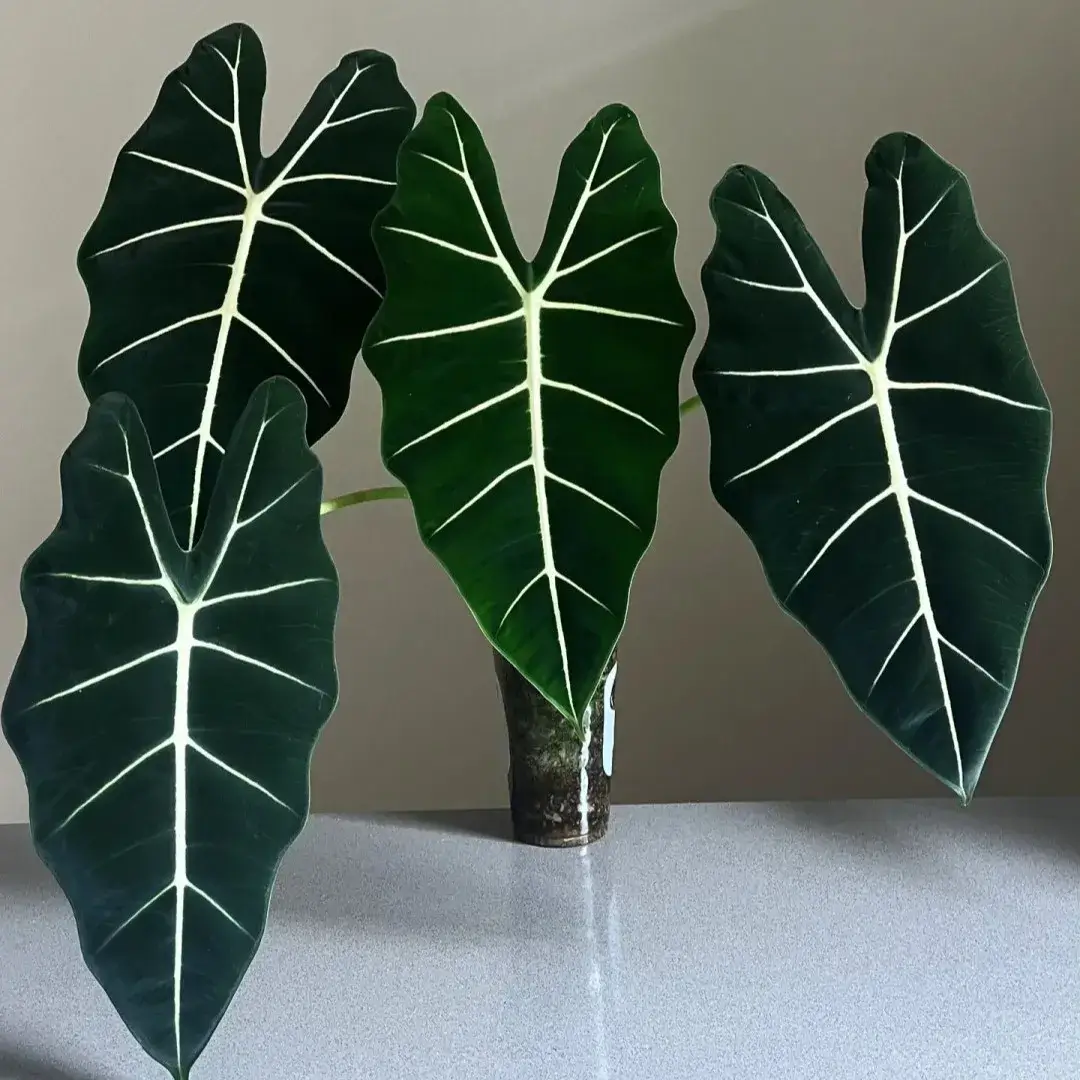
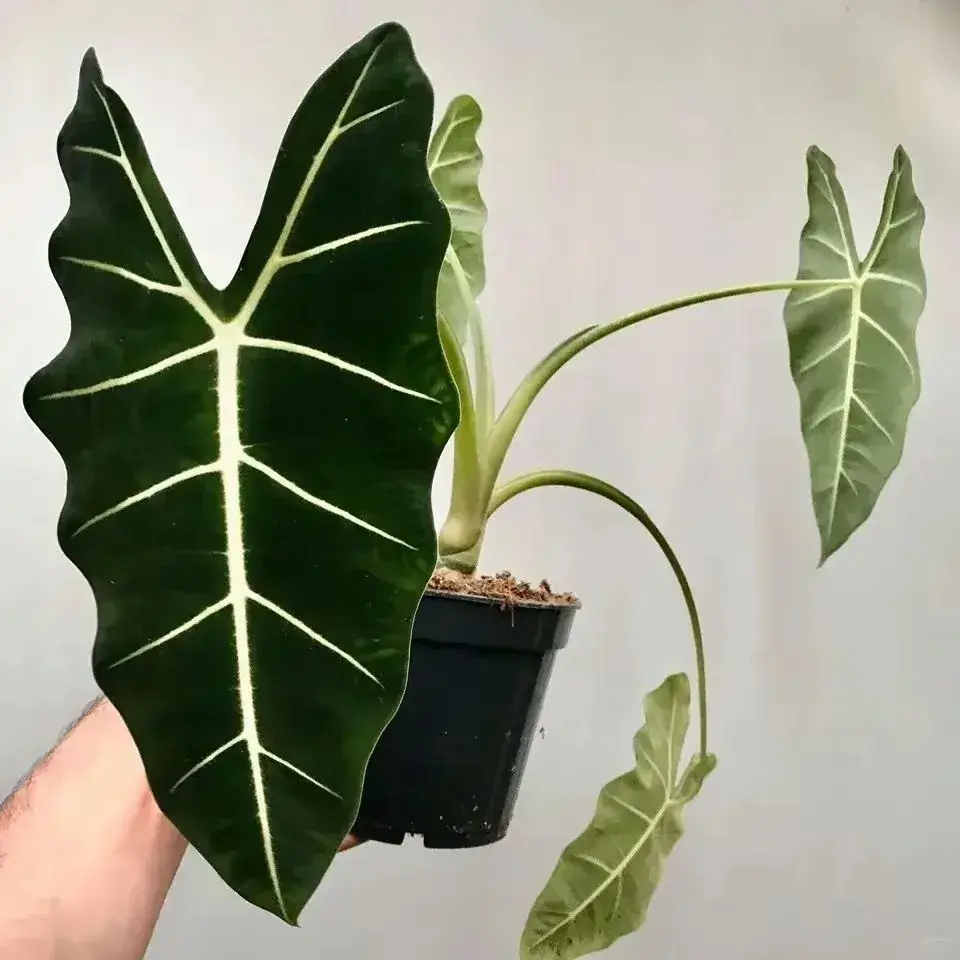
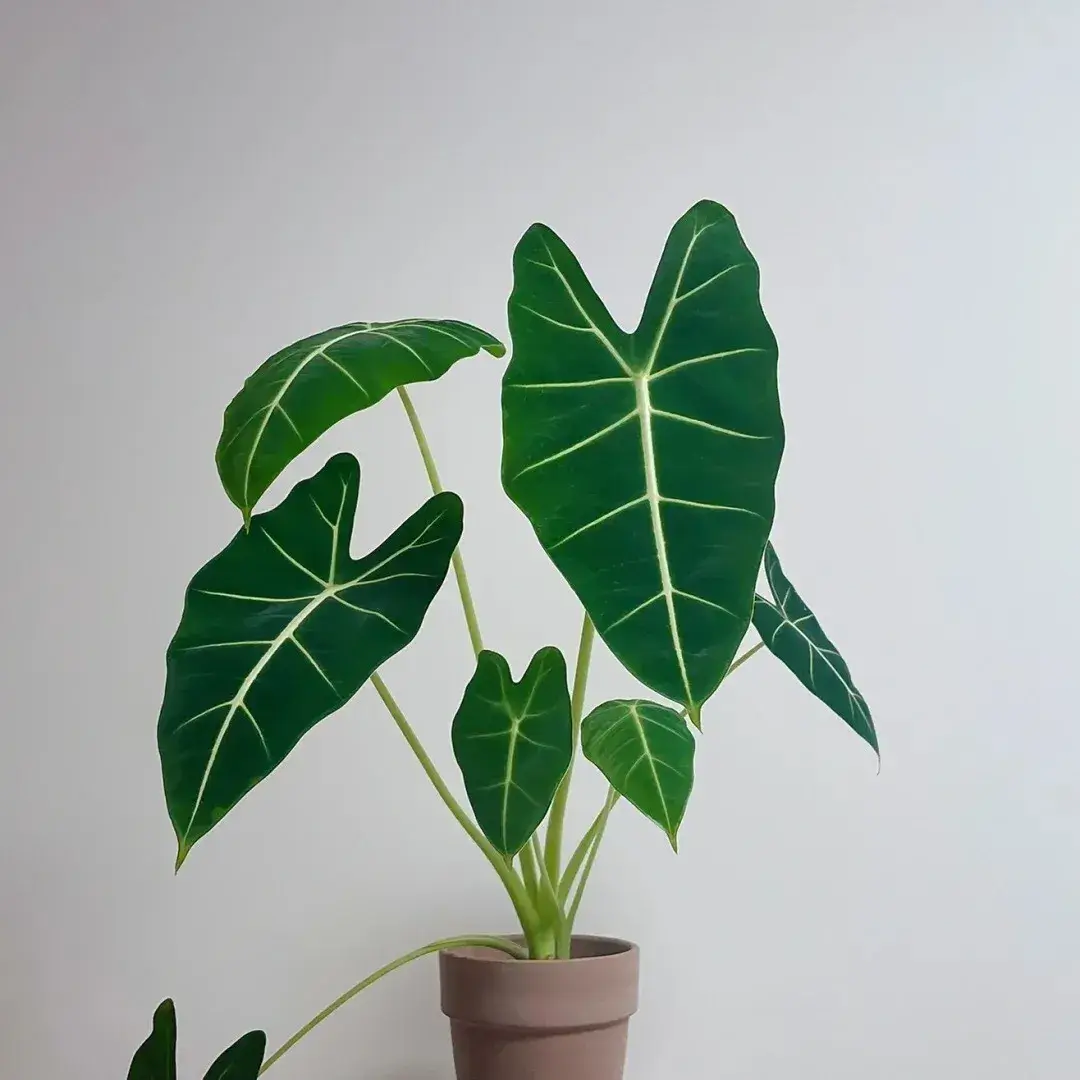
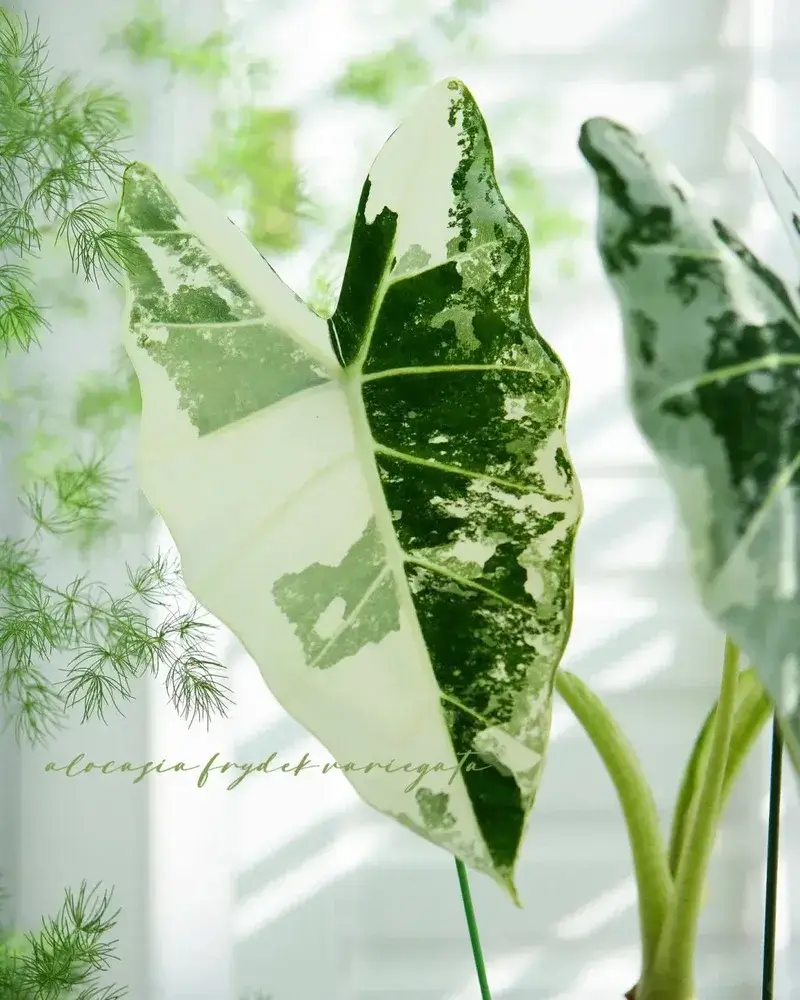
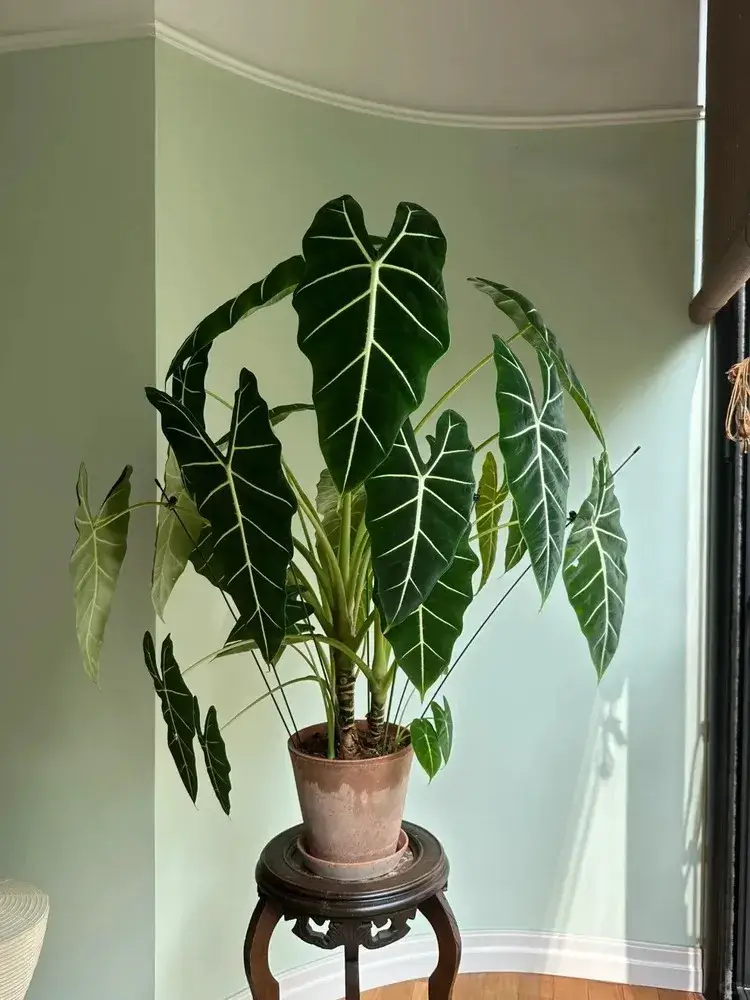
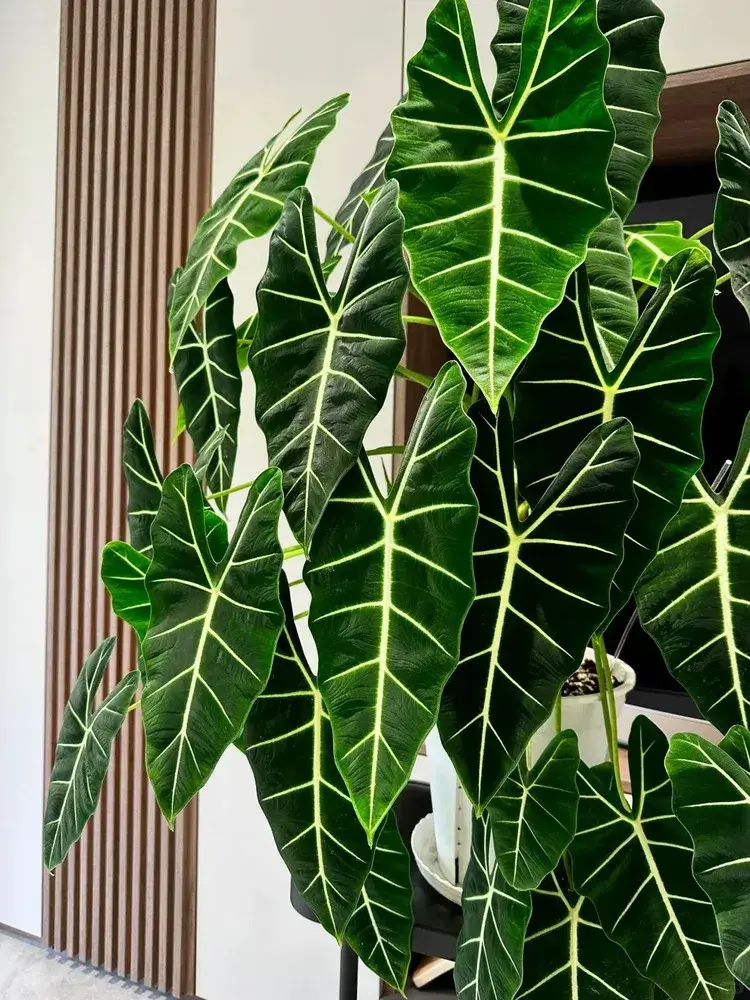
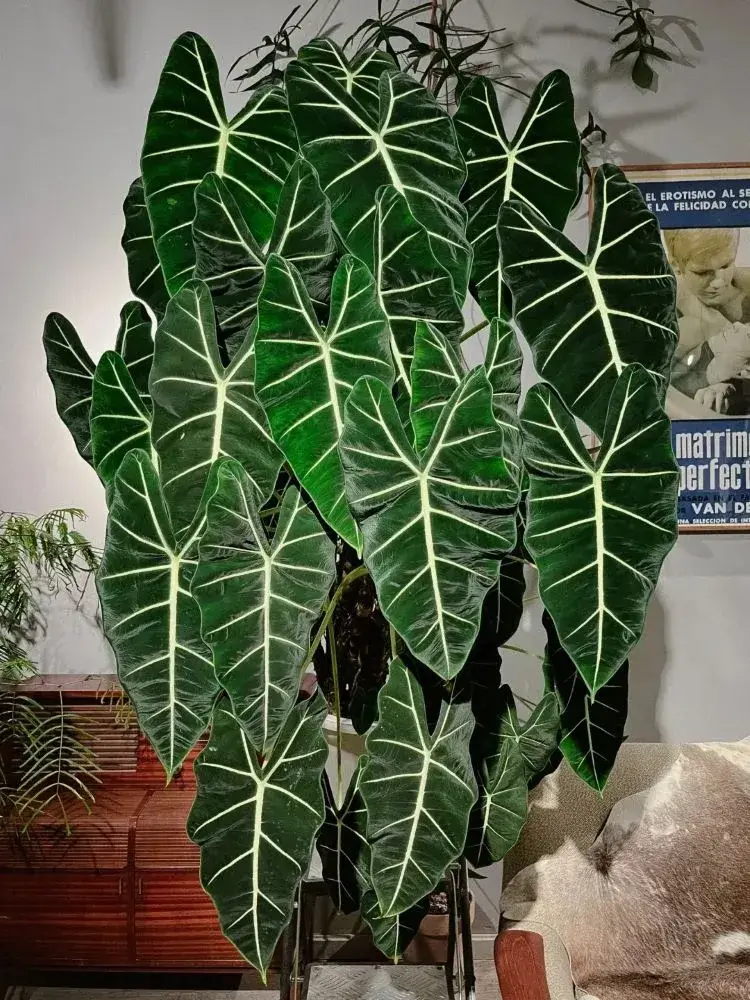
Alocasia Frydek has dark green, velvety arrow-shaped leaves with bright white veins. Compared with glossy Alocasias, the texture feels softer and more matte, which is why the plant looks so dramatic even when it only has a few leaves.
In my experience, Frydek is not the hardest Alocasia, but it reacts quickly when the roots are unhappy. If the soil stays wet too long, the stems soften. If the plant dries too much while a new leaf is opening, the new leaf may come out damaged or torn. Once the roots are strong, though, Frydek can become much more stable than people expect.
If you are completely new to Alocasias, I would start with the basic Alocasia care guide first. Frydek is manageable, but it does not forgive random watering and poor soil for very long. If you want an easier first plant, you can also compare it with these beginner-friendly Alocasia varieties.
Detailed Care Guide
Watering: I Follow a Dry-Wet Cycle, Not Constant Moisture
For Frydek, I do not try to keep the soil wet all the time. I let the pot move through a clear dry-wet cycle: water thoroughly, let the excess drain away, then wait until the mix has dried down enough before watering again.
In my dry indoor conditions, mine has recently needed water about every 4–5 days, but I would not copy that number blindly. A smaller pot, brighter light, warmer room, or chunkier soil can all change the timing. A large pot with poor airflow may stay wet much longer.
My rule is simple: water deeply, but do not let the pot sit in stagnant water. I keep a drainage tray under the plant stand so I can water without carrying the whole plant to the sink. After watering, I make sure the excess water can leave the pot instead of sitting around the roots. If you are not sure whether the plant is truly overwatered or just temporarily drooping, compare the signs in my overwatered Alocasia symptoms guide.
One thing I have noticed during new leaf growth: if the plant gets too dry while a leaf is unfurling, the new leaf may come out torn or damaged. Frydek does not like soggy roots, but it also does not like being pushed bone-dry at the wrong moment.
If you are unsure whether your watering issue is dryness or root stress, this guide may help: how often to water Alocasia.
Light and Placement: What Worked for Mine
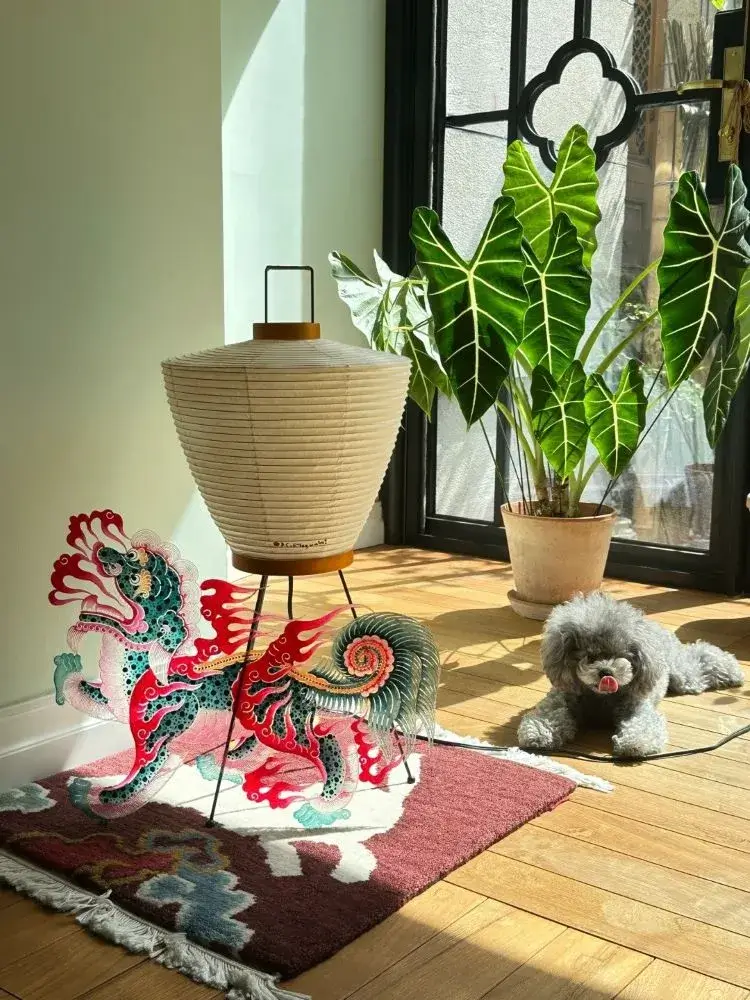
My Frydek grows near a south-facing window with a sheer curtain. It gets strong light, but not harsh direct sun on the velvet leaves. This balance matters. Too little light gives me slower growth and smaller leaves, but unfiltered direct sun can scorch or fade the foliage.
In summer, I keep some airflow around the plant. In winter, before the heating season becomes too dry, I focus more on stable placement than constant moving. Frydek does not like being shifted from one condition to another too suddenly.
I also keep mine on a wheeled plant stand now. That makes it easier to rotate the plant and adjust the direction of the light without dragging a heavy pot around. A strong Frydek can hold its own shape better than people expect. Mine does not use a support pole; once the roots became stronger, the plant adjusted its posture by itself.
For a deeper breakdown by window direction, see my Alocasia light requirements guide.
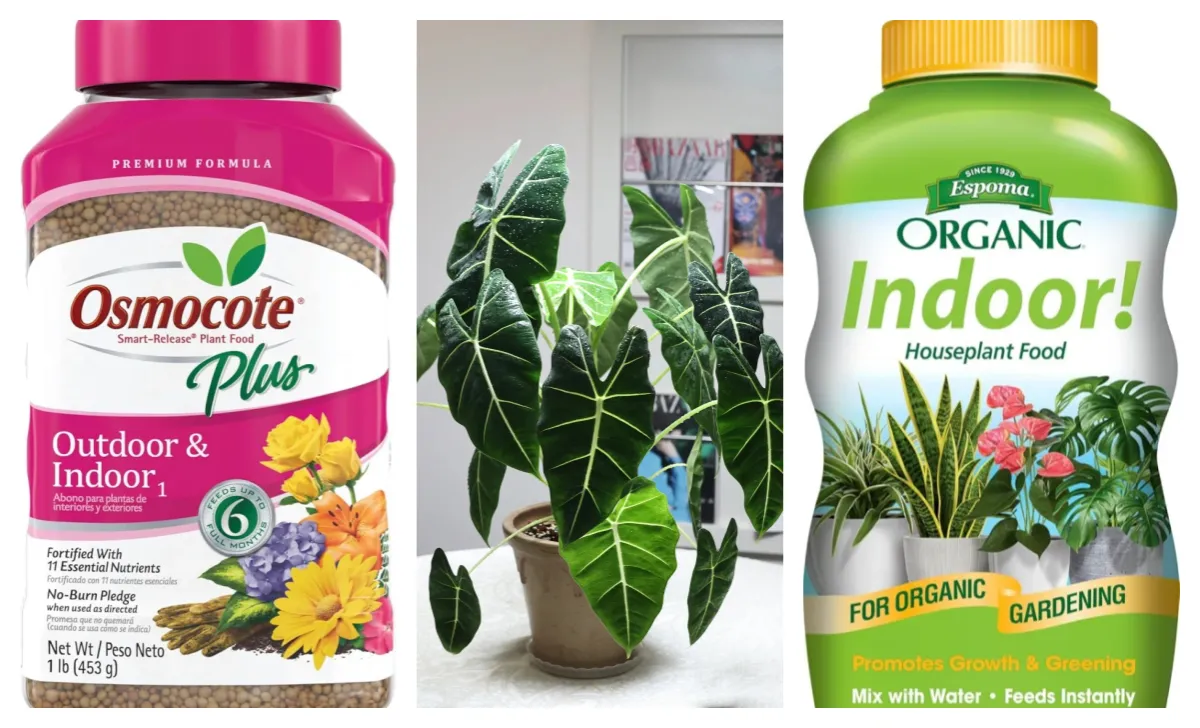
Fertilizer: Light Feeding Is Enough for Mine
I keep fertilizer simple. I use a liquid fertilizer made for aroids about once a month during active growth. I do not feed heavily, partly because my soil mix already contains some slow-release nutrients.
For Frydek, I would rather feed lightly and consistently than push too much fertilizer into a plant with sensitive roots. If the roots are not strong, fertilizer will not magically create large leaves. It can even add stress if the soil already holds too much moisture or salts.
My priority is always roots first, fertilizer second.
Soil, Pot, and Repotting: The Part That Changed My Frydek Most
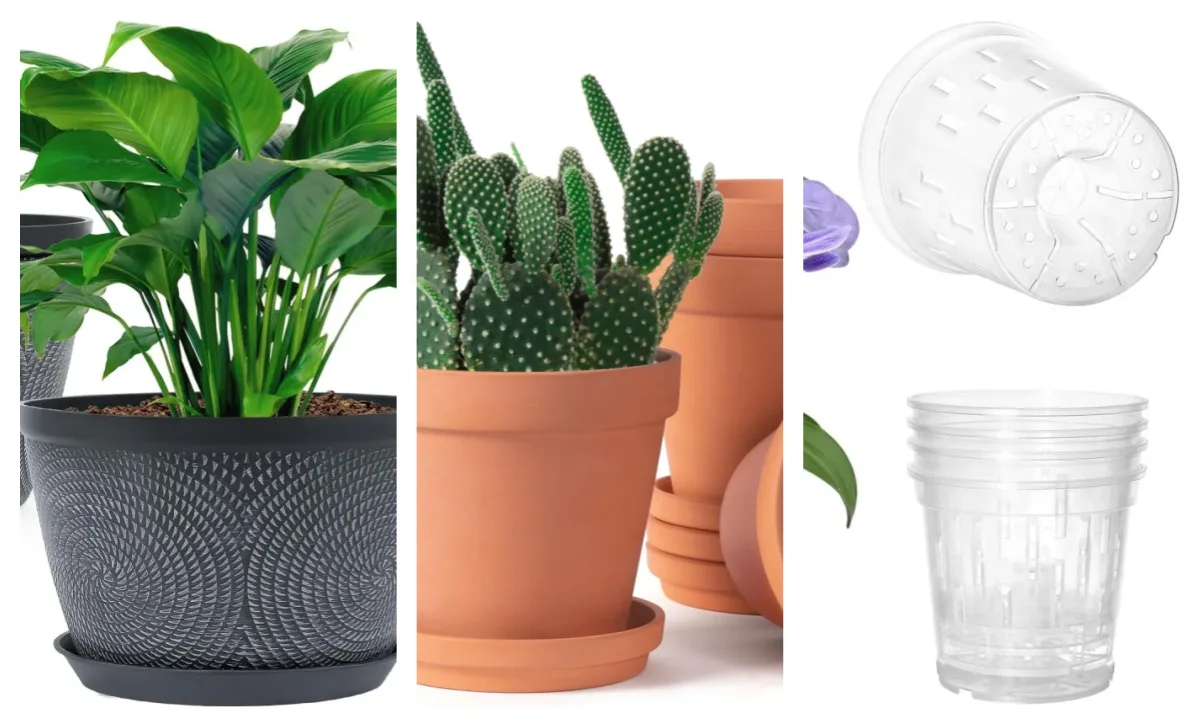
This year I moved my Frydek into a taller, narrower pot because I wanted to bury more of the lower green stem and encourage new roots along that area. I could not find a tall enough slotted orchid-style pot, so I used a tall resin pot and drilled extra holes myself to improve airflow and drainage.
For soil, I use a chunky aroid mix rather than dense nursery soil. The mix needs to hold some moisture but still let air move through it. Frydek roots are too sensitive for heavy, compacted soil that stays wet for too long.
One small trick I used in the tall pot was placing a smaller empty pot upside down at the bottom before adding the mix. This reduced the amount of heavy wet soil sitting deep in the container and helped keep the lower part of the pot more open and airy. I would only do this if the outer pot is tall enough and the plant is stable after planting.
Do Not Aggressively Untangle Frydek Roots
This is one of my strongest repotting rules for Frydek: I do not comb through the roots unless there is a serious root rot problem. The roots can be delicate, and tearing them apart just to remove every bit of old soil can set the plant back.
When I repot a stable Frydek, I gently lift the old root ball, shake off only the loose outer soil, and place the plant into the new pot with most of the root ball intact. Then I fill fresh chunky mix around it. This has been much safer for me than fully bare-rooting the plant.
If the plant is newly purchased, I usually let it settle at home first before repotting unless the soil is clearly staying wet too long or the roots look unhealthy. For a detailed soil mix breakdown, see best soil mix for Alocasia.
The Root Trick That Made My Frydek Leaves Bigger
The biggest improvement I saw came after I paid more attention to the lower stem structure. On my plant, the lower green stem had several points where new roots could form. After I buried more of that area in a loose, airy mix, the plant responded much better than I expected.
Once those new roots started developing, the plant pushed leaves faster, and the leaf size increased noticeably. This changed how I think about Frydek care: with this plant, bigger leaves are not just about fertilizer or light. They start with the root system.
I would not bury a weak or rotting stem, and I would not do this in dense soil. The buried section needs oxygen around it, or the same trick can turn into rot. But with a healthy stem, a tall airy pot, and chunky mix, giving the plant more stem area to root from made a real difference for mine.
This is why I now think of Frydek as a “roots first” Alocasia. If the root system is small, damaged, or sitting in stale wet soil, the leaves will usually stay smaller no matter how pretty the plant looks above the soil.
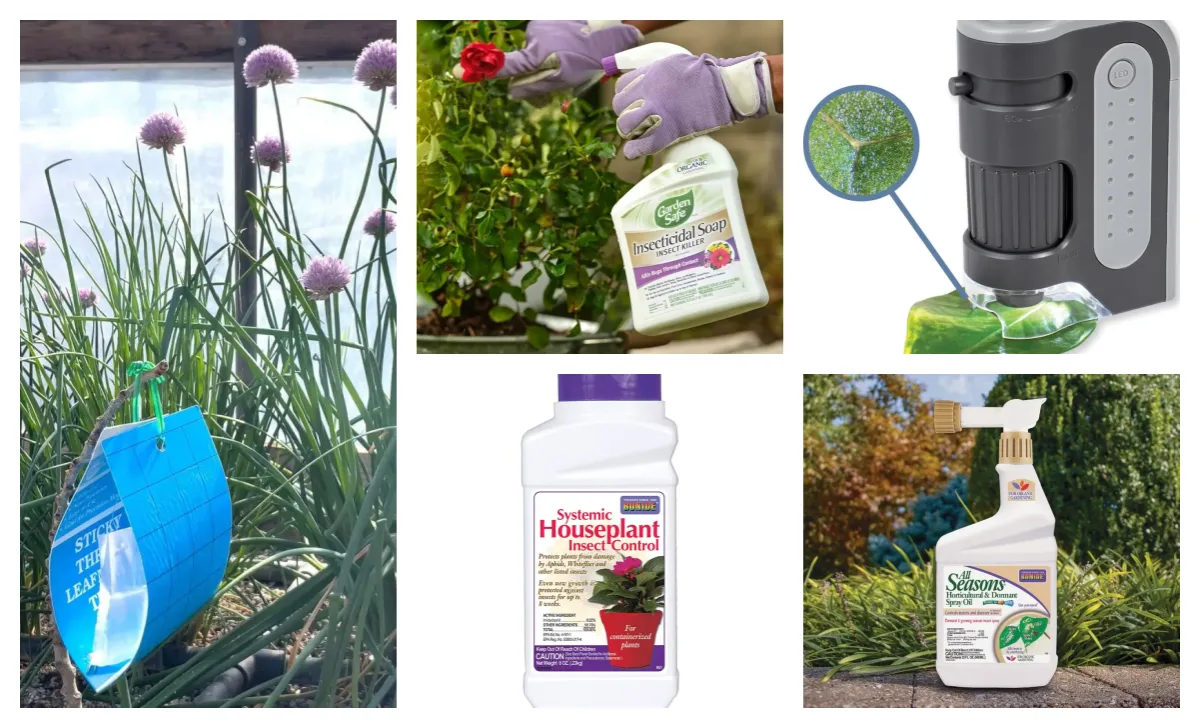
Spider Mites: What Has Helped Mine Stay Clean
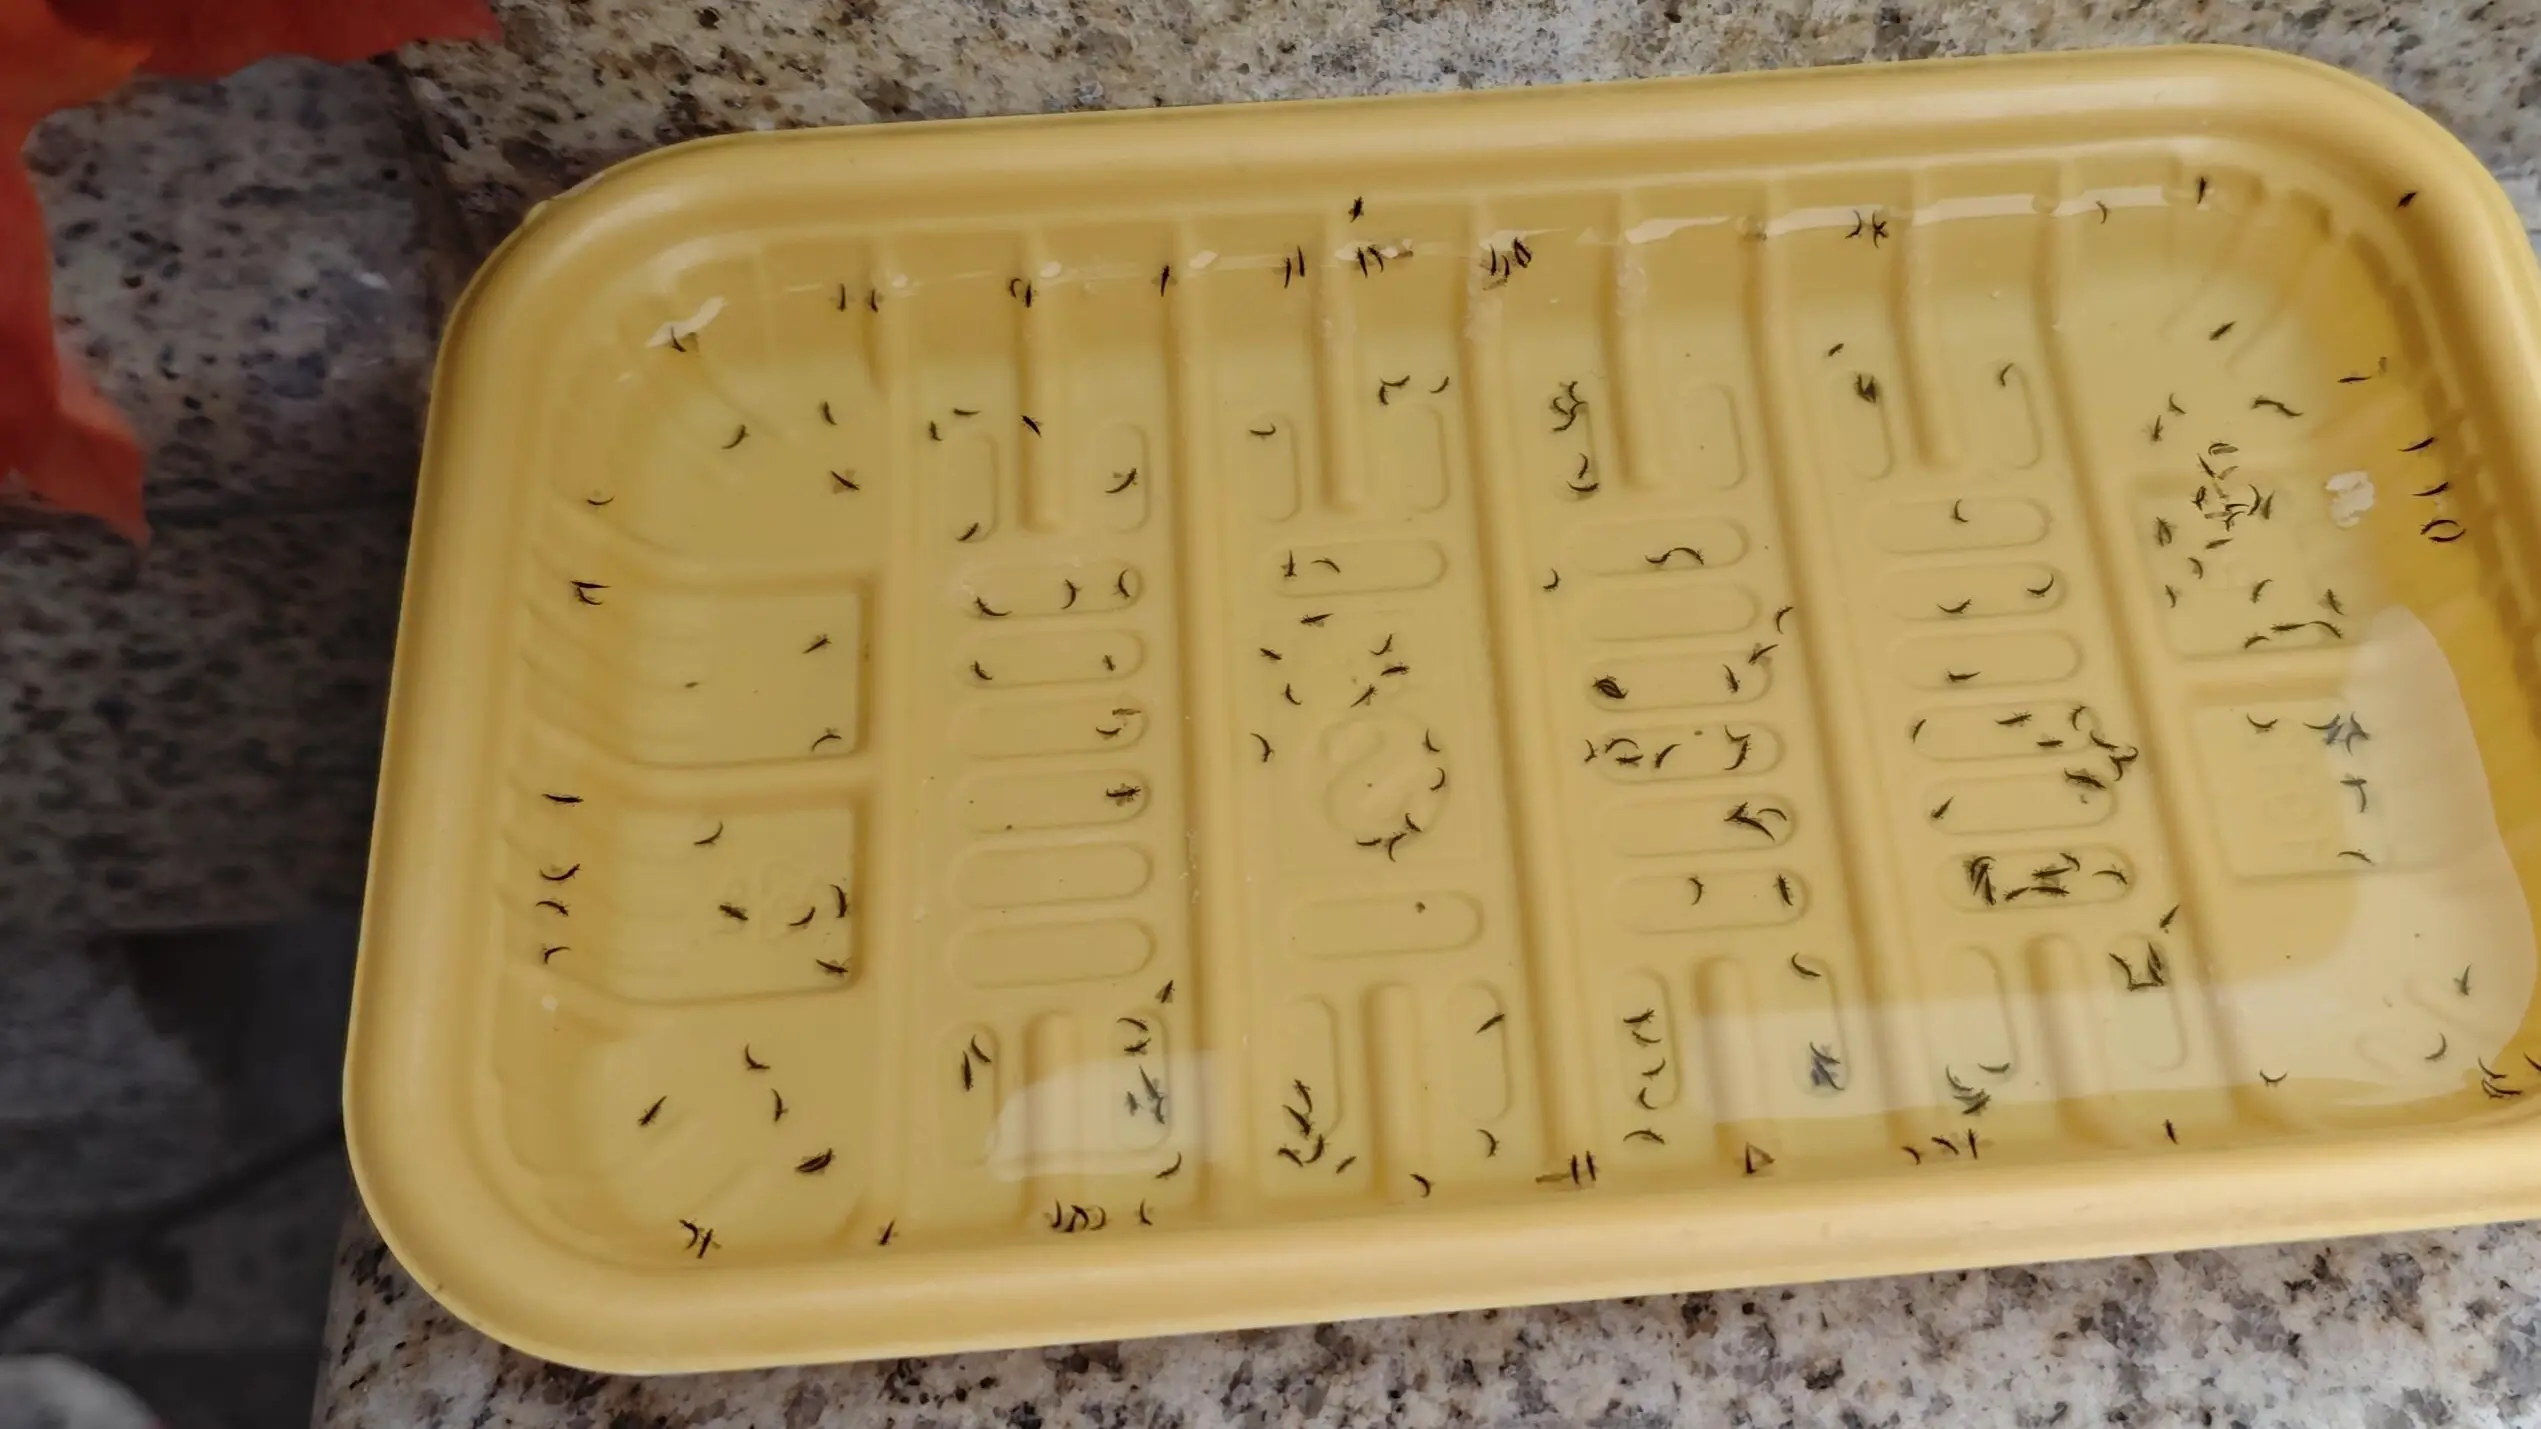
My Frydek has been with me for more than two years, and so far it has not had a spider mite outbreak. I do not want to pretend I have a perfect treatment method, because I have not had to fight a serious infestation on this plant. But I do think a few habits have helped reduce the risk.
First, I avoid crowding it too closely with new plants. New plants are always the biggest unknown in an indoor collection, so I try not to place them directly against my older, stable plants right away.
Second, my growing space is on a higher floor, which may reduce some outdoor pest pressure from open windows. I still check the leaves, especially the undersides, because spider mites are easy to miss early.
Third, I am cautious with nursery plants and old nursery soil. I cannot prove that nursery soil itself carried spider mites, but I do treat newly purchased plants as potential pest carriers. Before mixing them into the main collection, I inspect the leaves, petioles, and the base of the plant carefully.
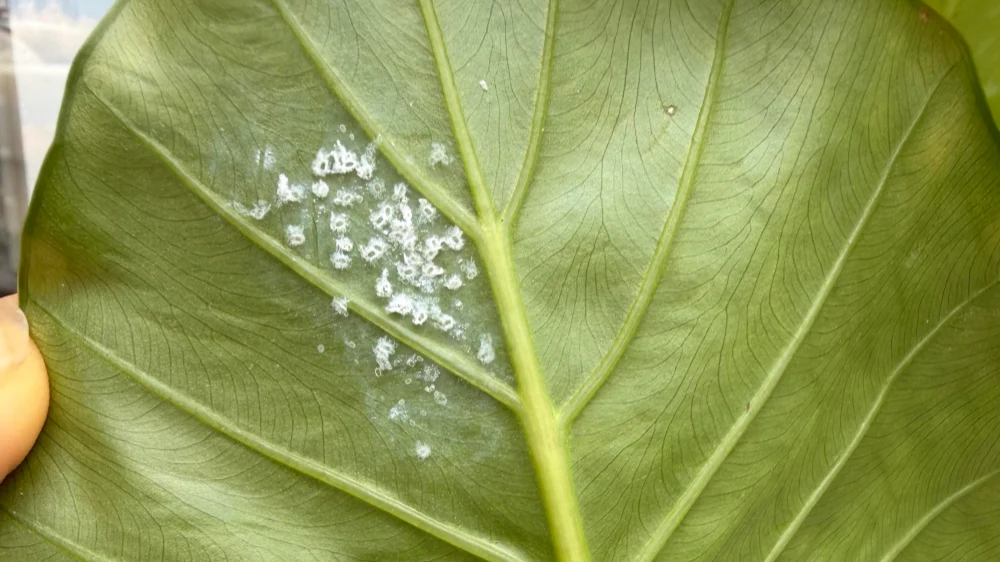
The early signs I would watch for are tiny pale specks on the leaves, dull or dusty-looking foliage, fine webbing, and damage that starts around the undersides or protected areas of the leaf. If I saw those signs, I would isolate the plant immediately instead of waiting.
For more detailed pest signs and treatment steps, see spider mites on Alocasia.
Common Problems I Watch for on Alocasia Frydek
Yellowing Old Leaves
One old yellowing leaf is not always a disaster. Alocasias often drop older leaves as they redirect energy into new growth. But if yellowing happens right after flowering, overwatering, repotting, or a light change, I take it as a signal to check the whole setup.
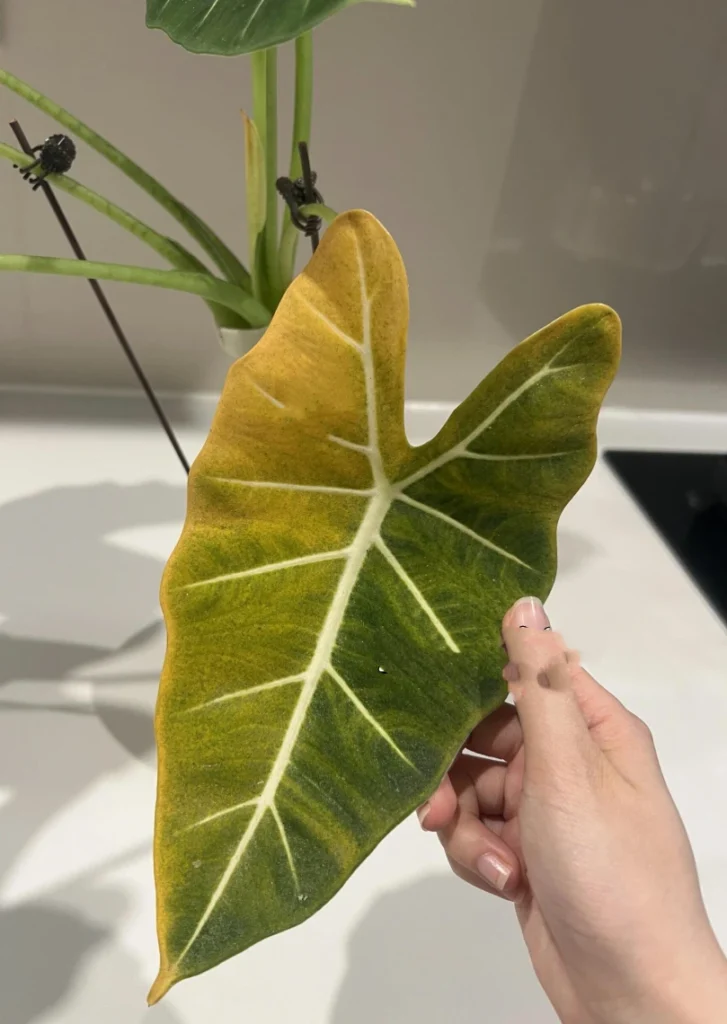
If several leaves yellow at once, I check the roots and soil moisture first. You can compare symptoms here: Alocasia leaves turning yellow.
Drooping Leaves
Frydek can droop from thirst, root stress, cold drafts, or sudden environmental changes. I do not water immediately just because a leaf droops. I check the pot weight, soil moisture, and stem firmness first.
More details here: Alocasia leaves drooping.
New Leaves Tearing or Opening Damaged
When a new Frydek leaf is opening, I try not to let the plant dry too far. In my experience, a badly timed dry spell can cause the new leaf to come out torn, stuck, or imperfect.
If this happens often, read: Alocasia leaf not unfurling.
Soft Stems or Root Rot
Soft stems, a sour smell, collapsing growth, or soil that stays wet too long are more serious signs. Frydek likes moisture, but it still needs oxygen around the roots. Dense soil and oversized pots are a common route to root rot.
If you suspect this, see Alocasia root rot fix.
Slow Growth or Smaller Leaves
For my Frydek, slow growth usually means one of three things: not enough light, weak roots, or the plant is spending energy somewhere else, such as flowering. Before increasing fertilizer, I check the roots, pot, and light first. If the plant has stopped producing leaves for a longer period, this guide on why an Alocasia stopped growing may help you narrow down the cause.
Repotting and Propagation
Alocasia Frydek is not propagated from normal stem cuttings like a pothos or philodendron. It is usually propagated by division or by growing small corms when the plant produces them.
I prefer to repot in spring or early summer, when the plant has enough warmth and light to recover. If the plant is actively pushing new growth and the roots look healthy, I avoid disturbing it too much.
When repotting, I only size up slightly unless I have a specific reason to use a taller pot, such as burying more of the lower stem to encourage roots. Even then, I make sure the pot is airy and drains well. A tall pot full of dense wet soil would be risky.
For propagation steps, see how to propagate Alocasia.
FAQ
Love discovering new Alocasias?
Explore more velvet, variegated, and large-leaf varieties in our Alocasia Varieties Hub.
Go to Varieties Hub →